The Kitchen Renovation
A Proverb of Heather the Resourceful:
If it can be painted, it will be painted.
Once upon a time we moved into a beautiful big old home. It was light! It was airy!
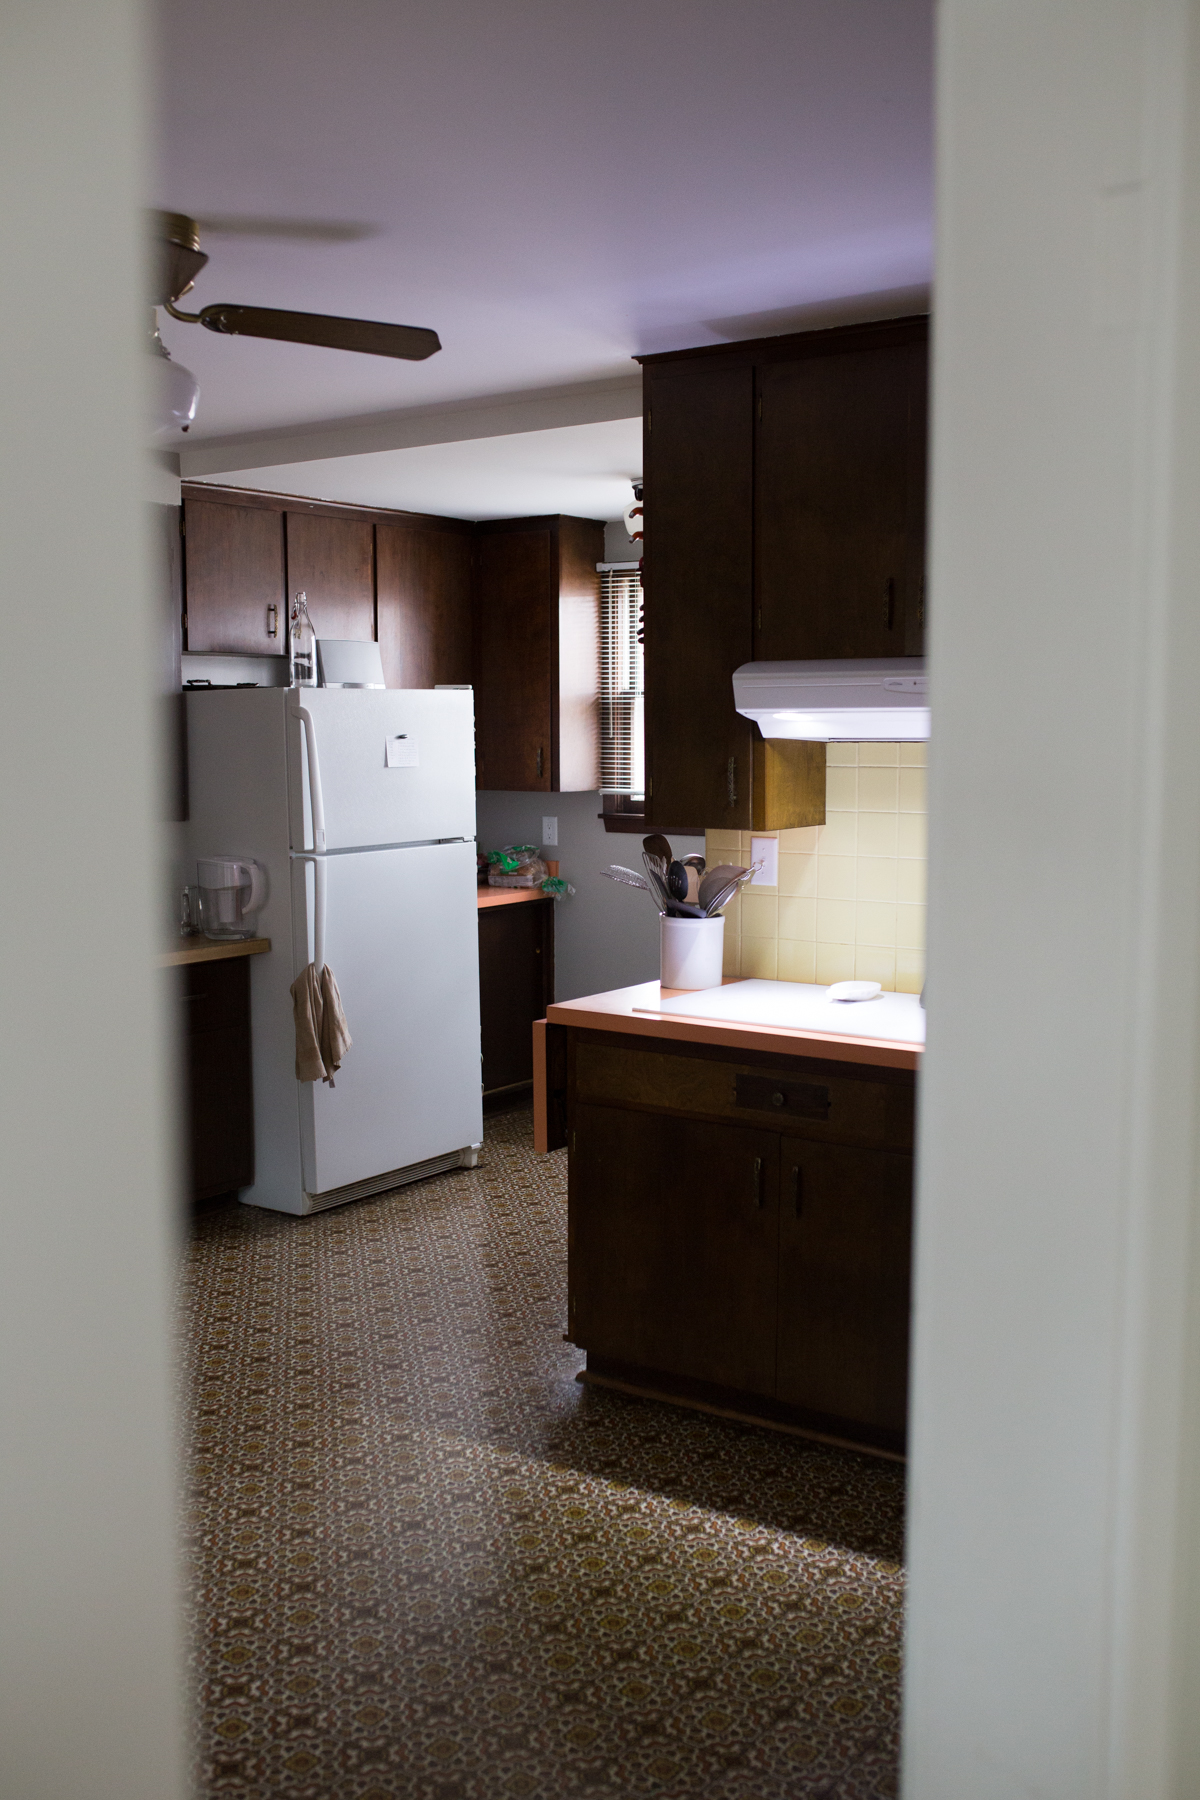
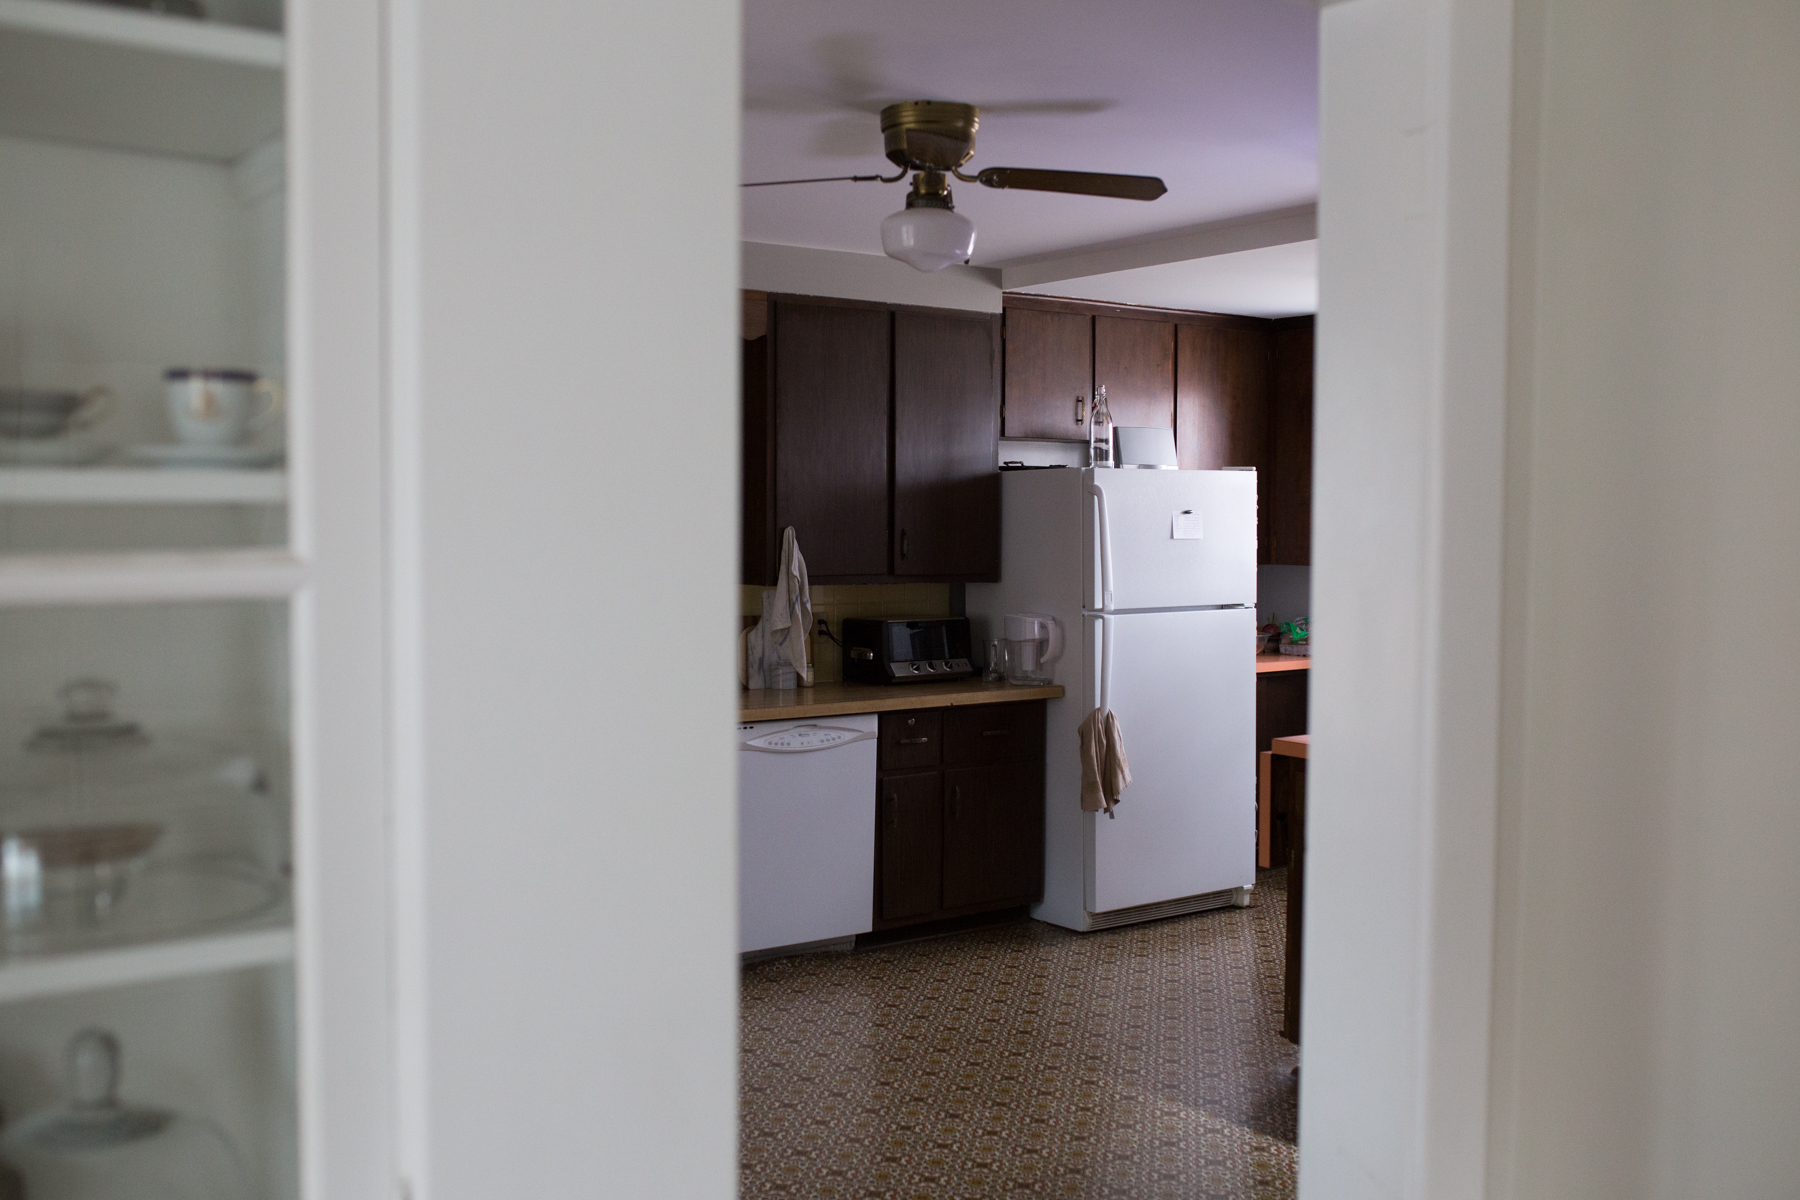
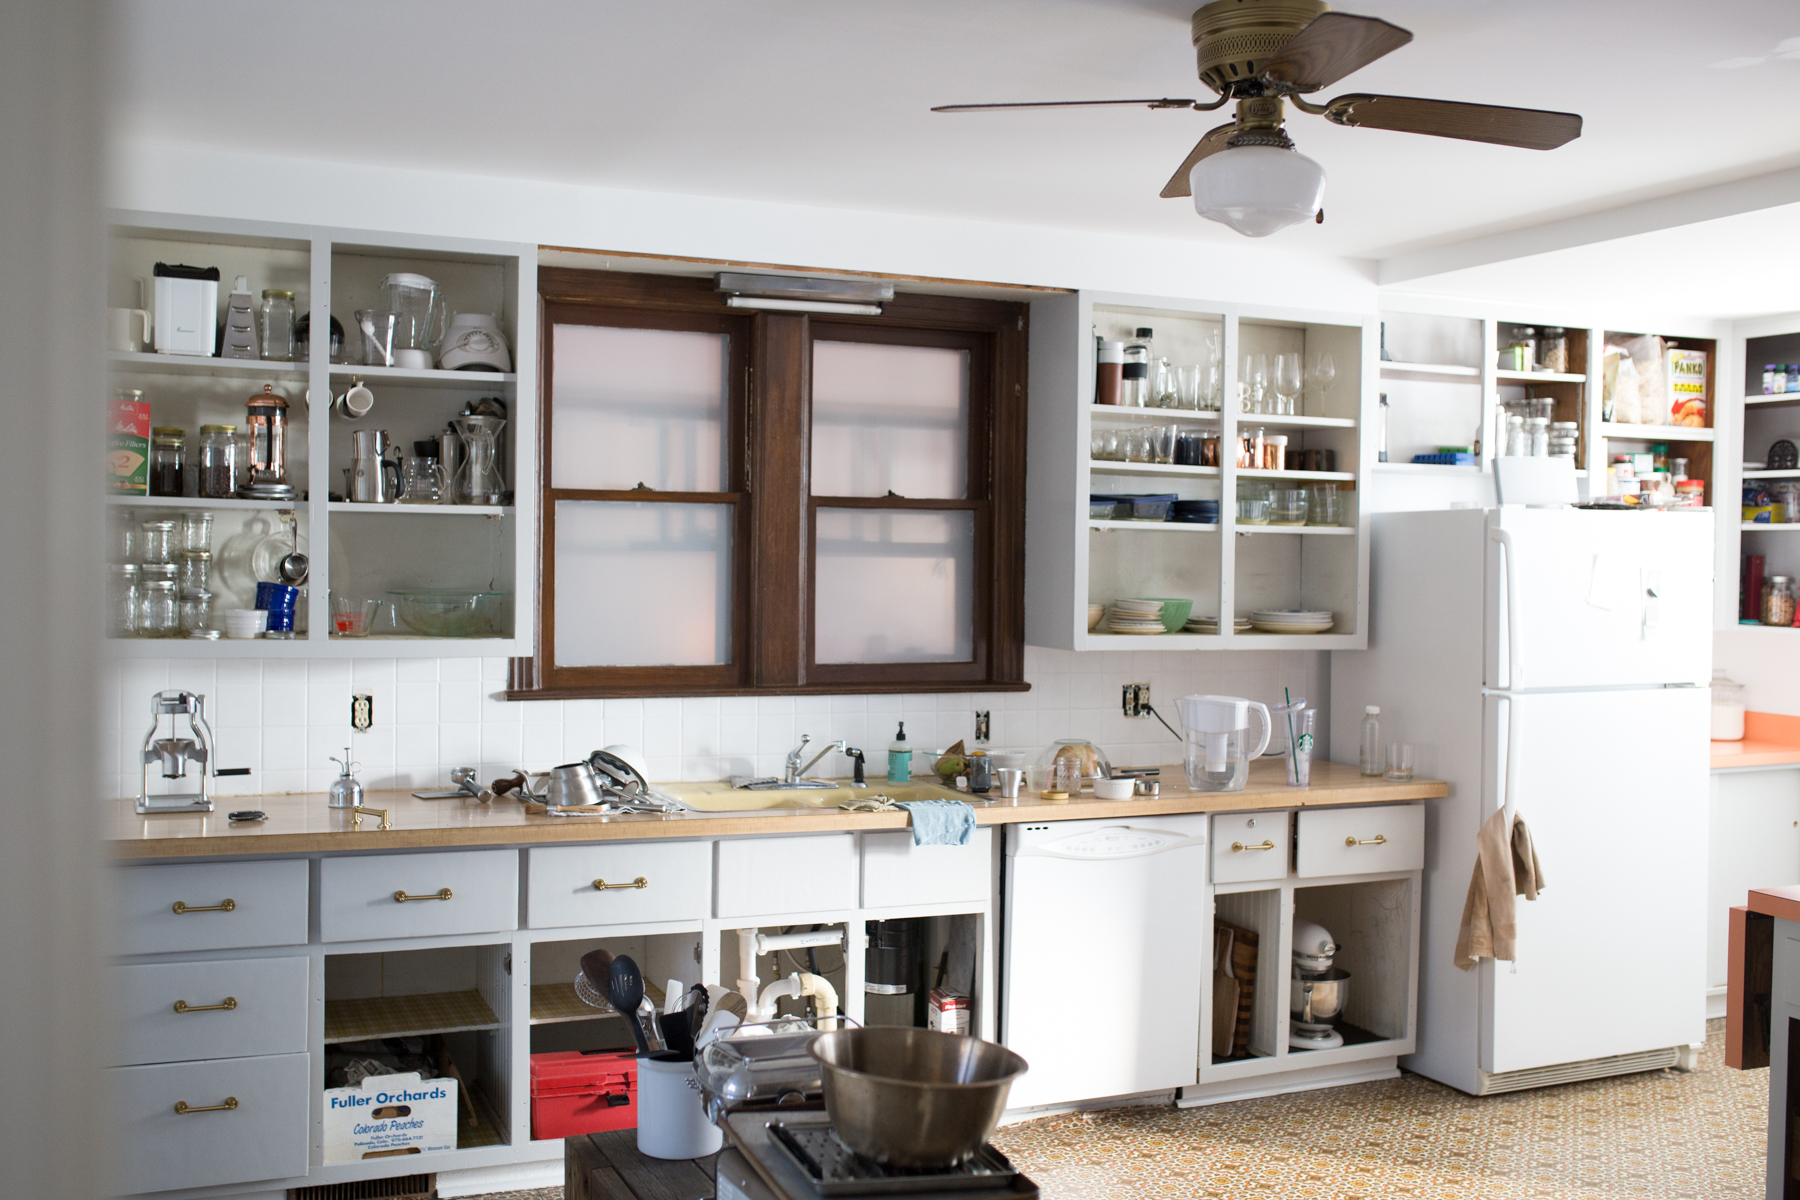
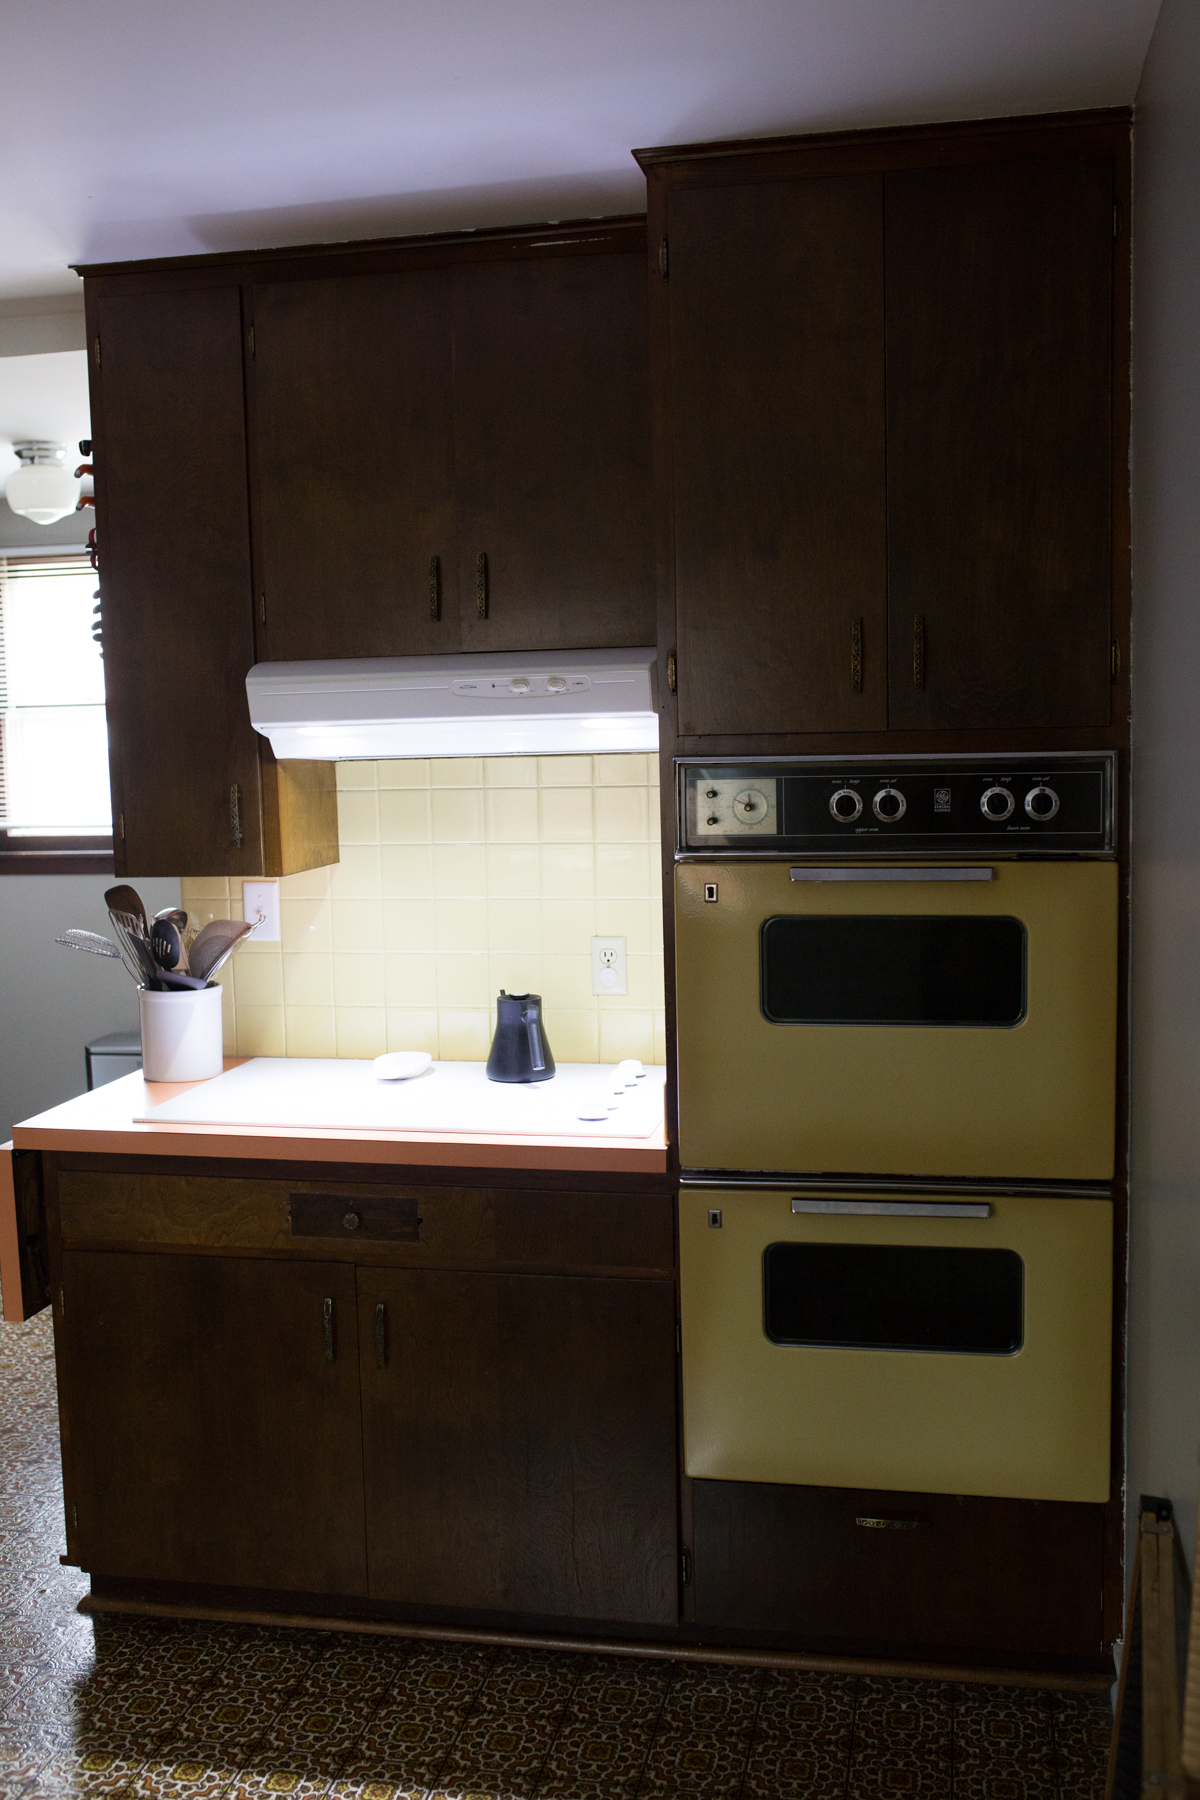
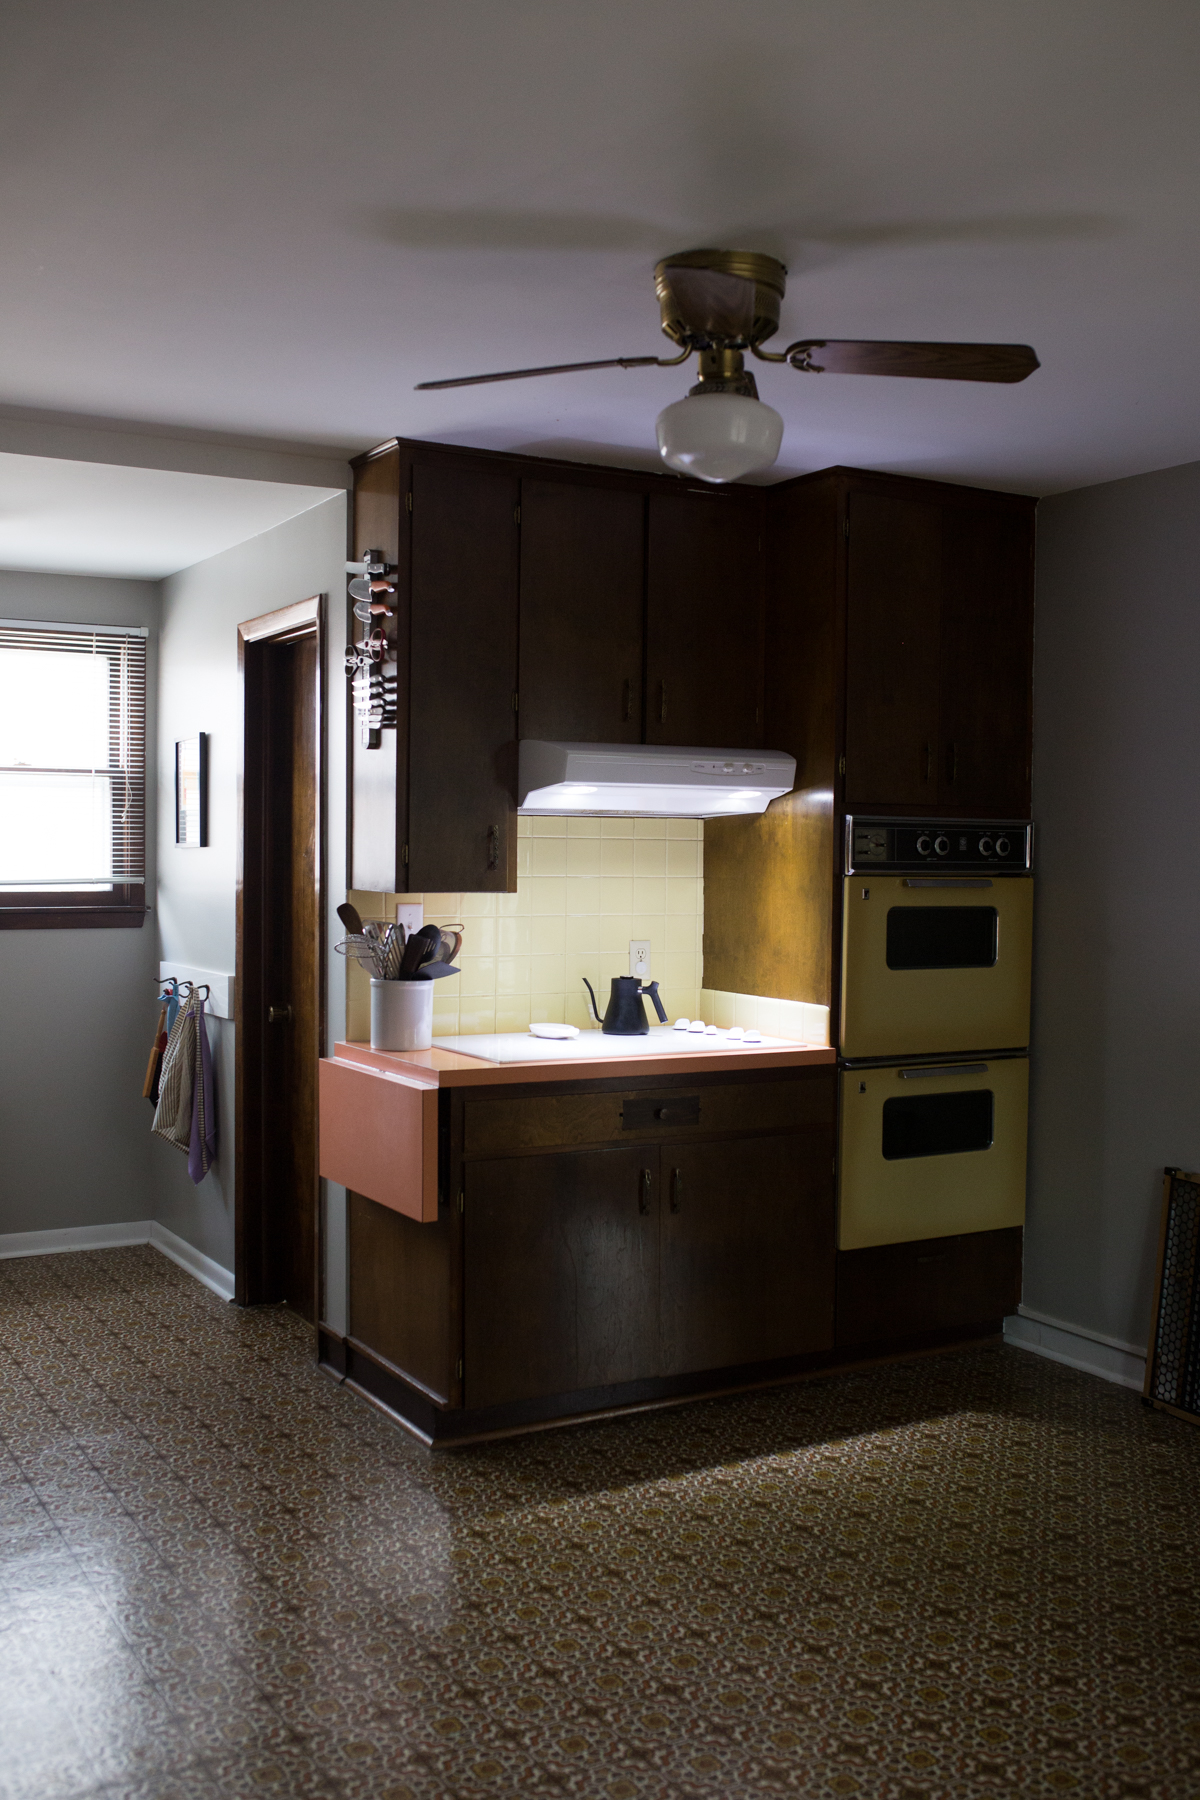
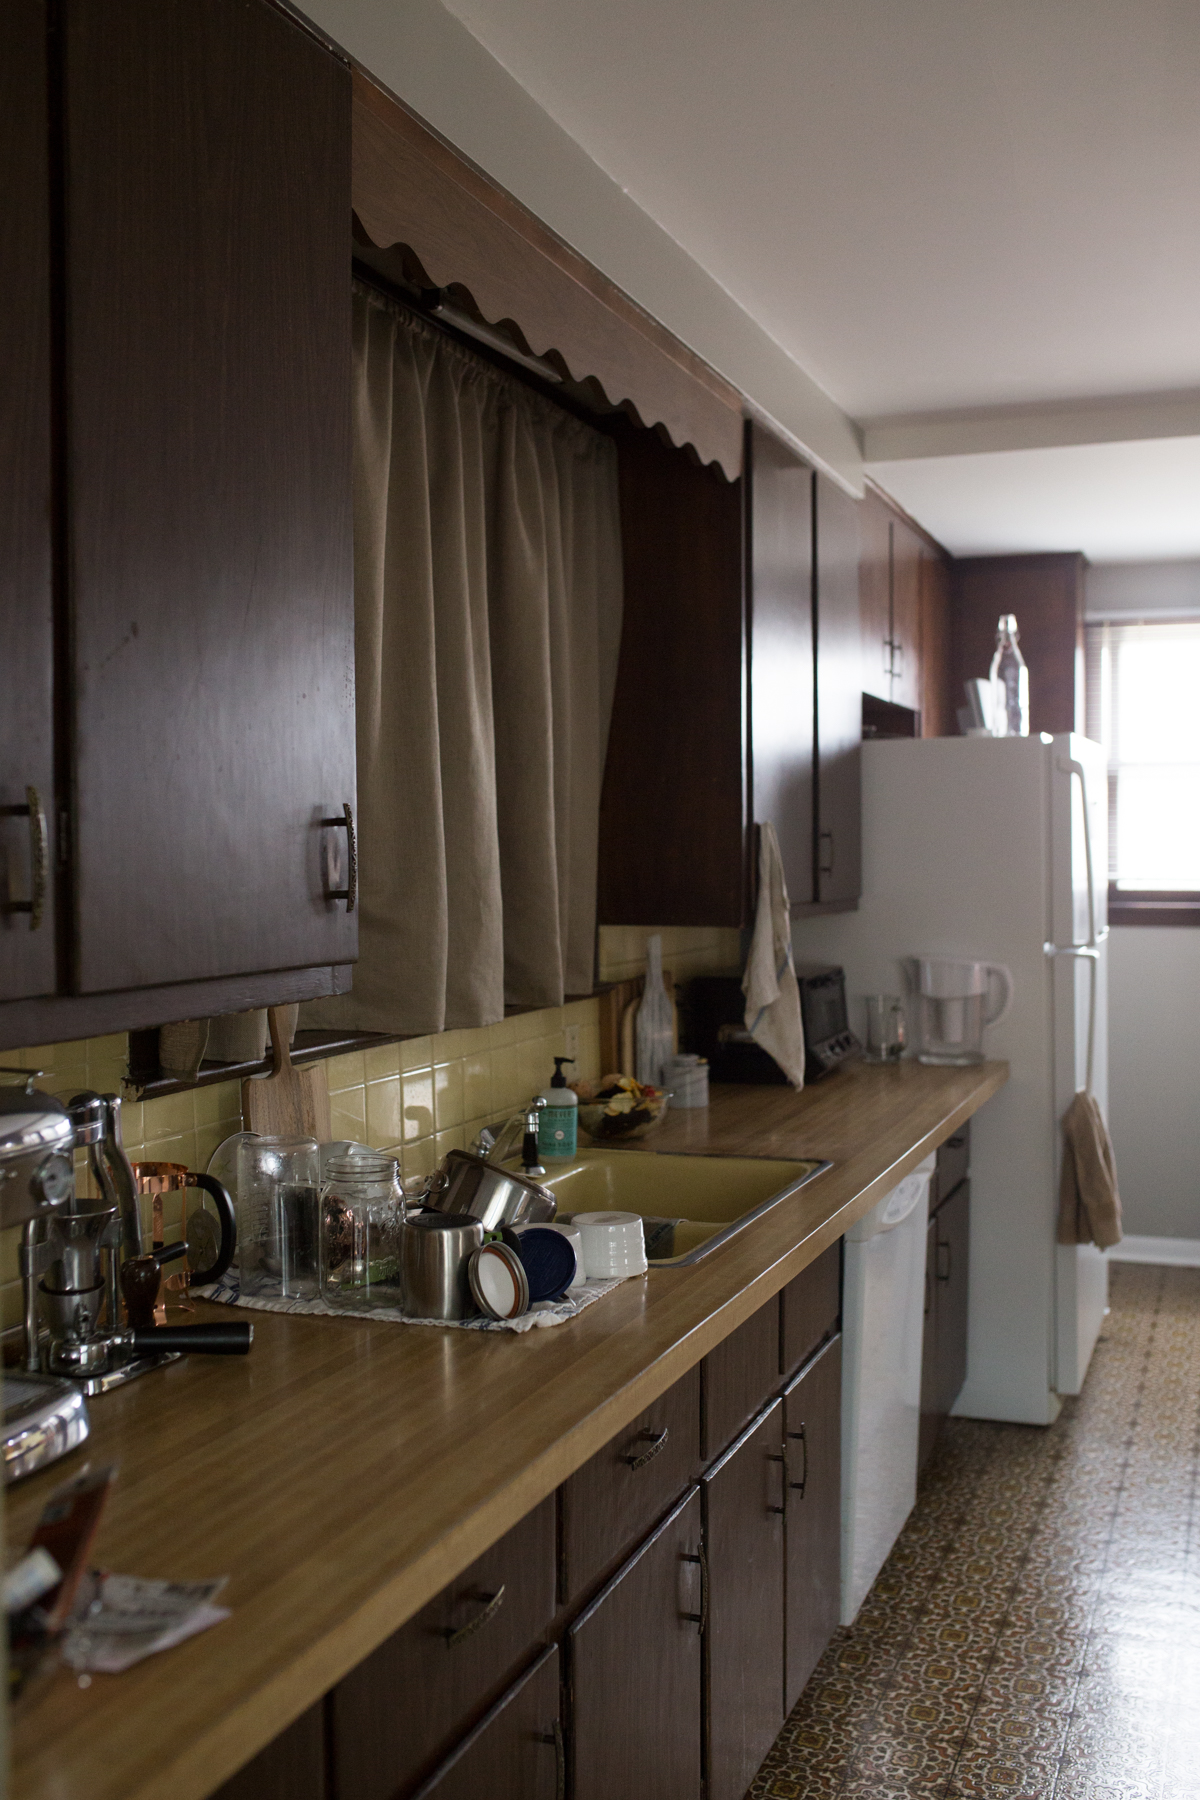
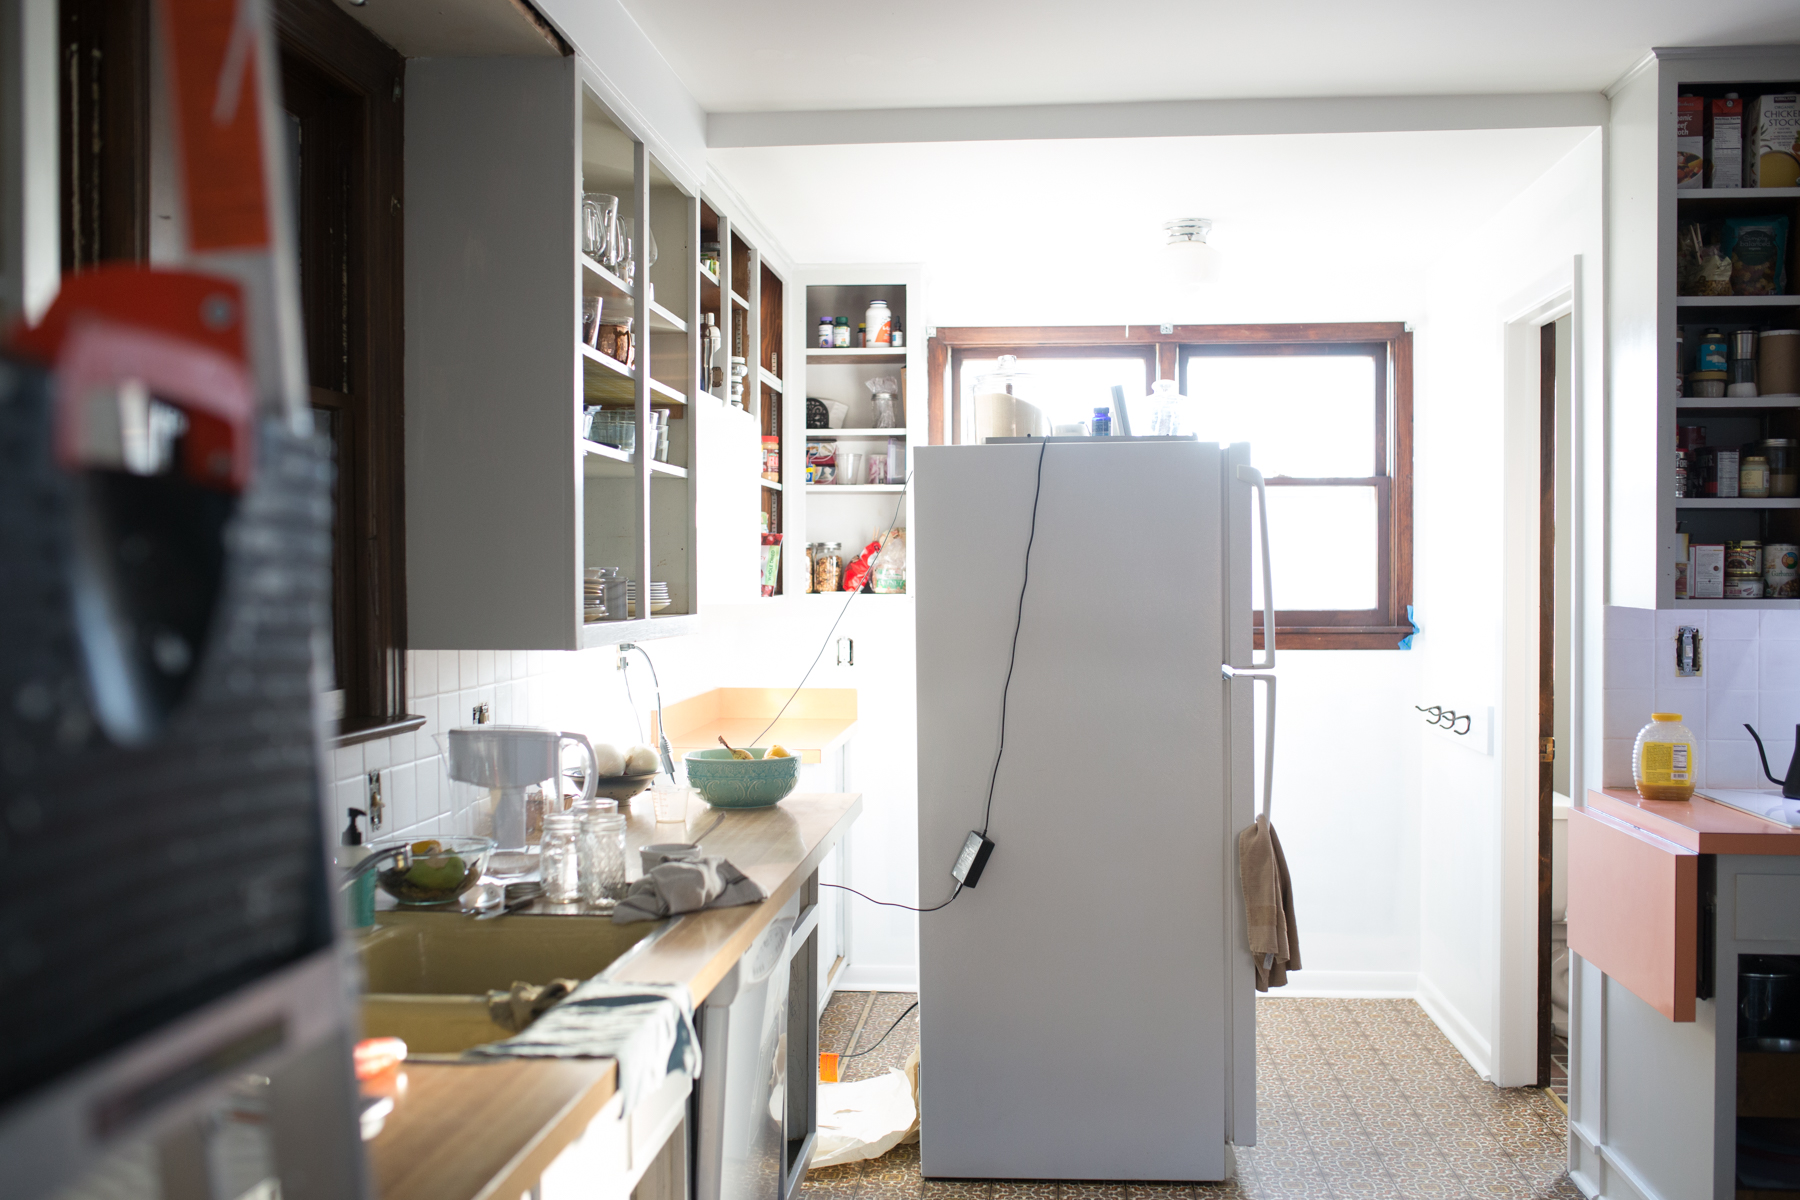
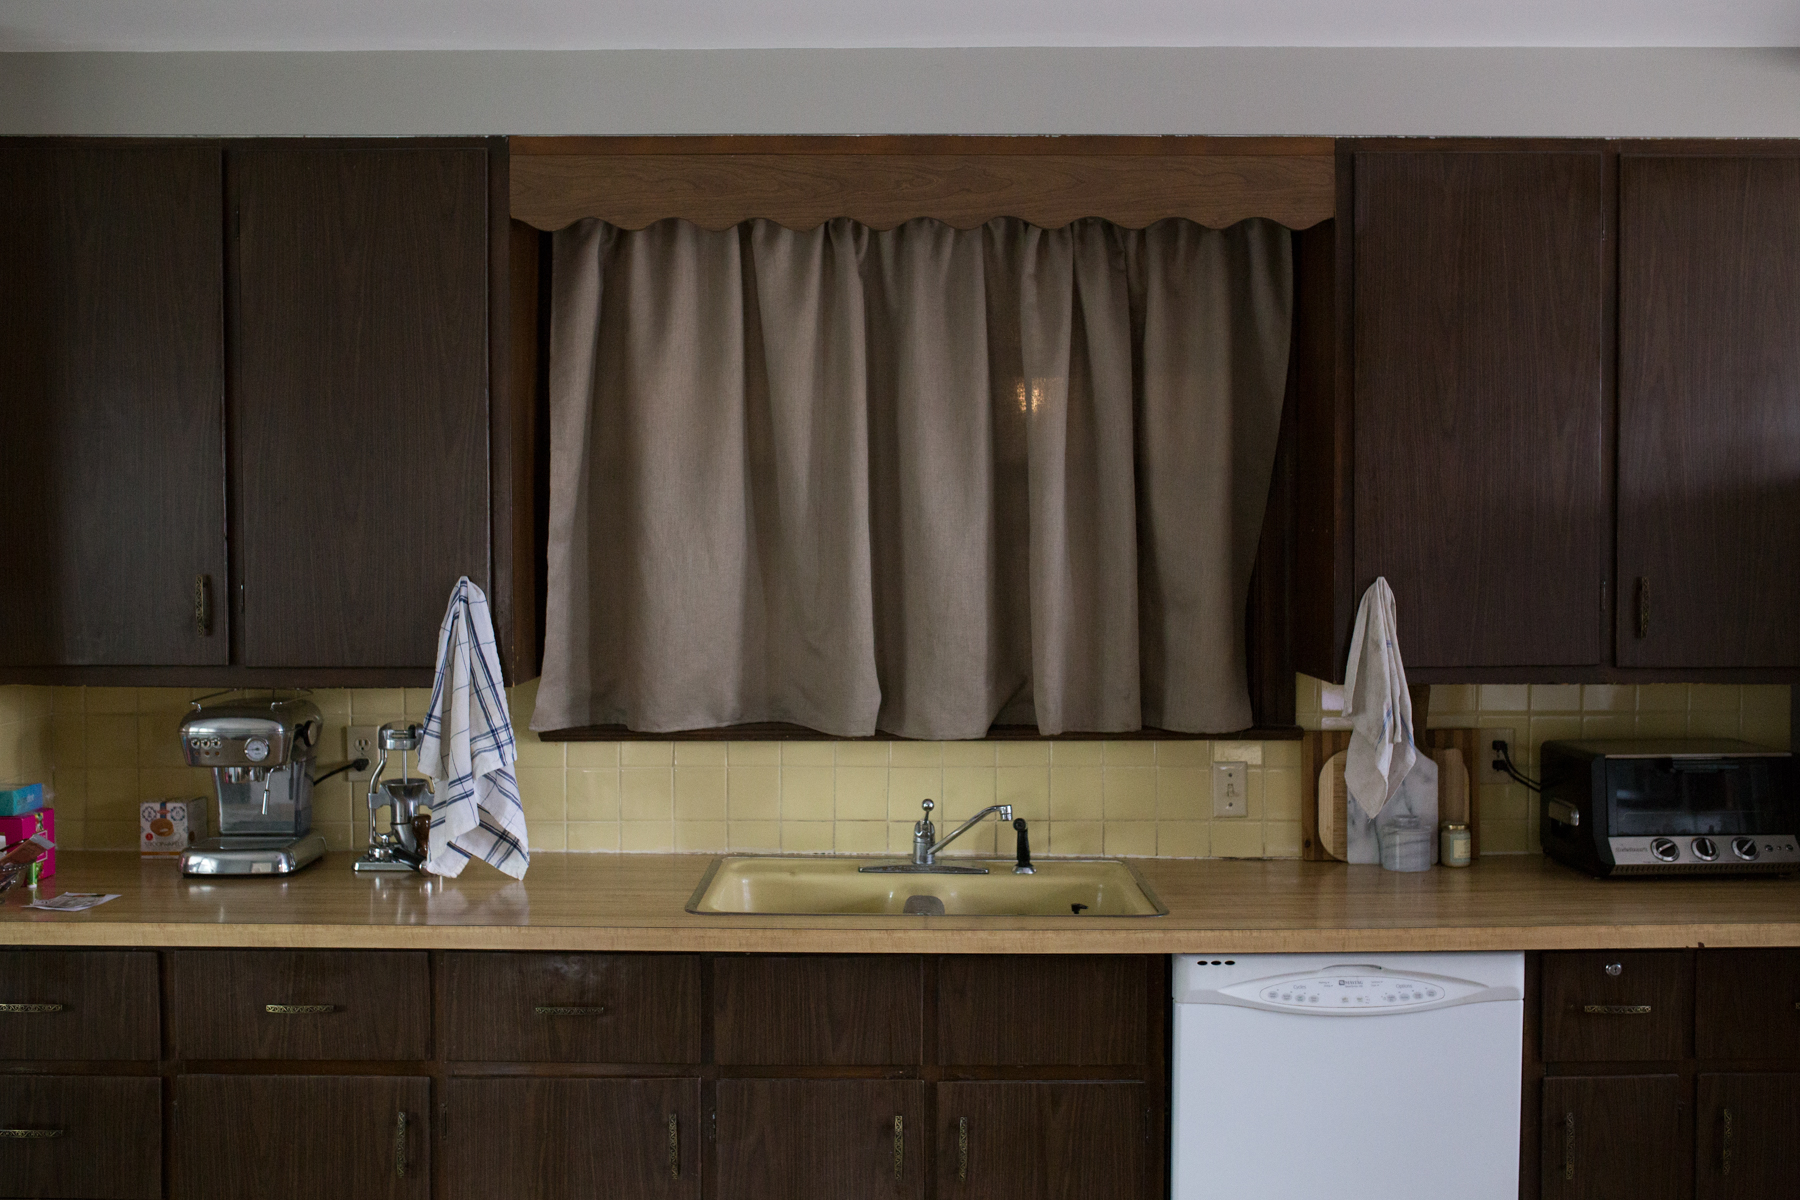
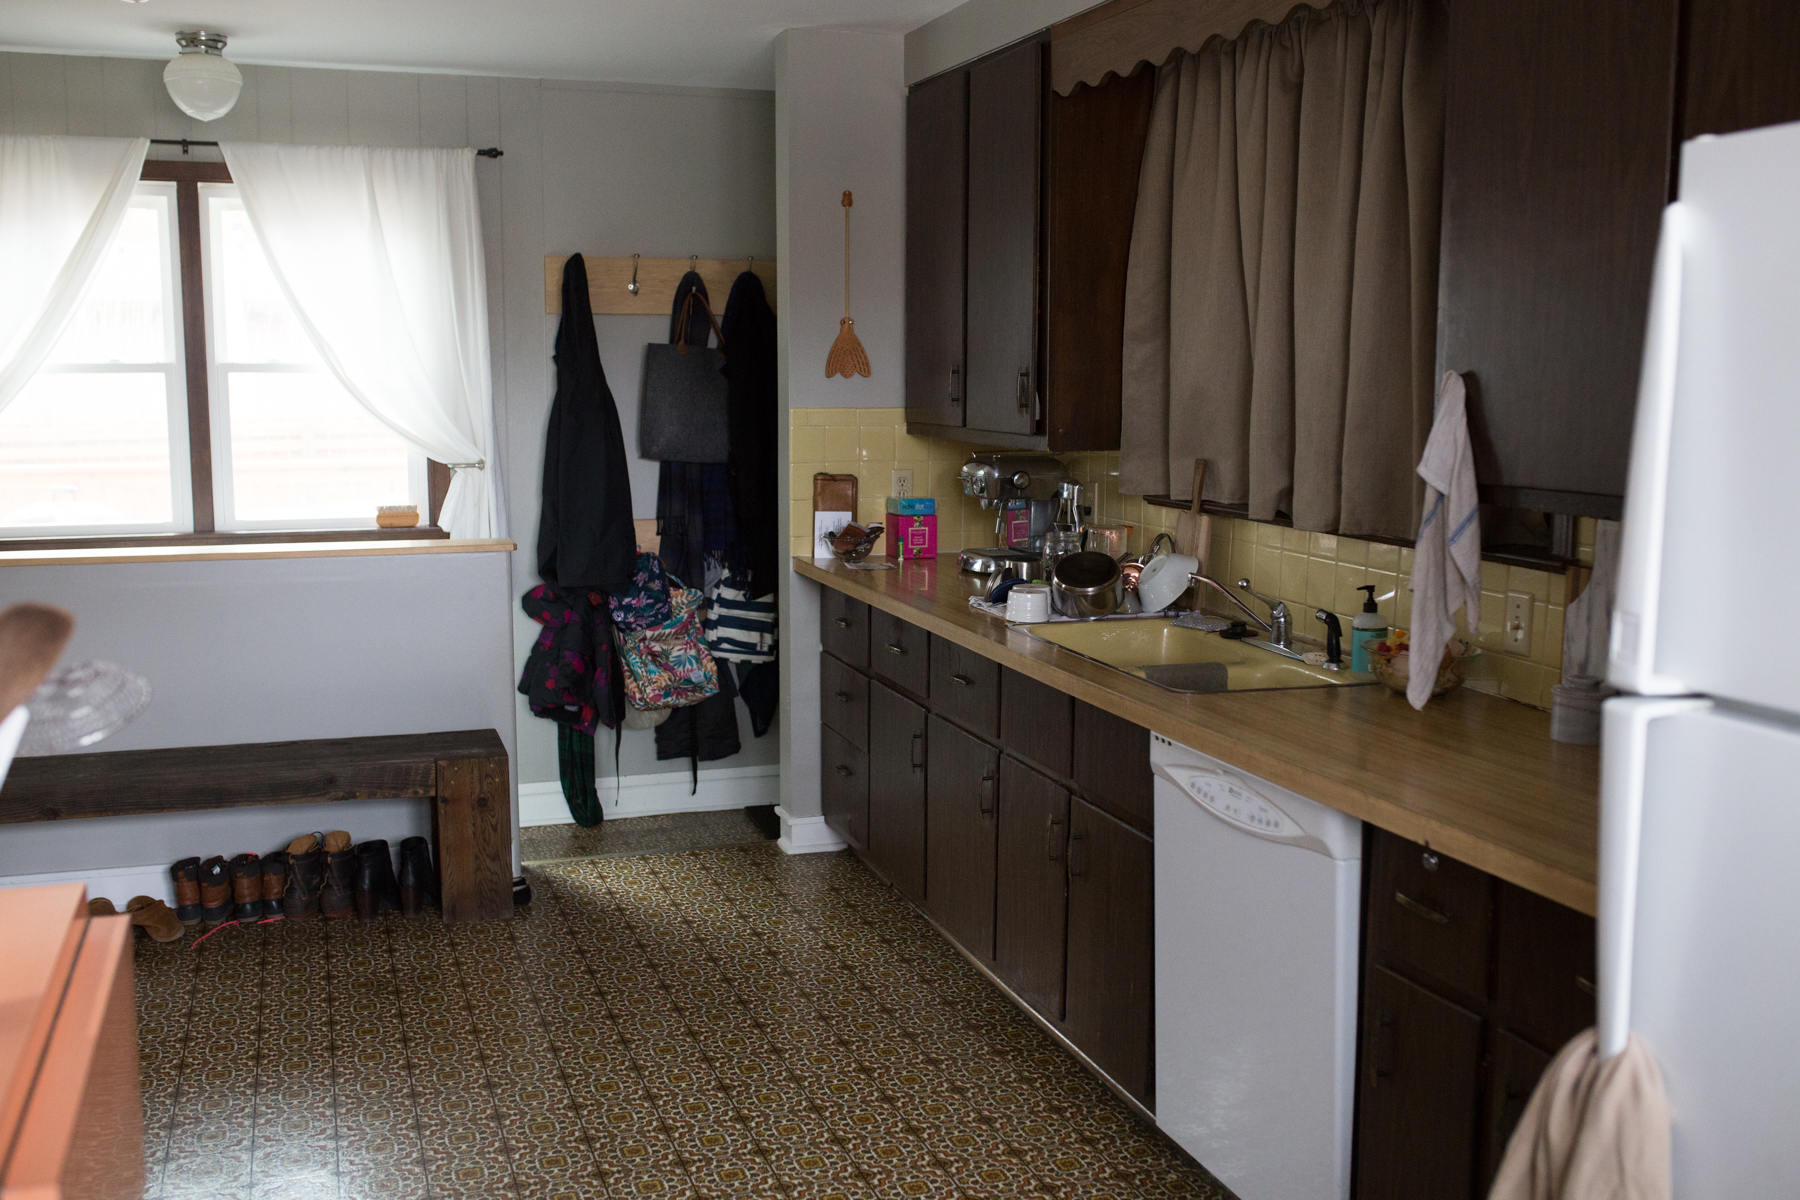
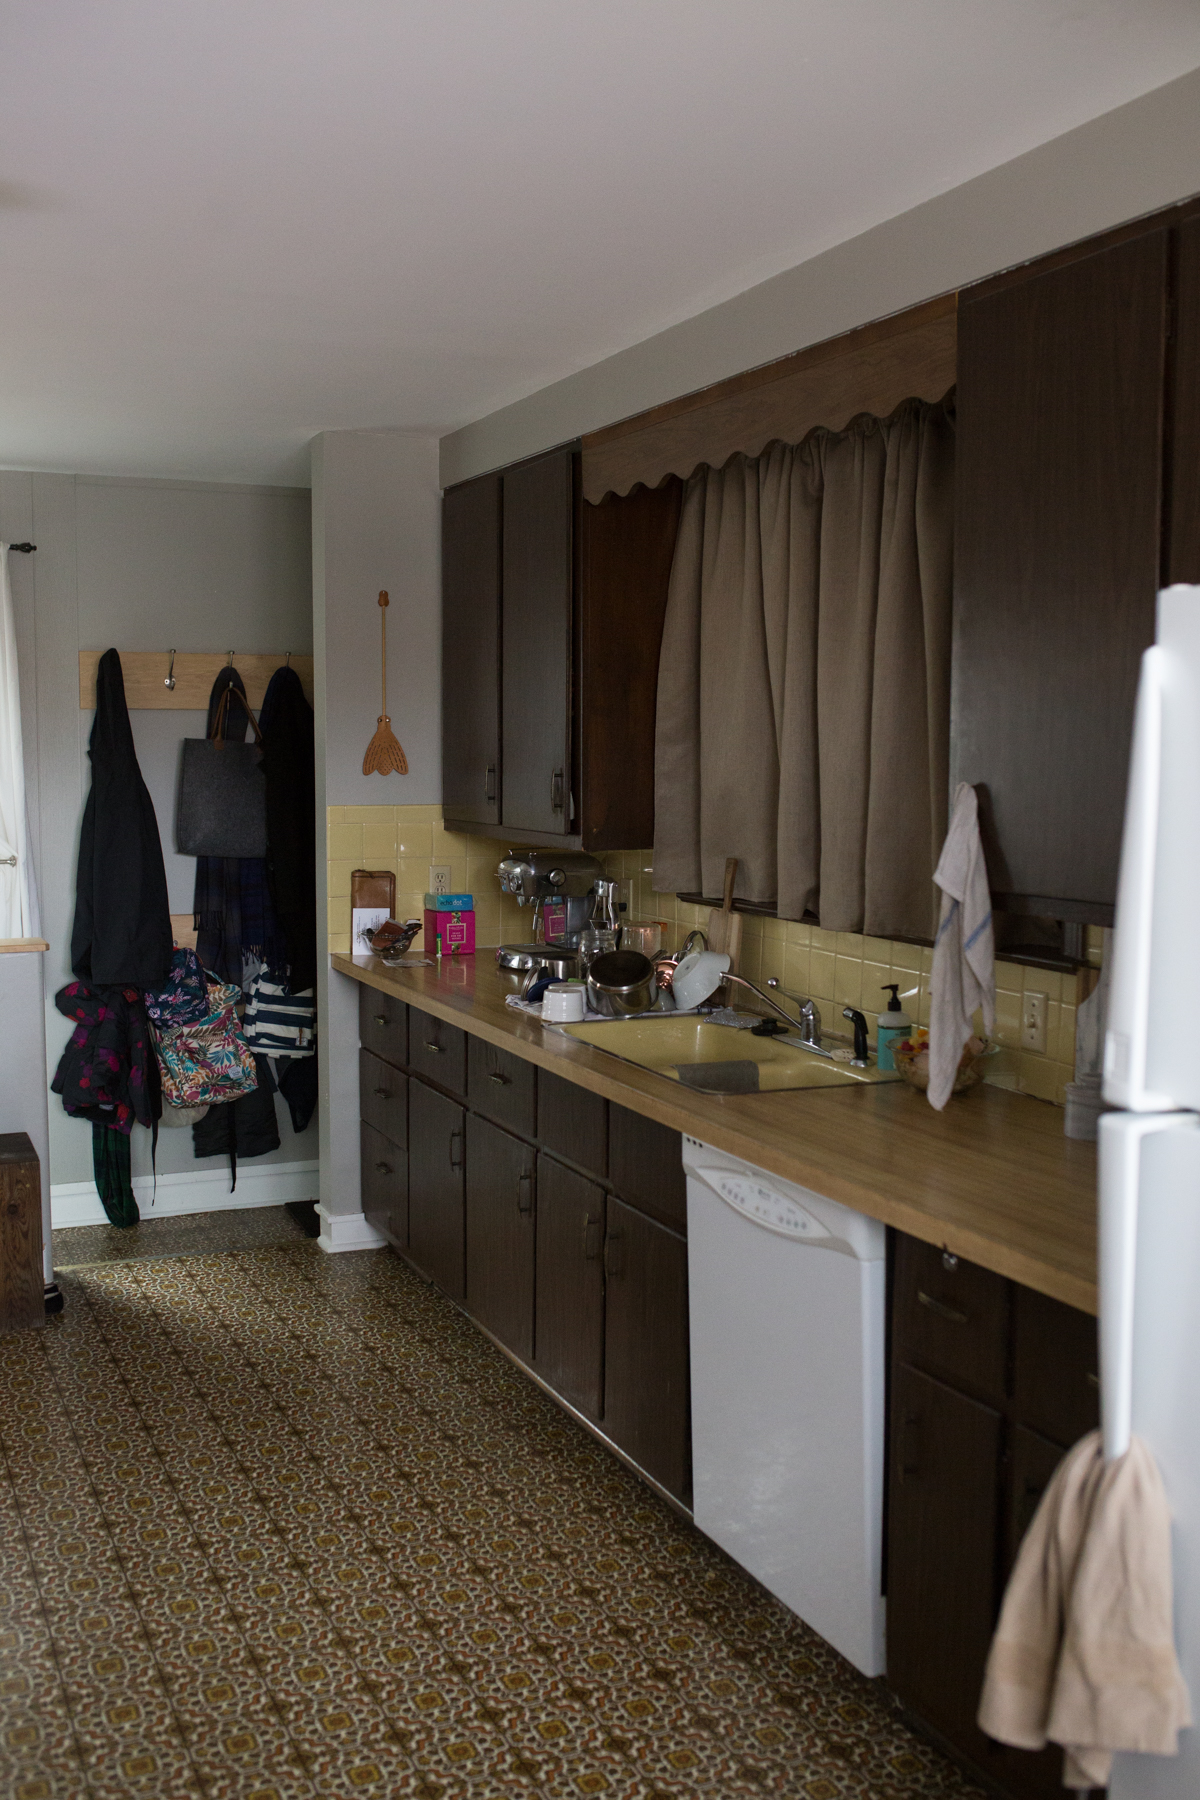
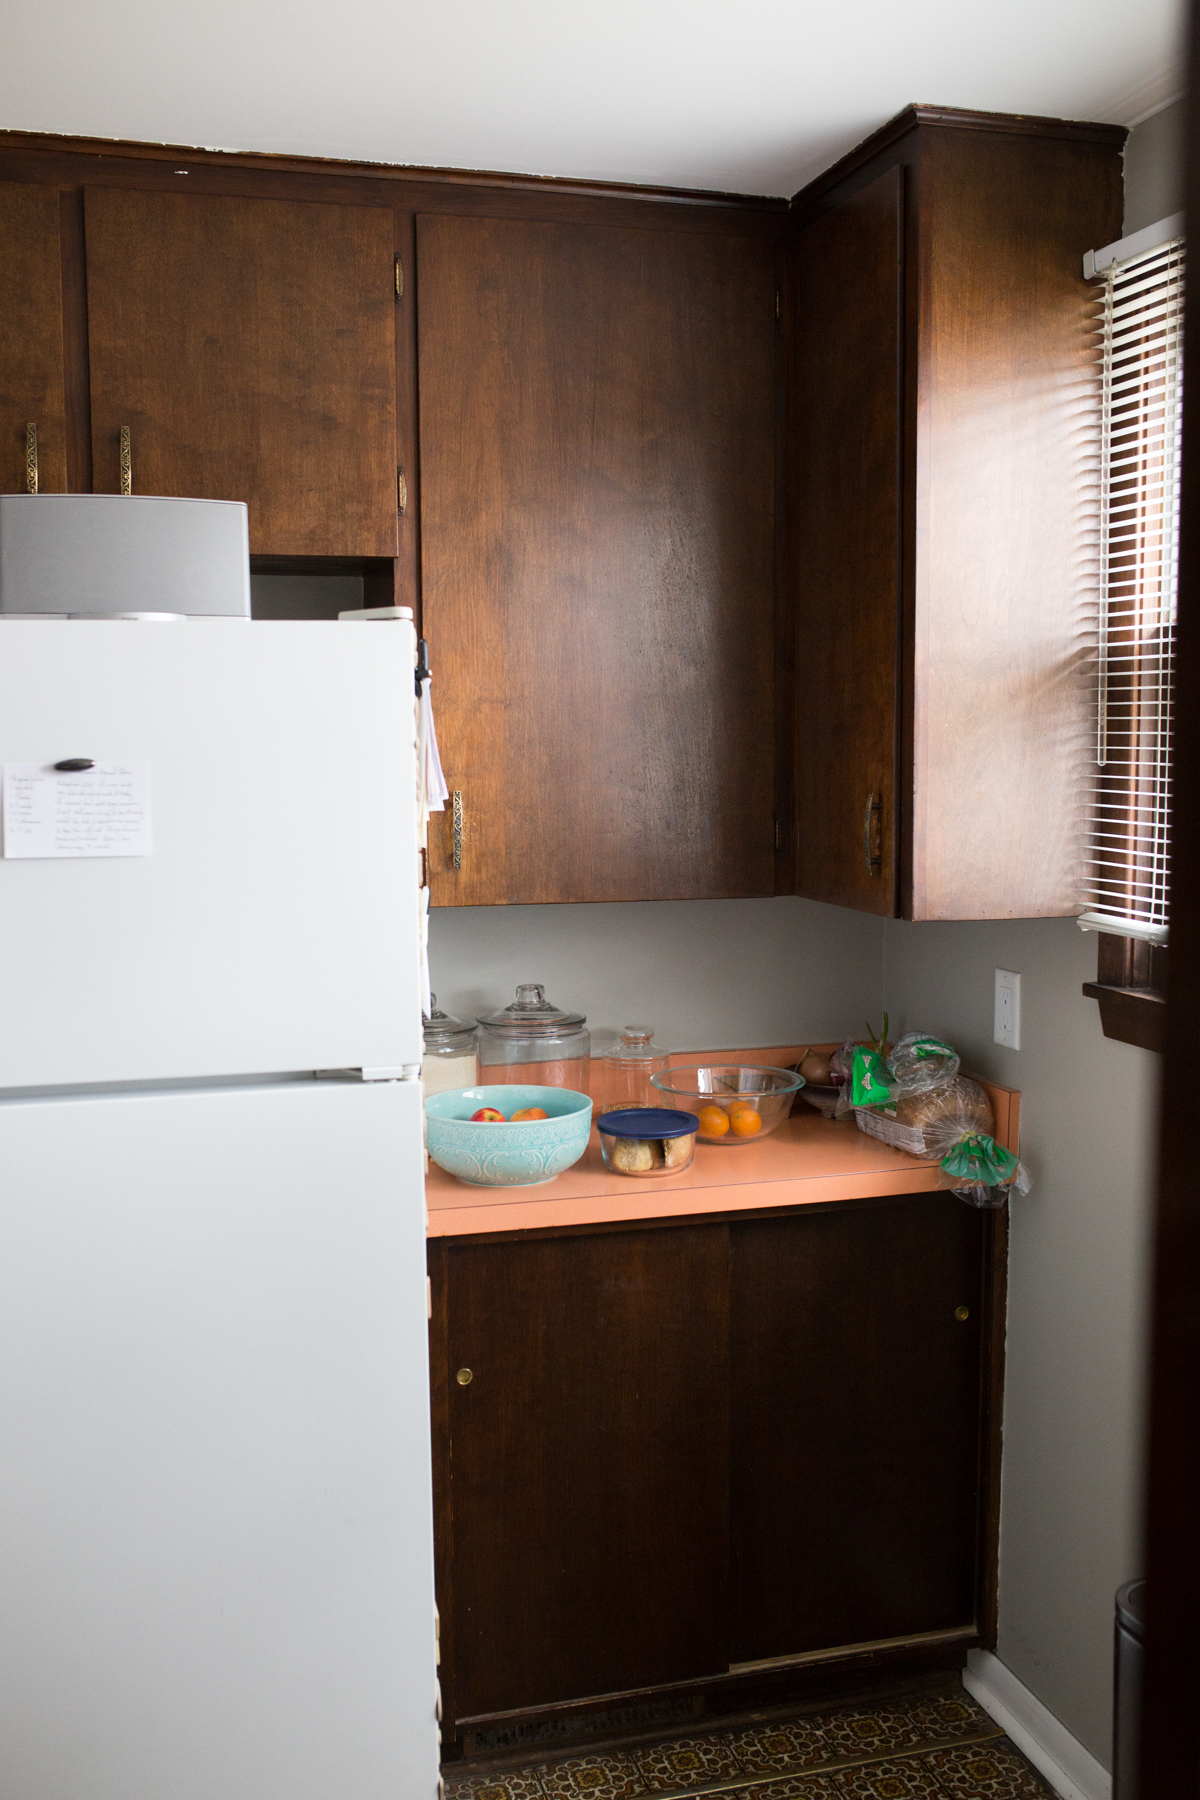
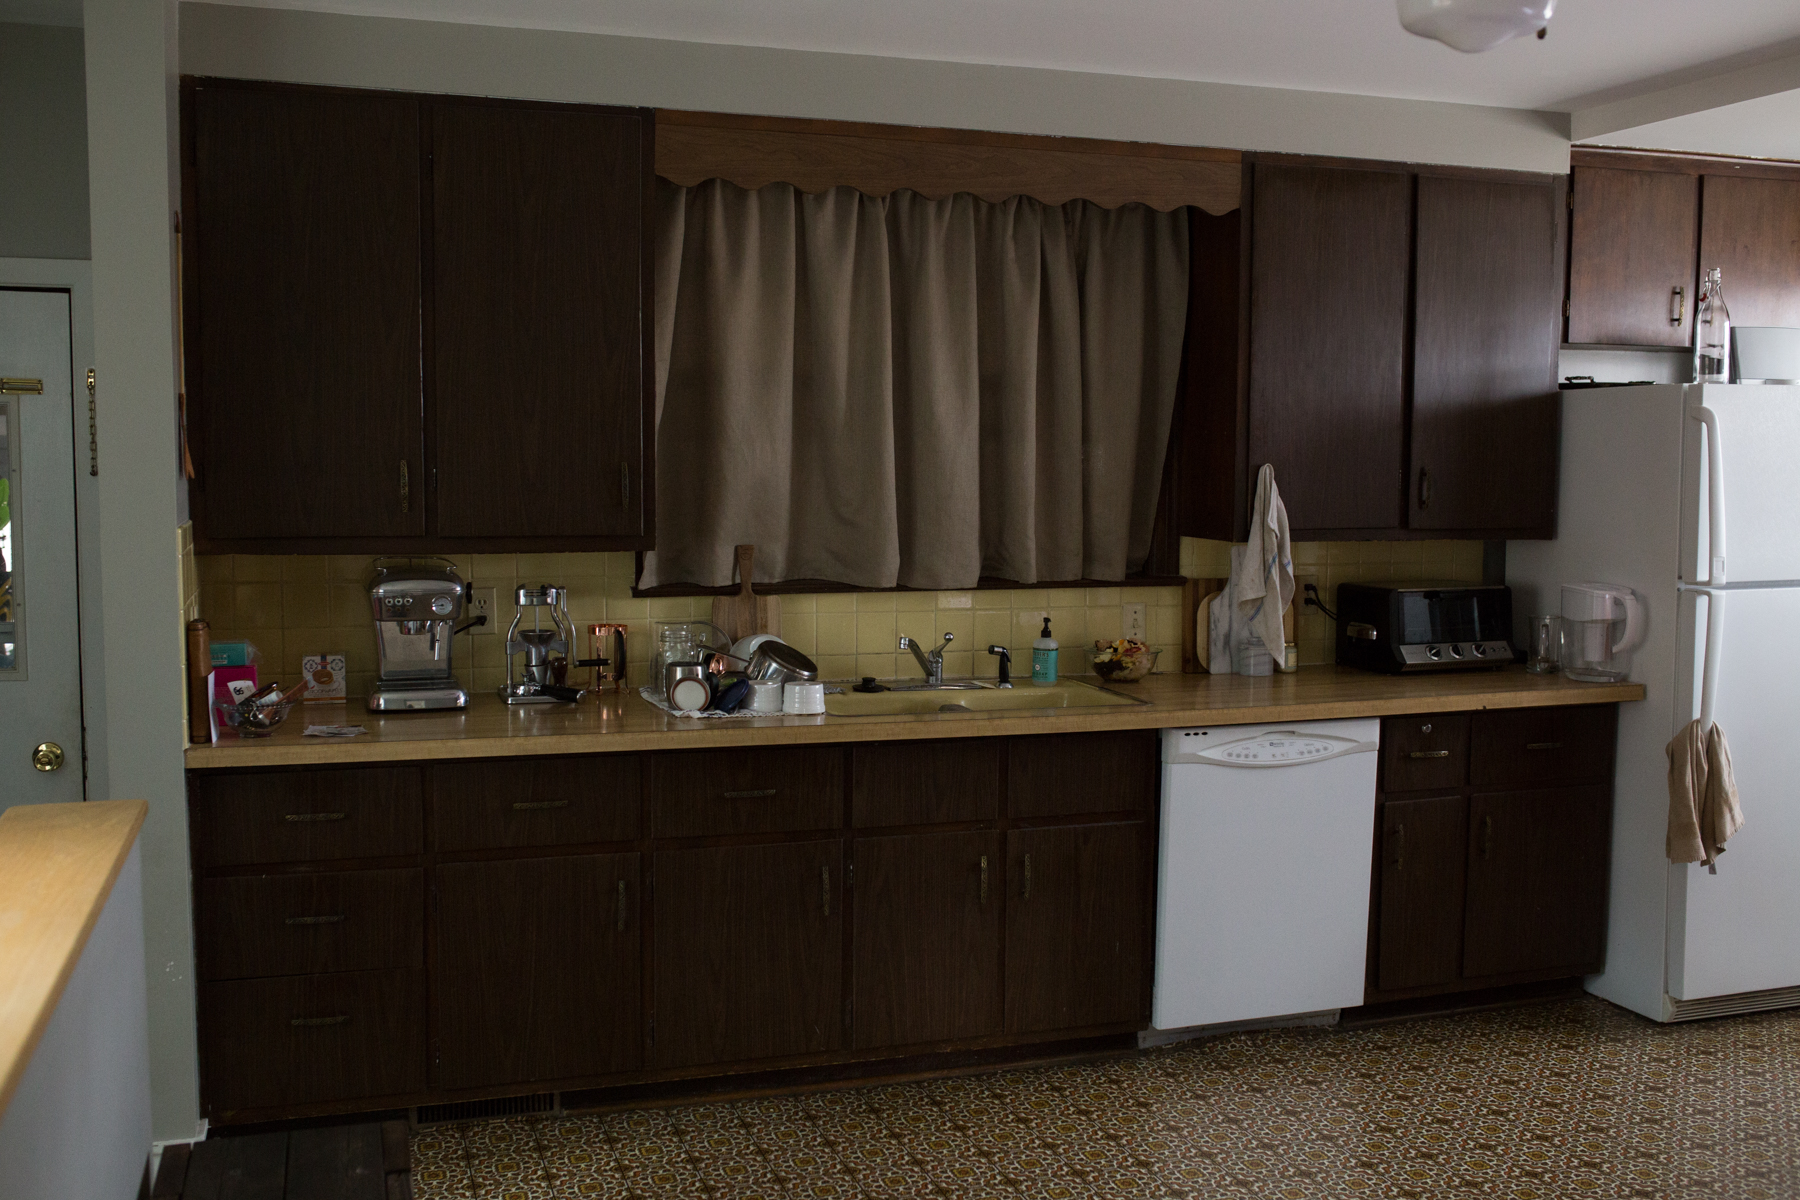
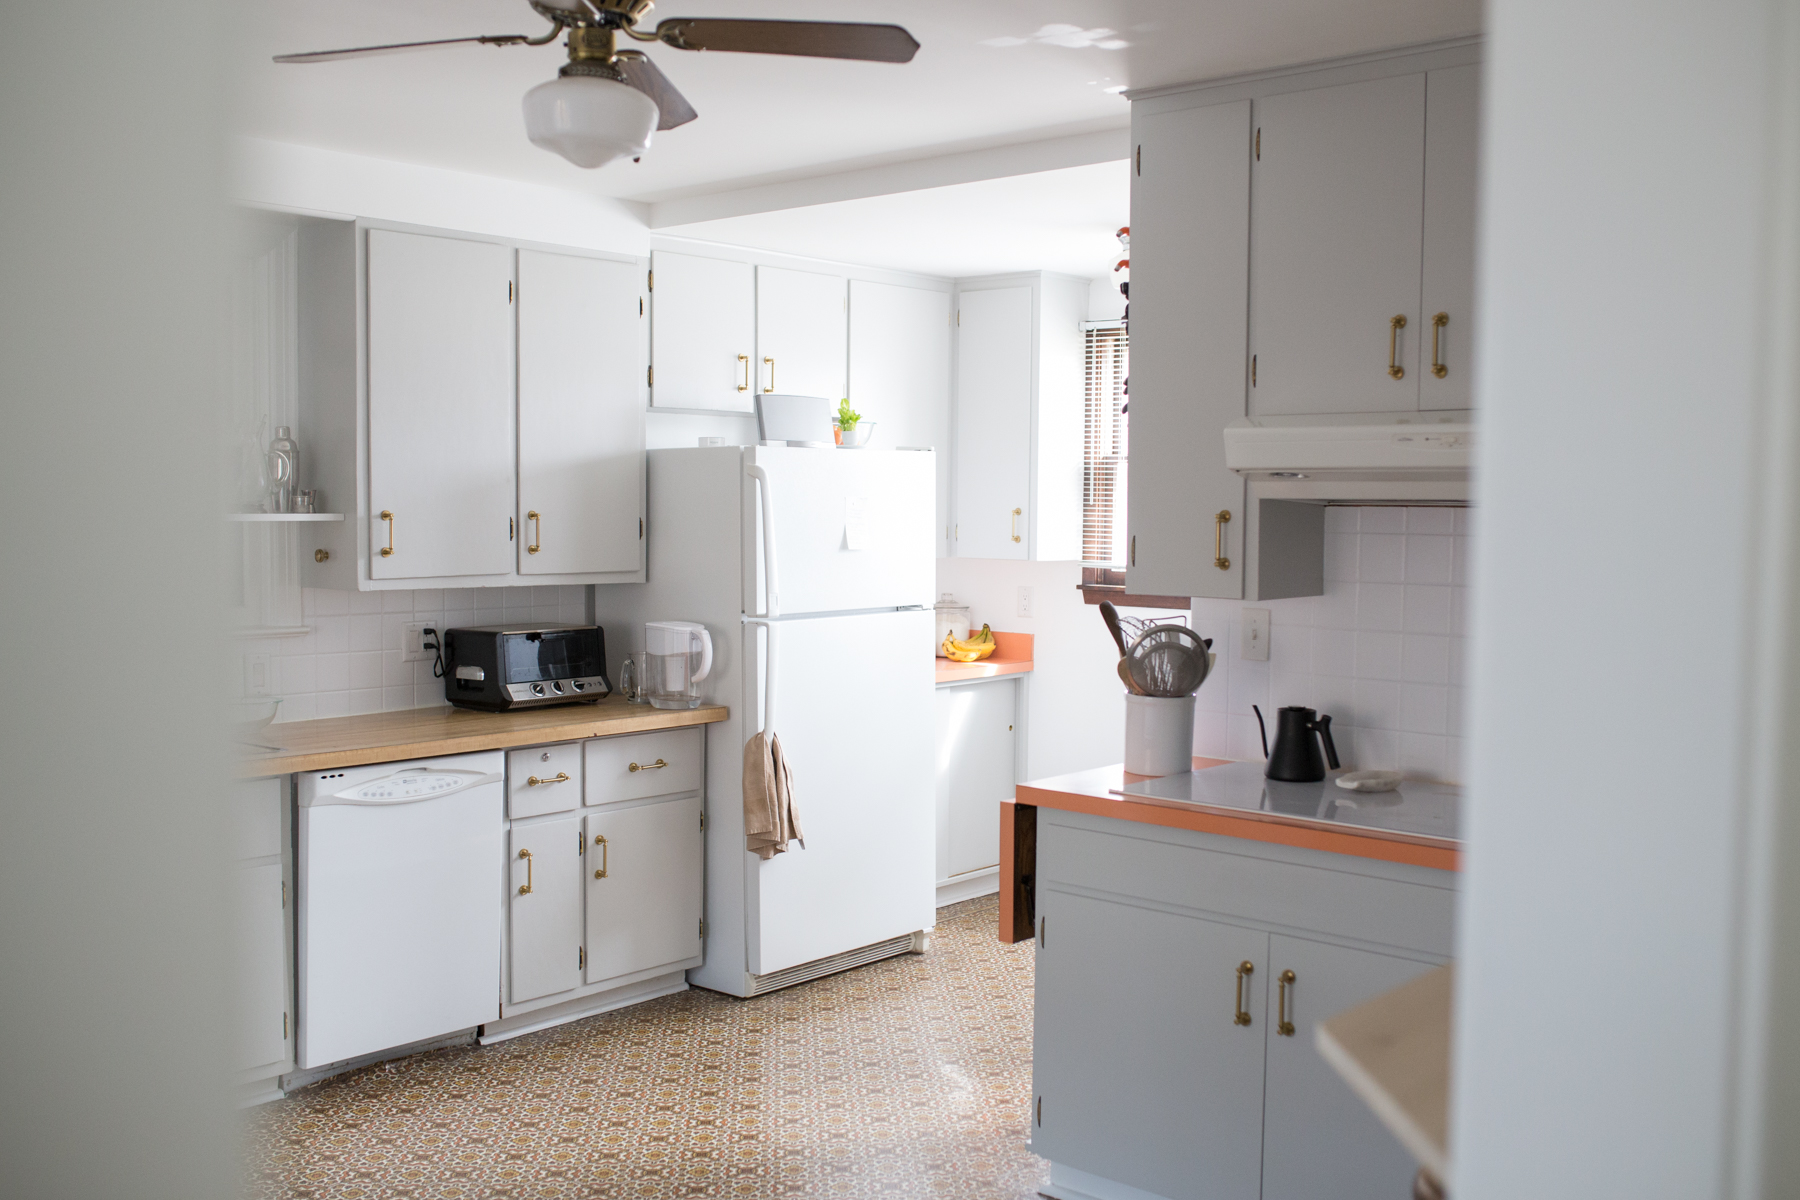
And then you you crossed the threshold into the kitchen and time traveled to 1973. The colors du jour? Brown, mustard yellow and coral. All together. At the same time. In one place. I learned quickly that the only way to find something you drop on the mezzanine floor is to inevitably step on it. "Cave" was an appropriate adjective. And while it was big, that just meant there was more room for ugly.
After almost 5 years, I decided it was time to bring our kitchen into the 21st century and add the word "fresh" and "pretty" to it's descriptions. We calculated what a proper renovation would cost (e.g. new cabinets, appliances, bump out the bathroom, move the stairs, etc.) and decided it would be more fiscally responsible to pay off the mortgage first, but for now, we spent enough to transform its appearance. Translated: just enough to enjoy looking at it for another decade or two.
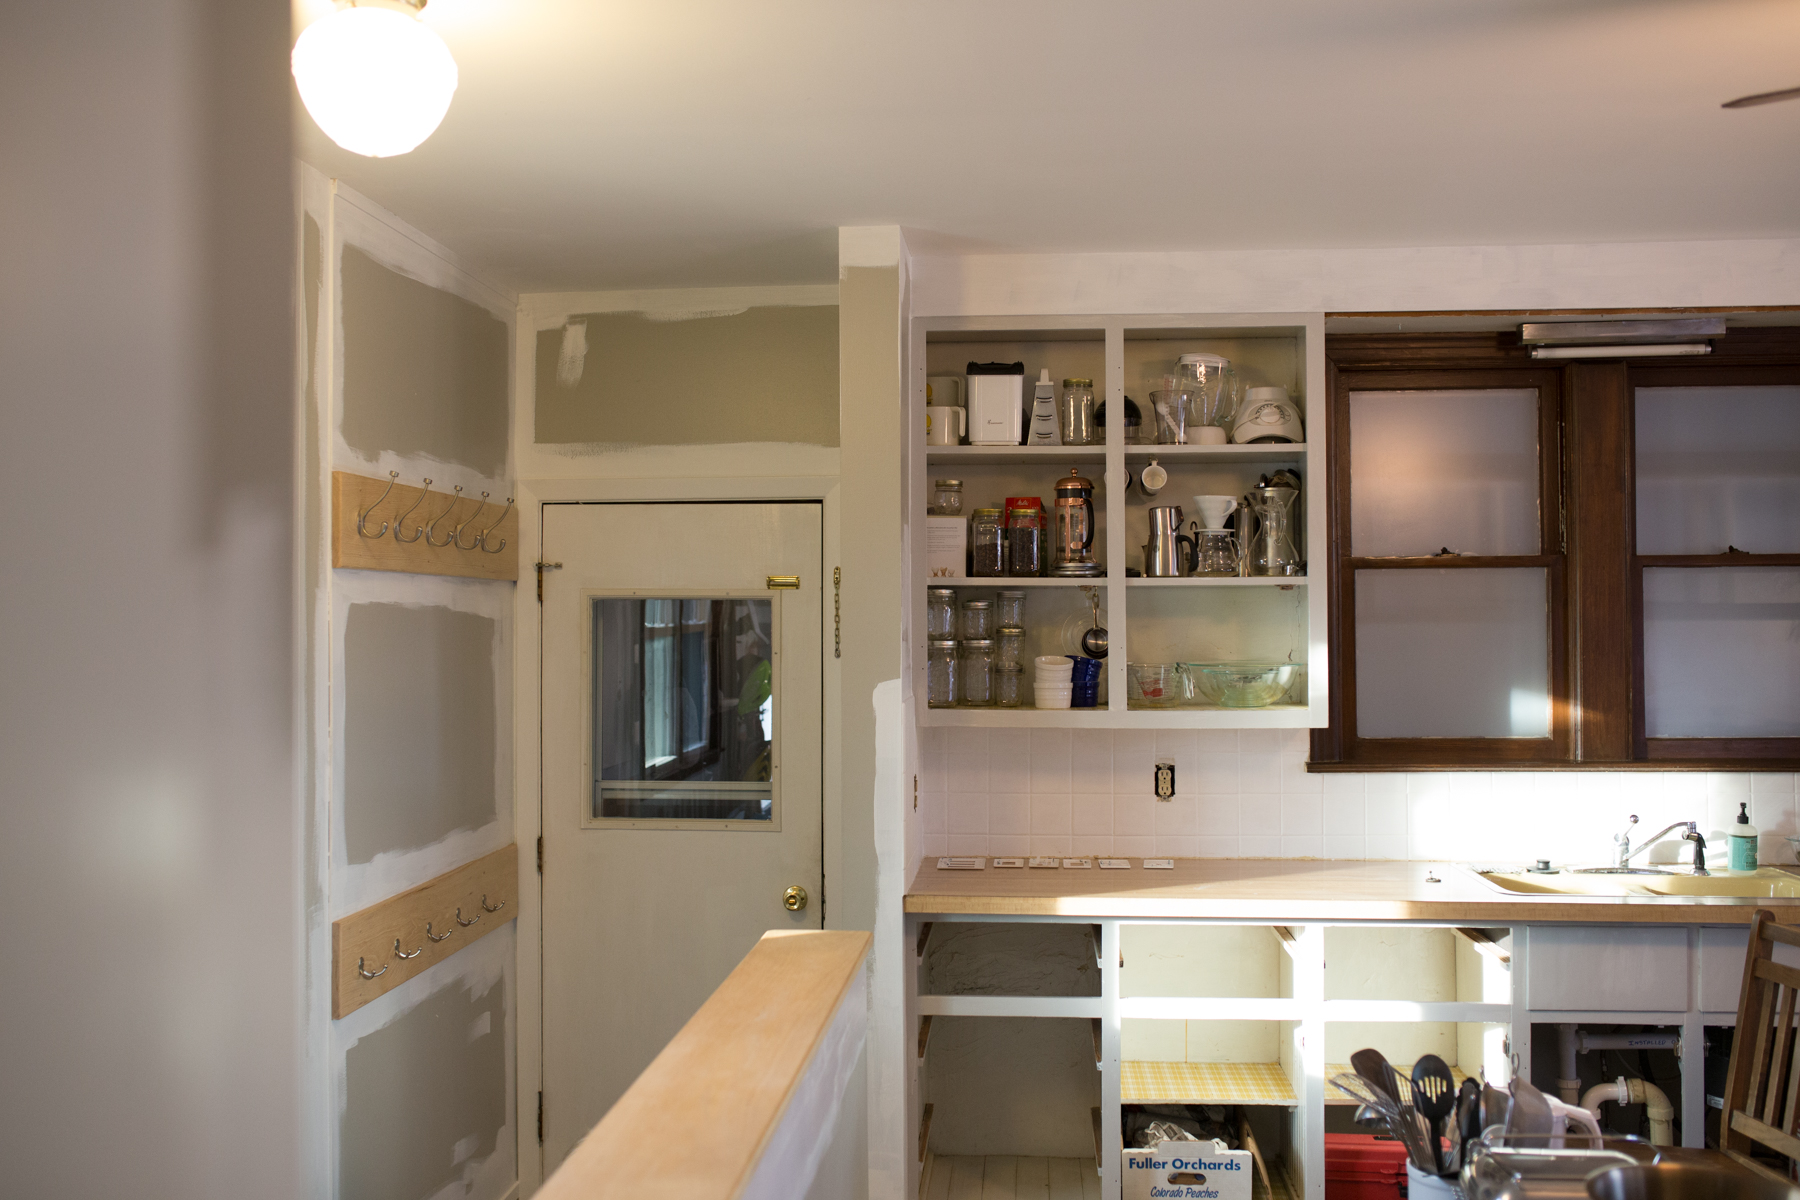
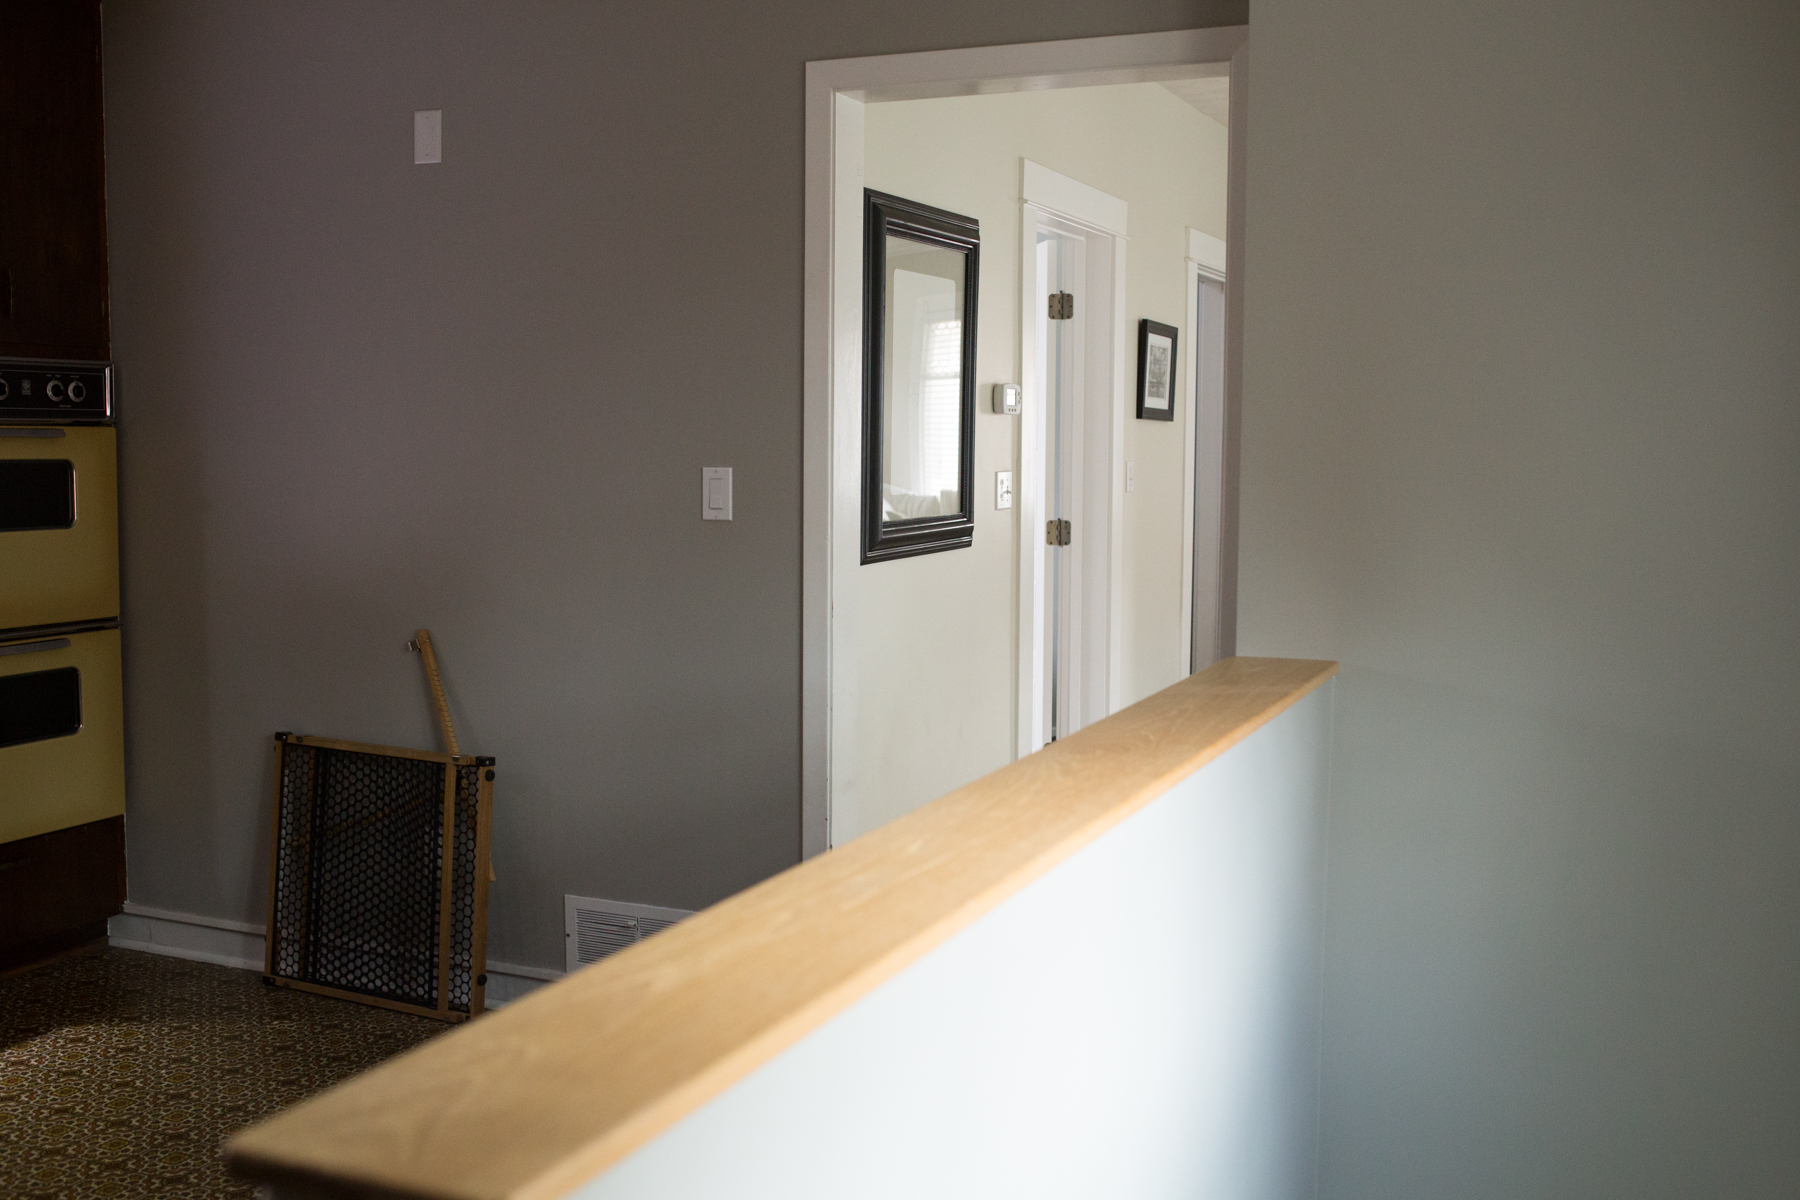
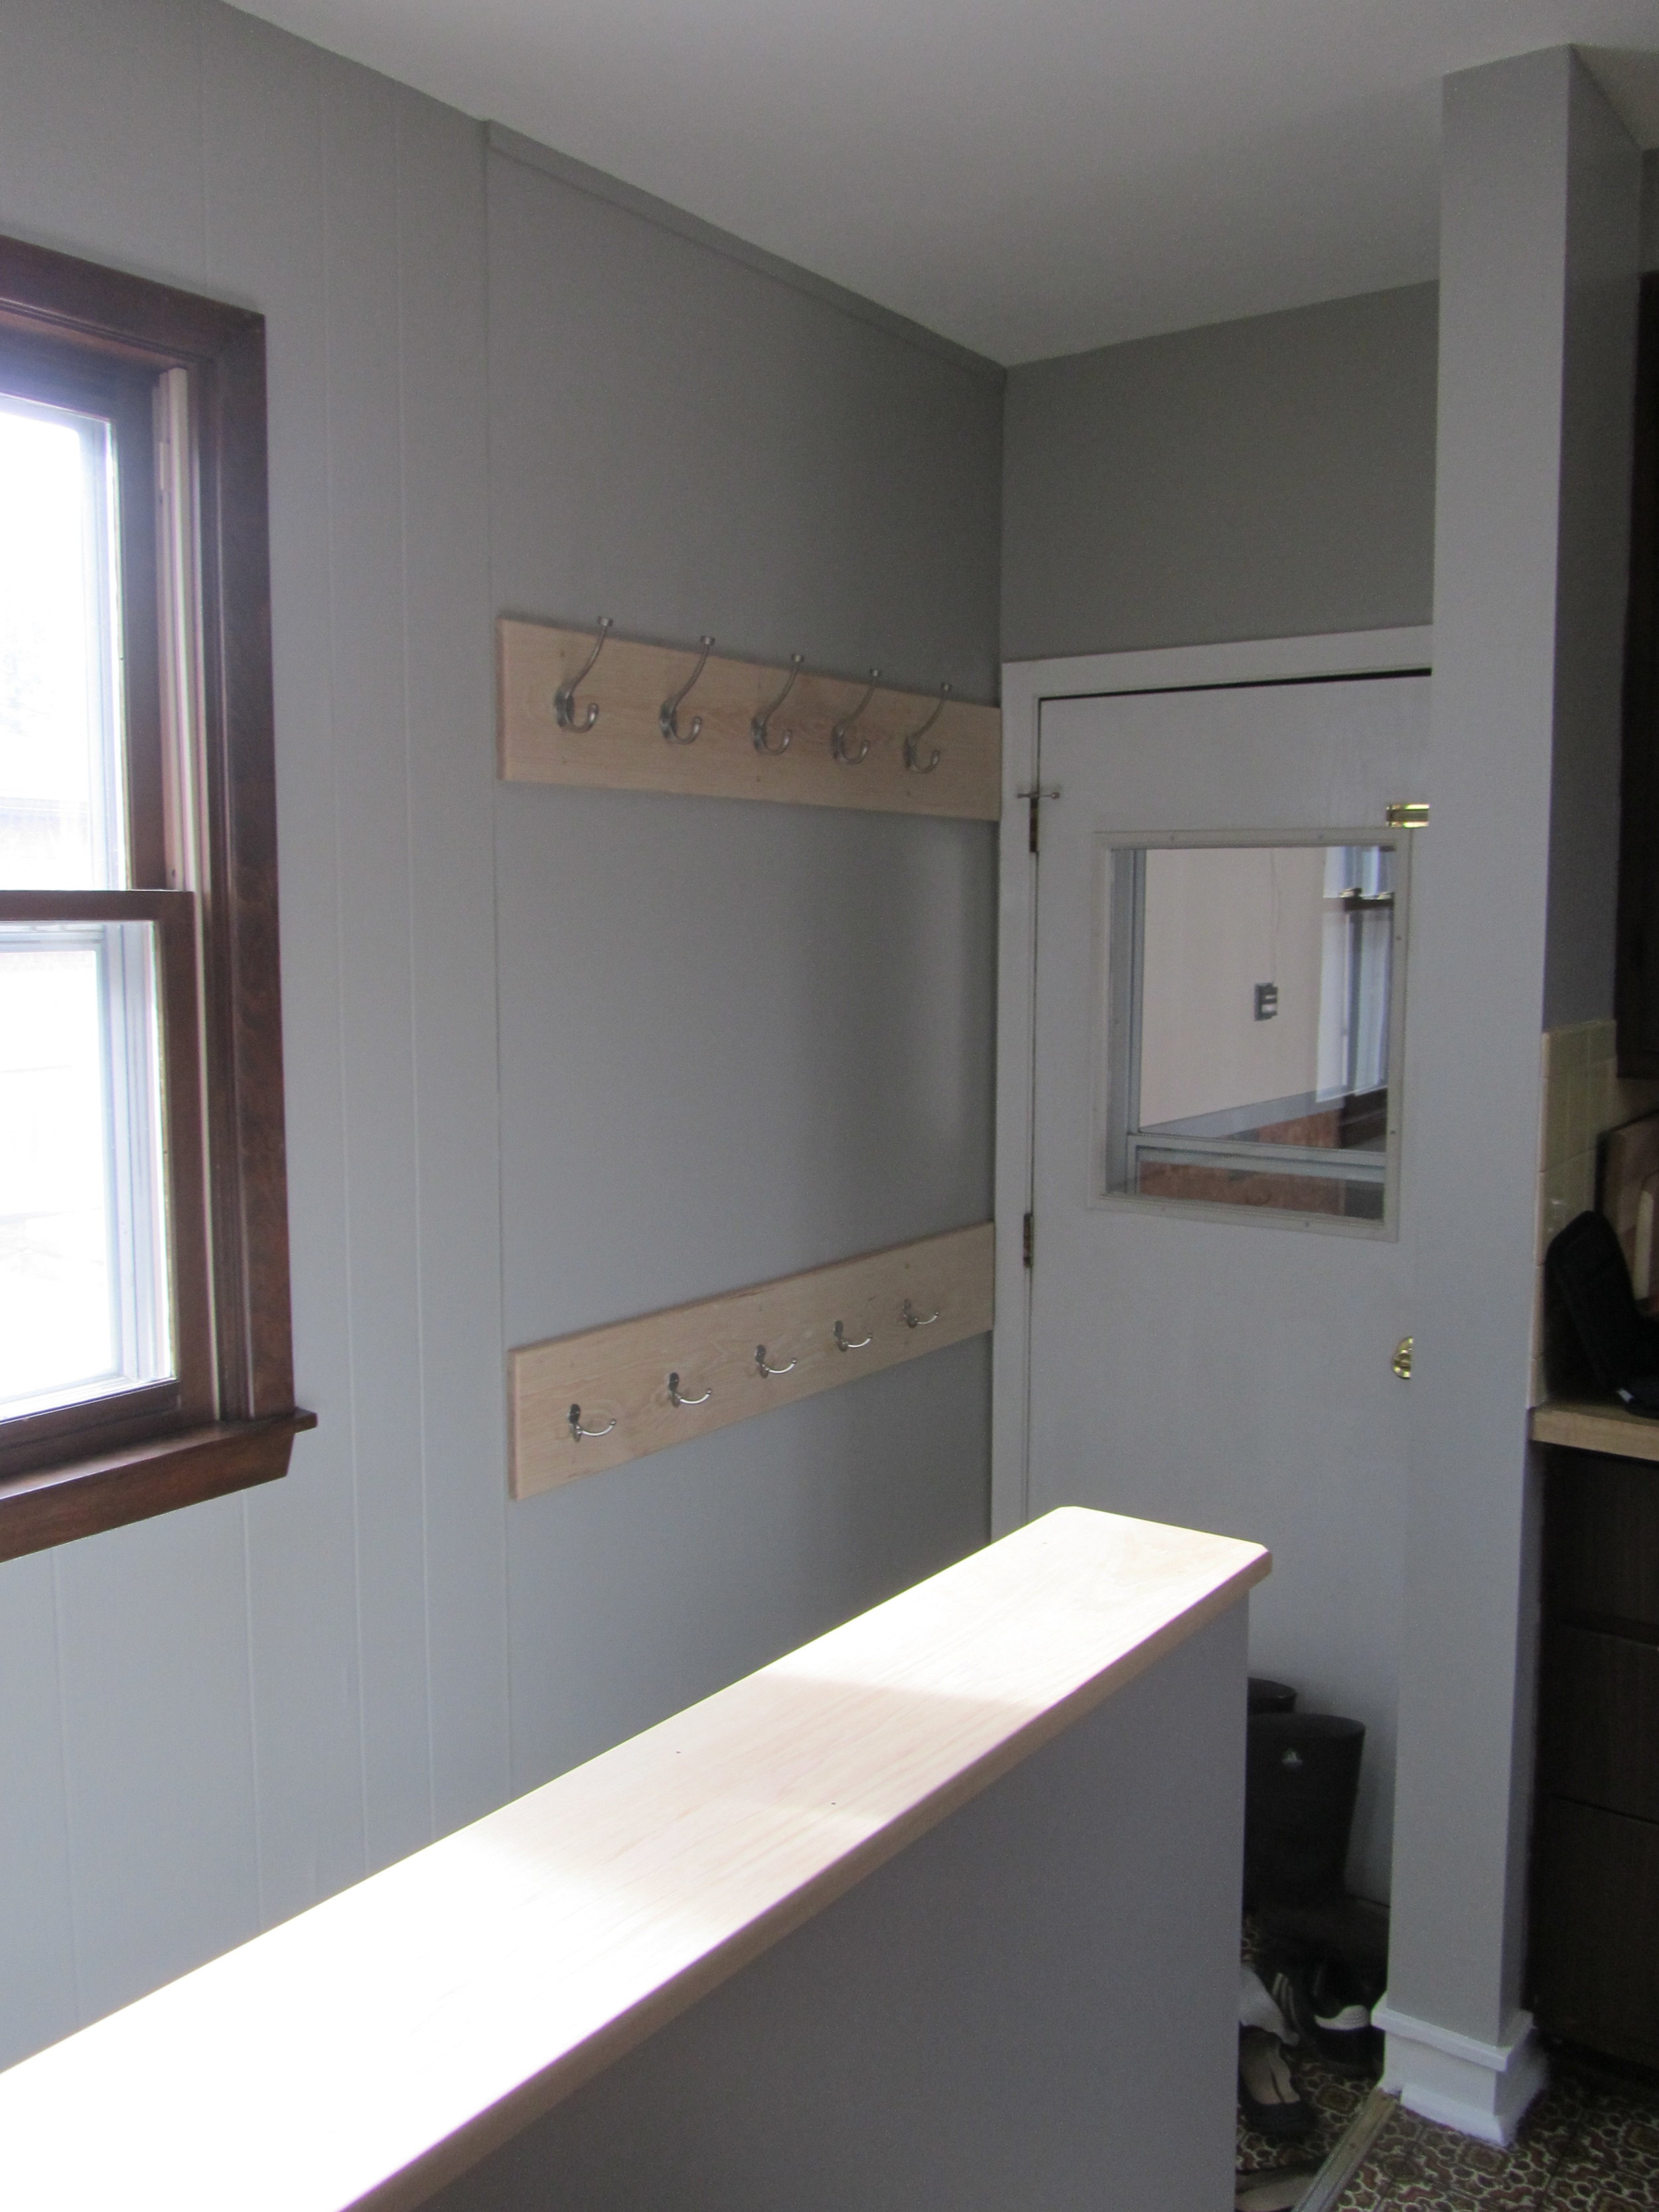
If you remember, we did a fair amount of work to it when we moved in, taking down wall paper, built ins, a wrought iron rail, and installing a half wall, coat racks, and painting.
Observe:


While this was certainly an improvement, there was definitely more to do. Case in point:

AAAAAAAAAAAAHHHHHHHHHH!!!!!!!! RUN AWAY!!!!!!!
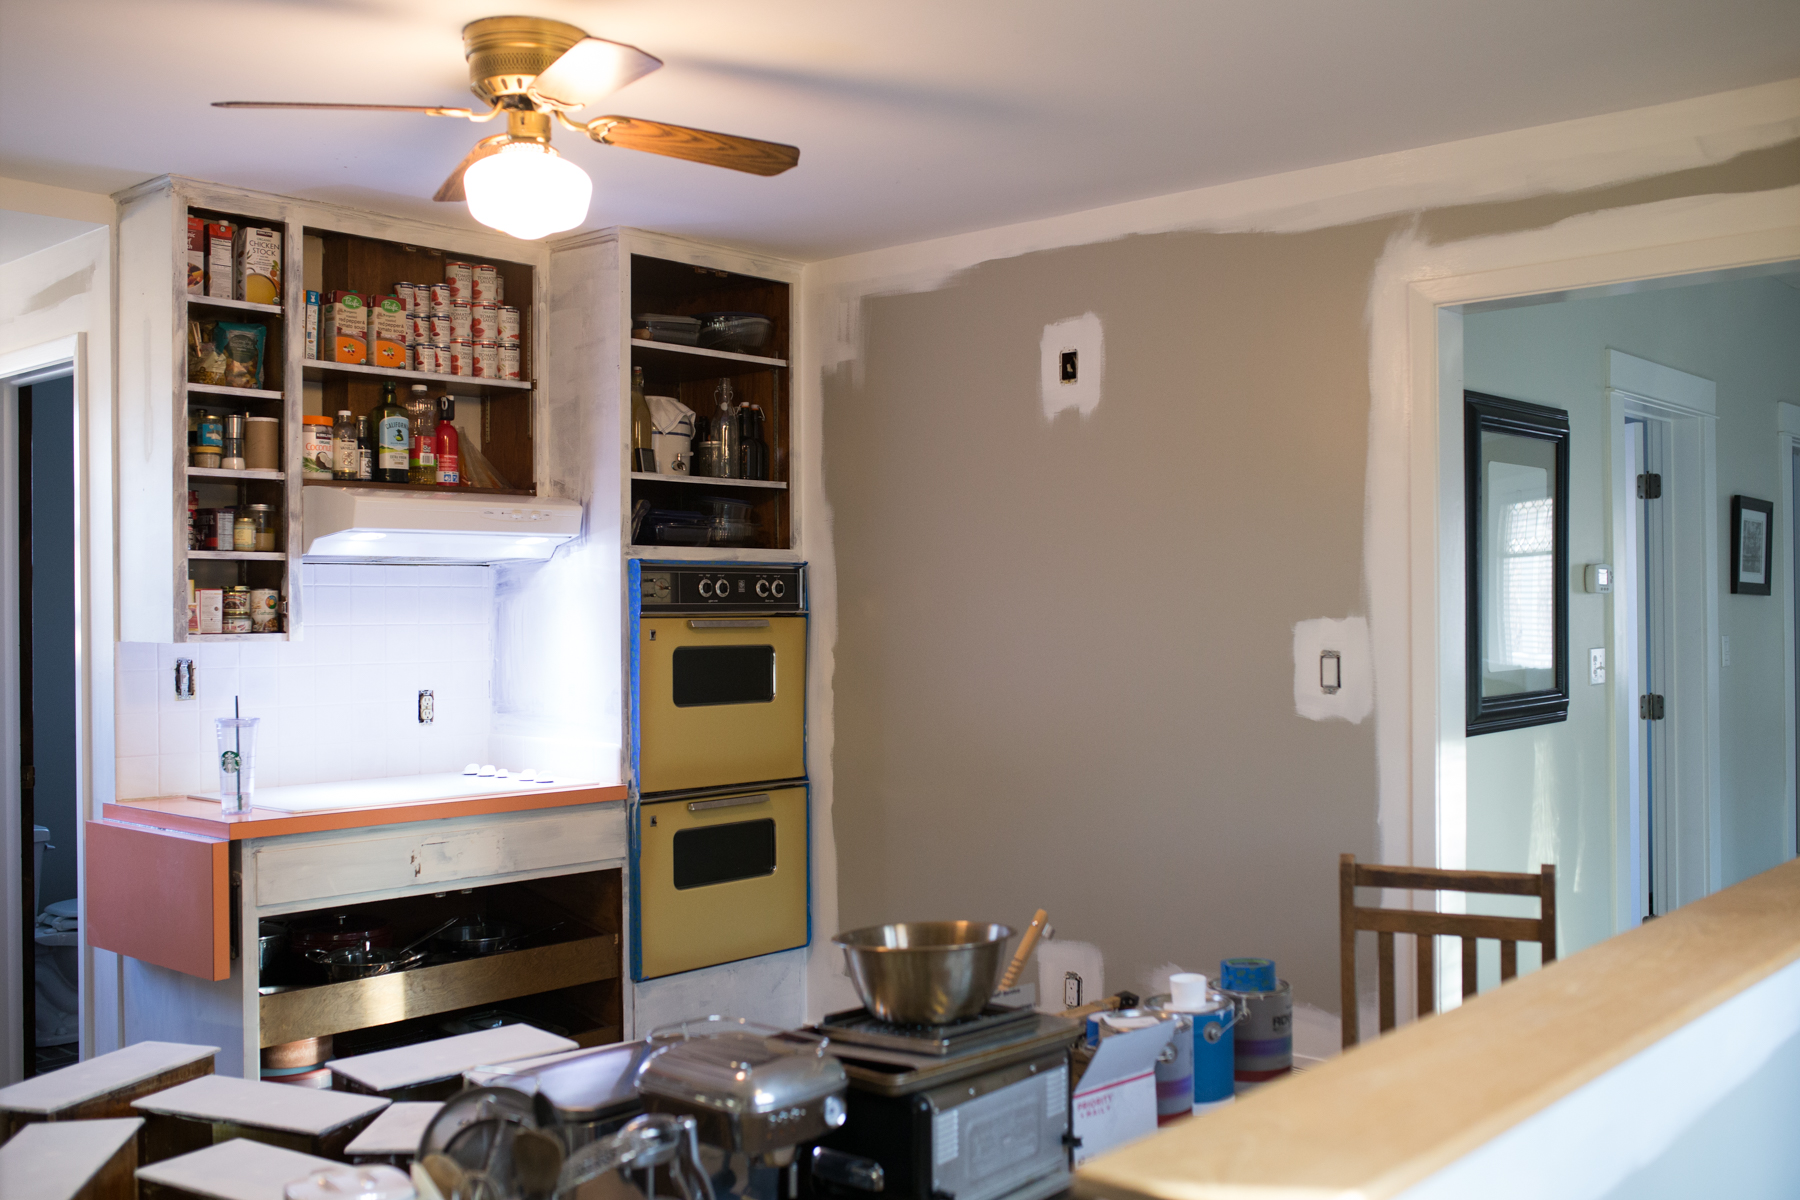
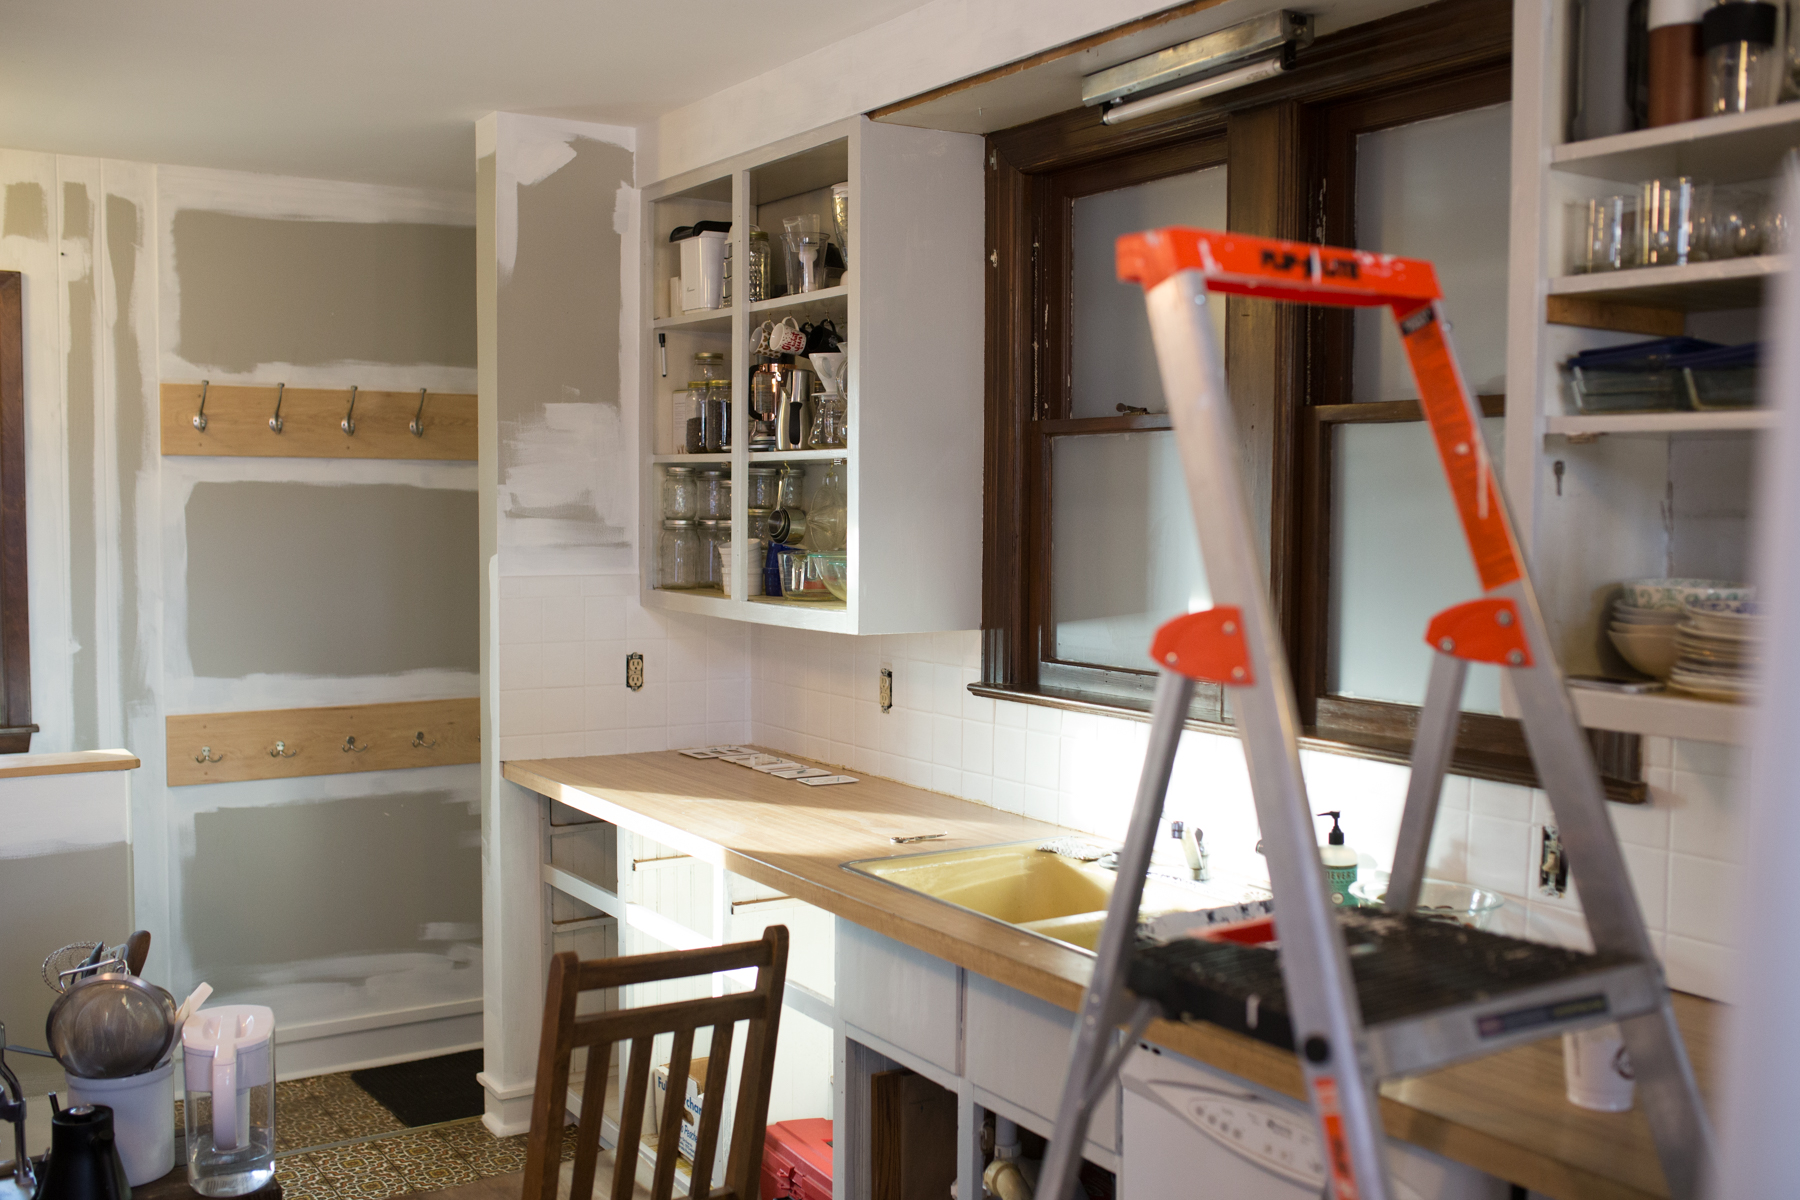
This January, my friend Tracy became the catalyst for updating the kitchen. "I have some PTO to take - want me to come up for a couple of days and help you paint the kitchen?" HECK. YES. Then my other friend Elena hopped into the mix, my mom watched the kids for a couple of days, and we rocked and rolled that brown/yellow away!
Things I learned? You will always need more paint than you think. Vinyl spackling is your BFF. Paint fumes + a cold = a wicked bout of bronchitis. It pays to know your local paint store expert. Always hire an electrician. Strategize the order in which you tackle your projects.
I did not do everything in this order, however, this is the order in which I wish I had:
Remove grout around counters.
Prime & paint tile. We do not have what it takes to tile. Awhile ago my MIL recommended STIX so I gave the tile 2-3 coats and then a few coats of semi-gloss paint for easy cleaning. Magic! Not a scratch (yet).
New grout.
Beg dad to take down the brown wooden wavy thing above the sink.
Tape floors around baseboards.
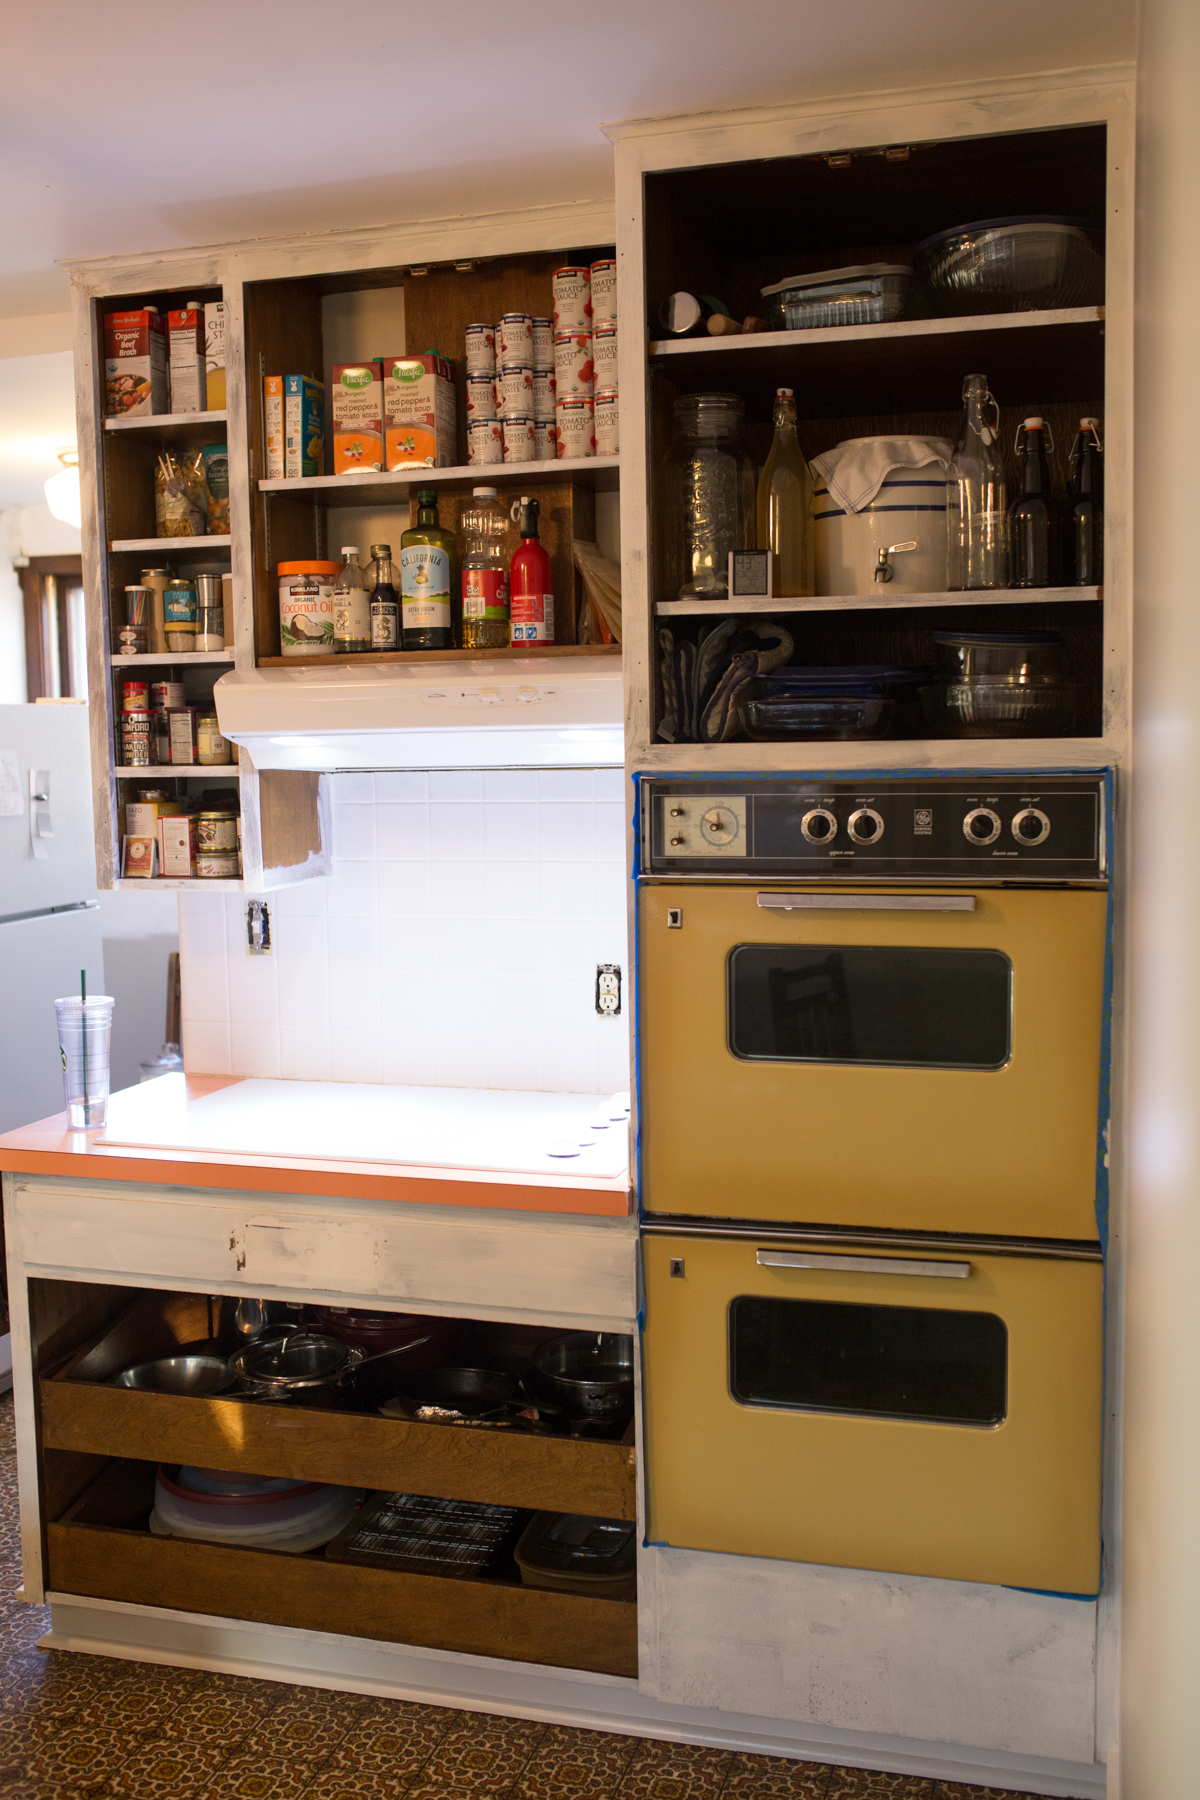
Vinyl spackle everything. Every hole, crack and crevice visible to the naked eye. It makes your project look finished. Love DAP's found here.
Prime (STIX) and paint (Benjamin Moore ADVANCE in white) trim.
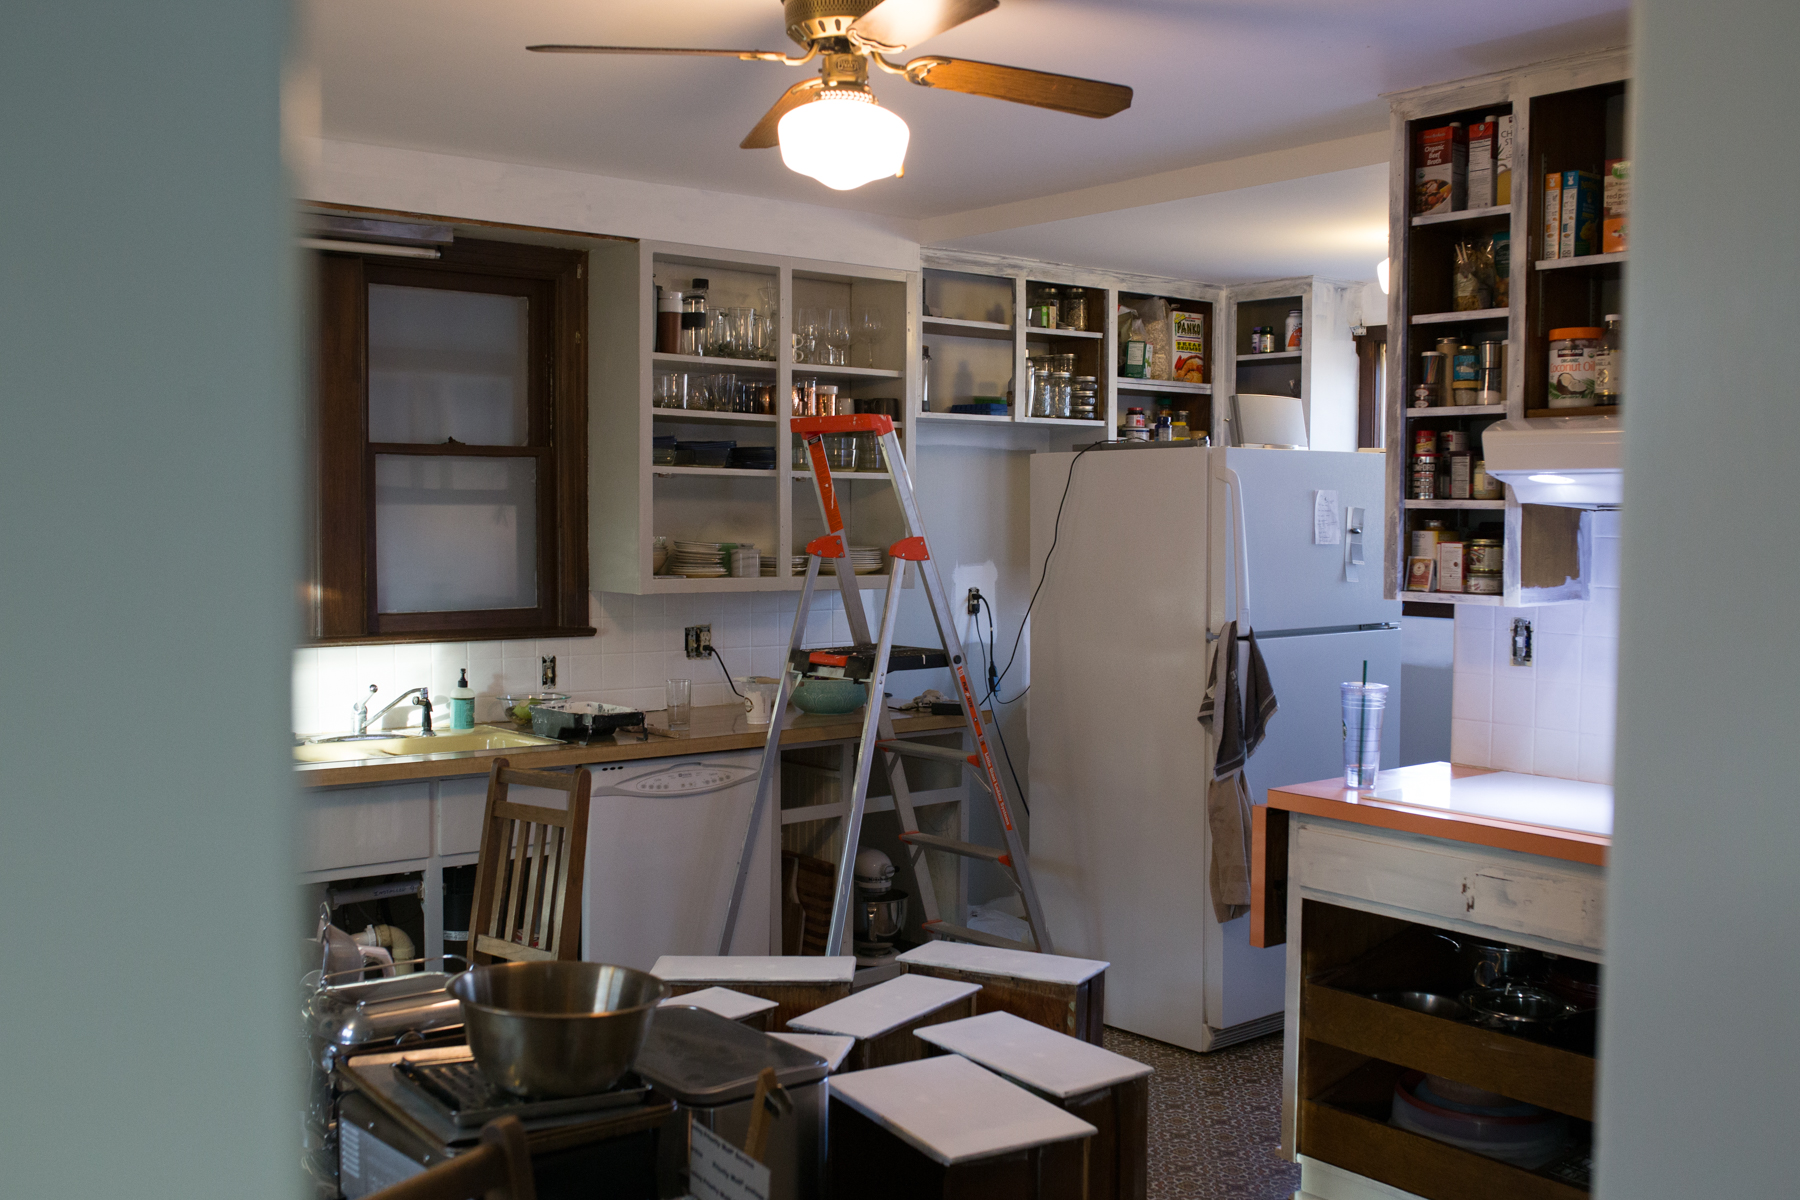
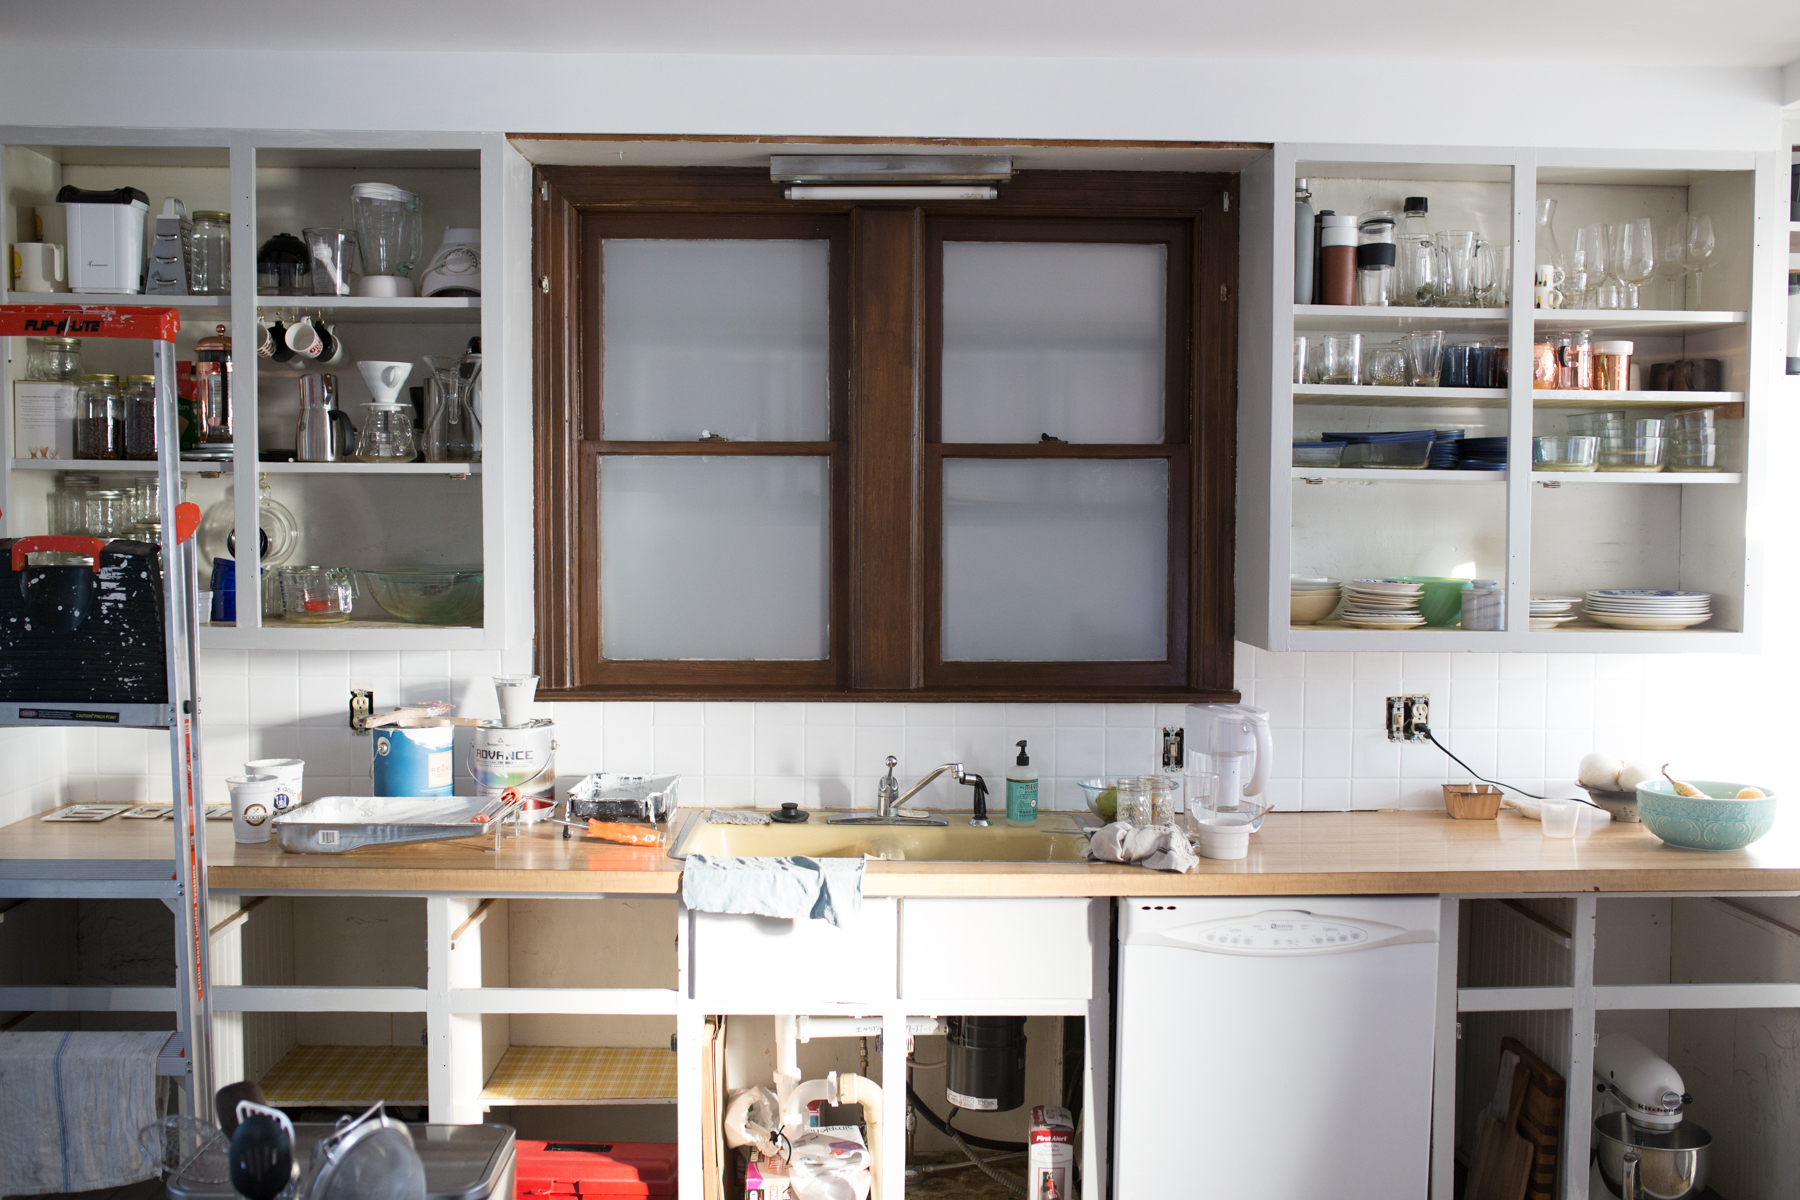
Remove cupboard doors and hardware. Migrate and set up in basement for painting.
Fill holes in cupboard doors. Drill new ones. (Hardware dimensions changed from 3" to 4")
Lightly sand and clean cupboard doors.
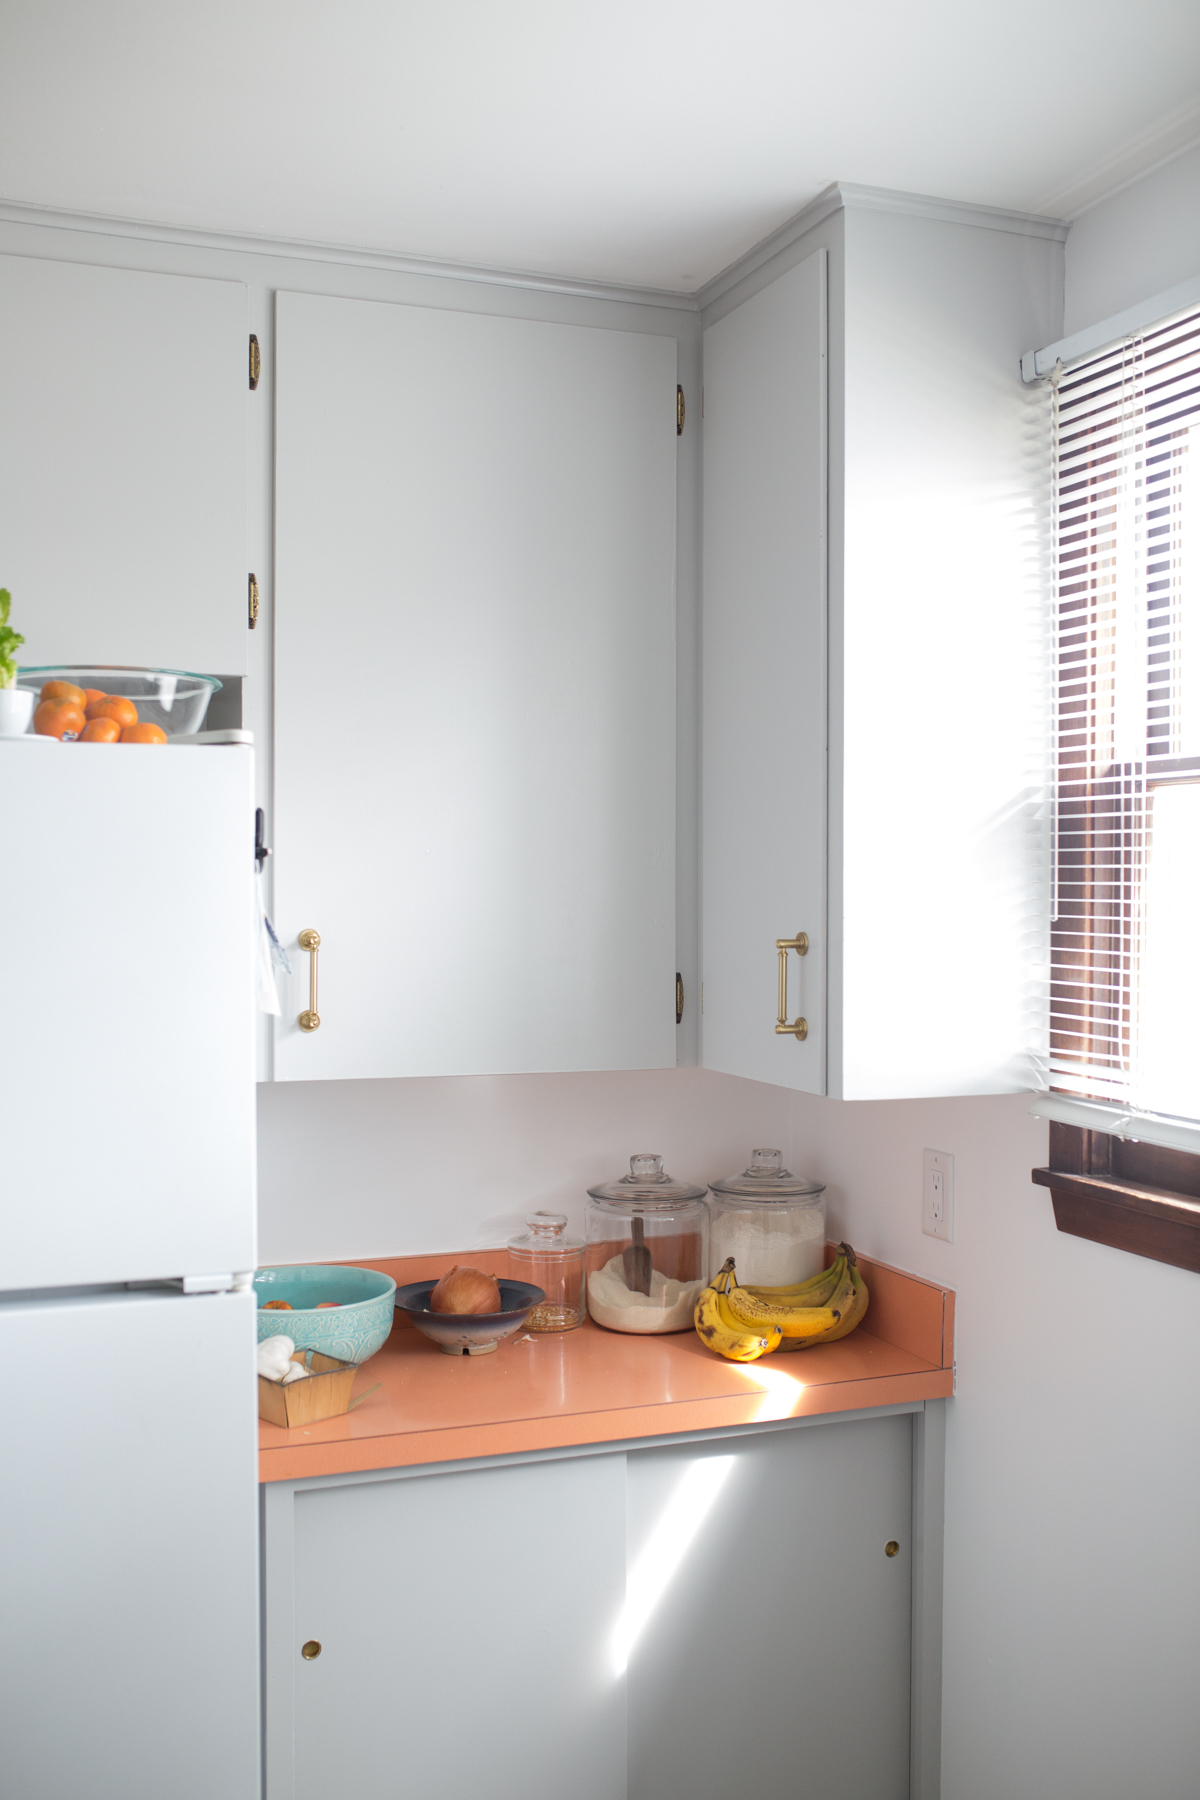
Prime and paint doors and cabinetry.
Prime and paint walls. (It took three coats of Benjamin Moore's Chantilly Lace! Bonnie at Carnes Paint here in Blair told me there was so little pigment in it that it takes a few to cover something as dark as the grey I had before. Wish I had primed it in white first!)
Spackle, prime, and paint the window above the sink. Cut and adhered frosted glass adhesive.
Install cabinet pulls and hinges. (I was able to deep clean some of our old vintage hinges to reapply, but we still had to buy a dozen new ones.)
Install cabinet doors.
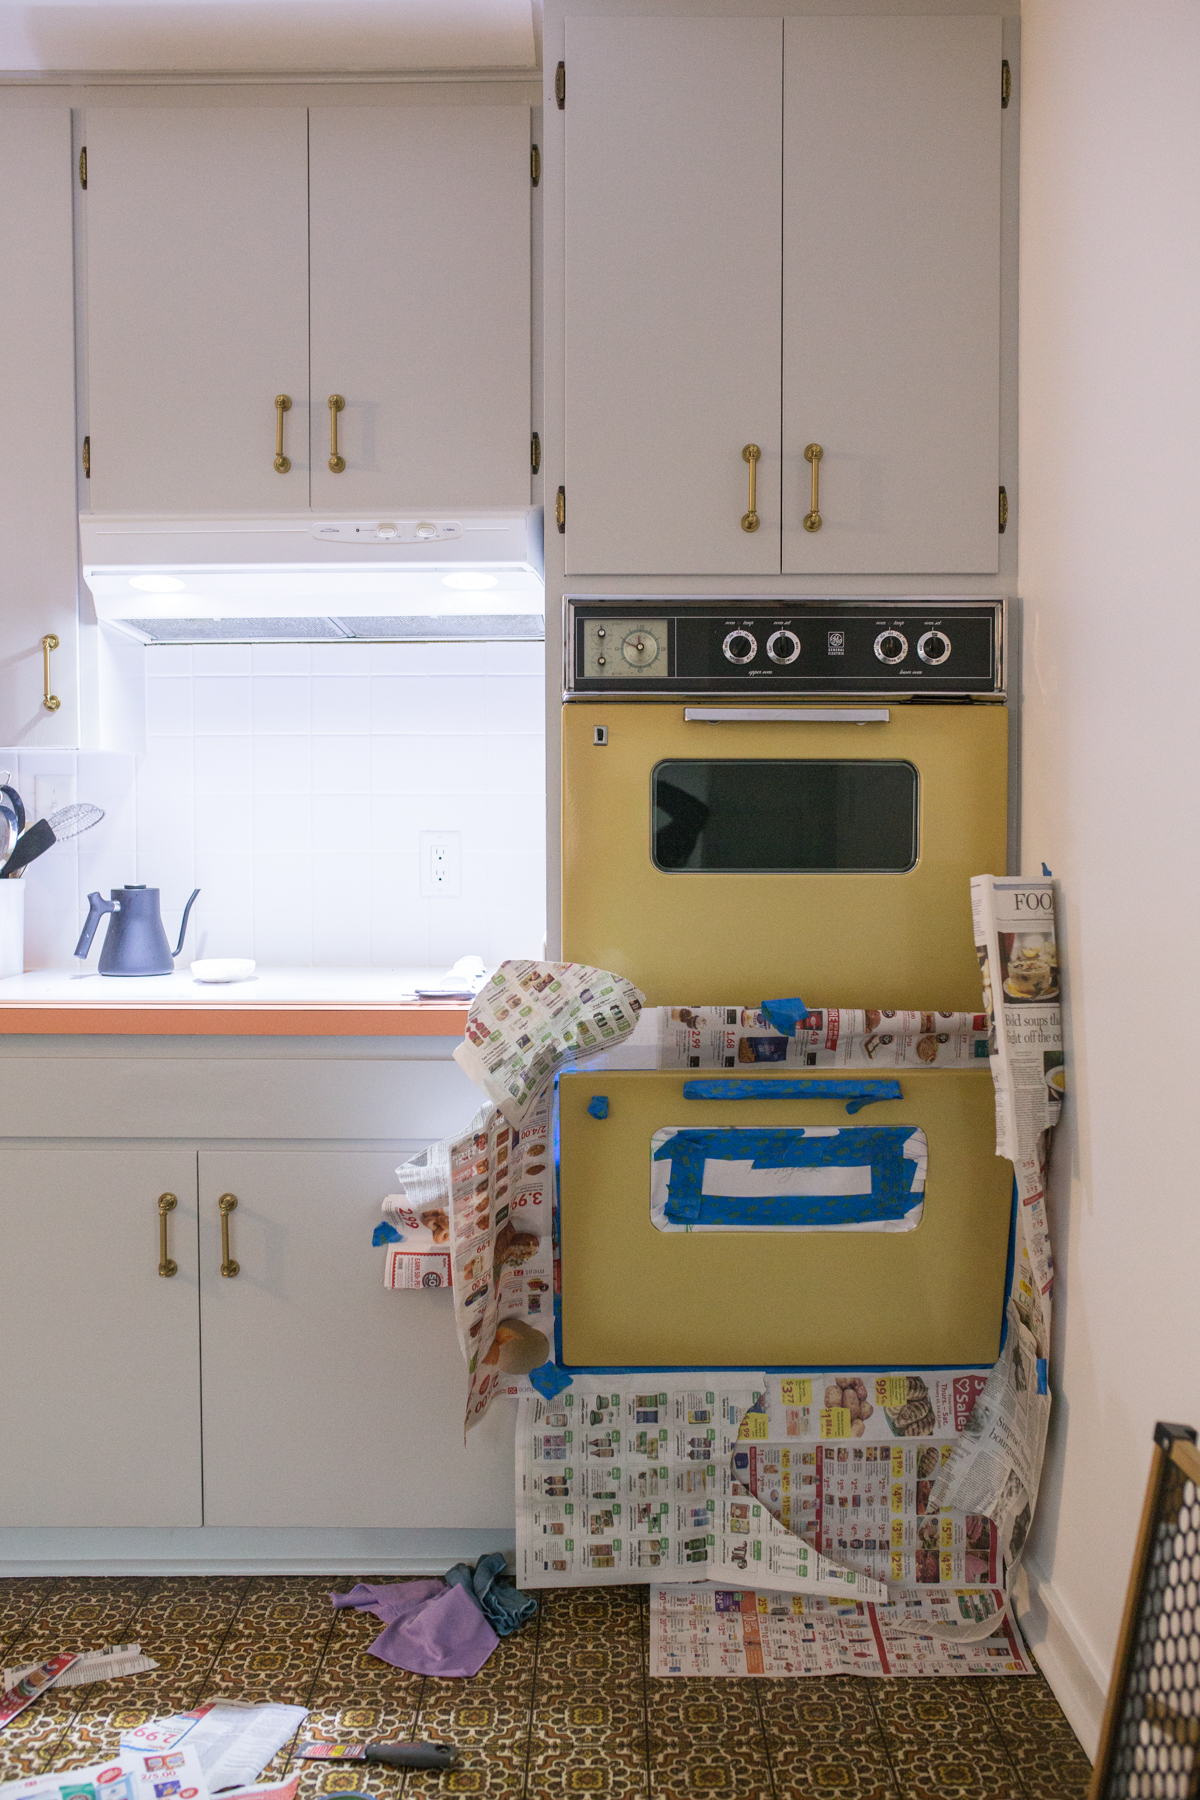
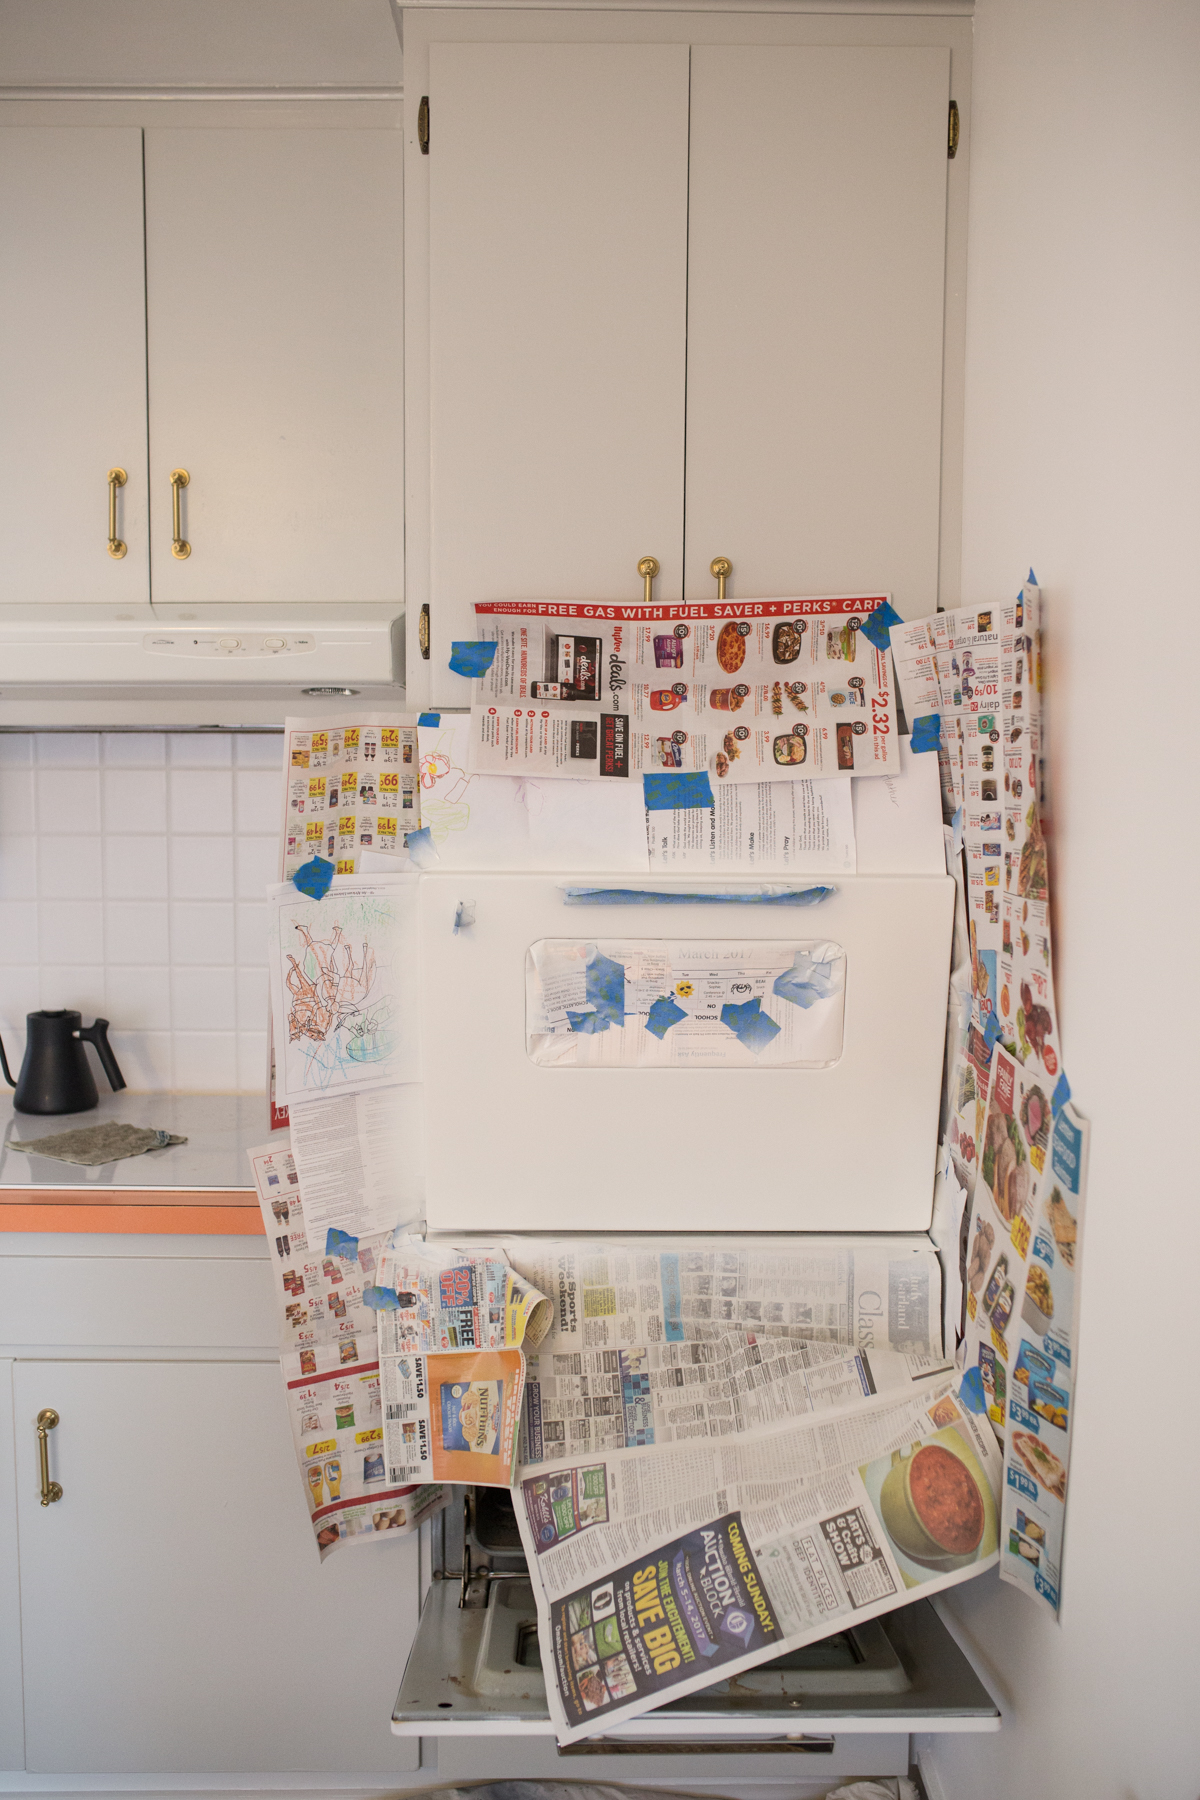
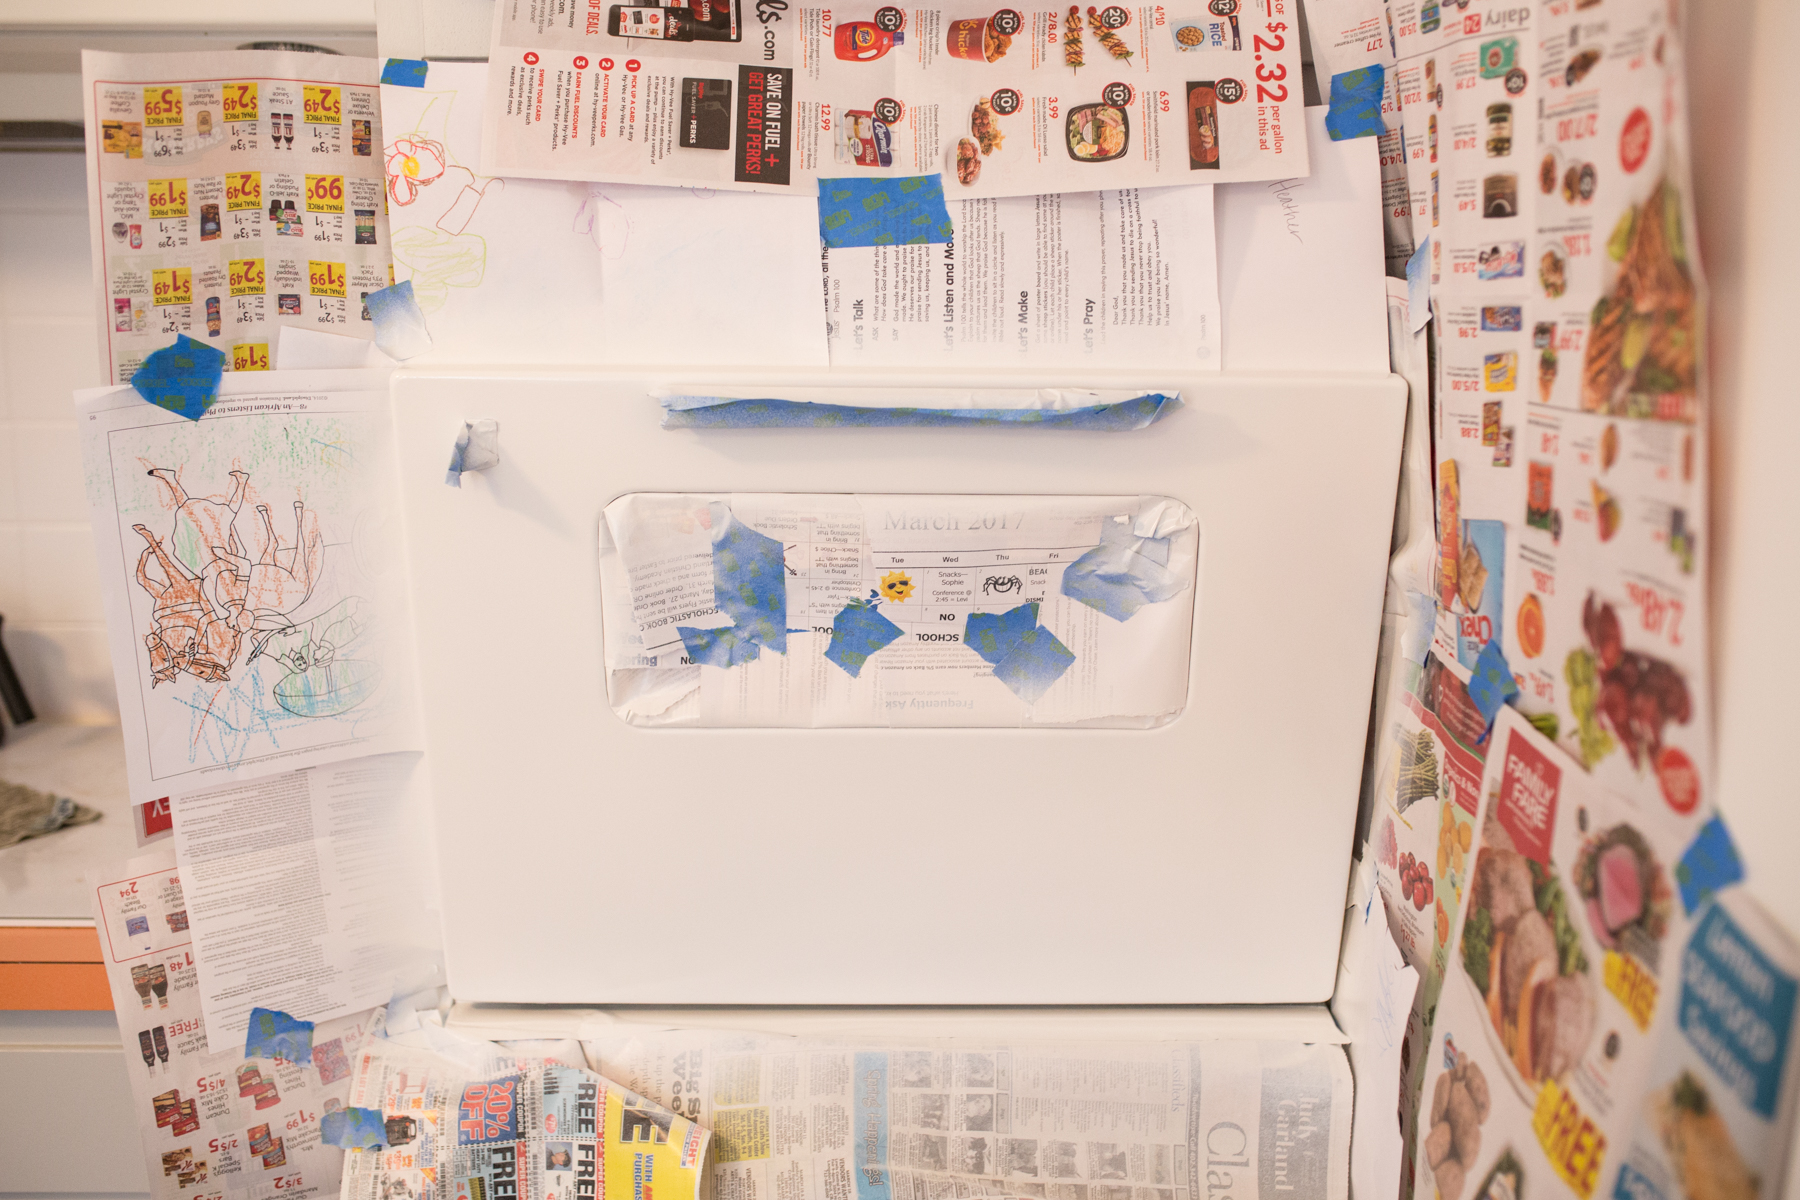
Taped off and spray painted ovens with a high heat resistant spray paint. (Taping it perfectly is super important. You should spend more time being precise on that than painting. The spray paint takes 15-20 light coats. Like, really light, otherwise it'll drip. Tons of fumes so open windows for cross ventilation.)
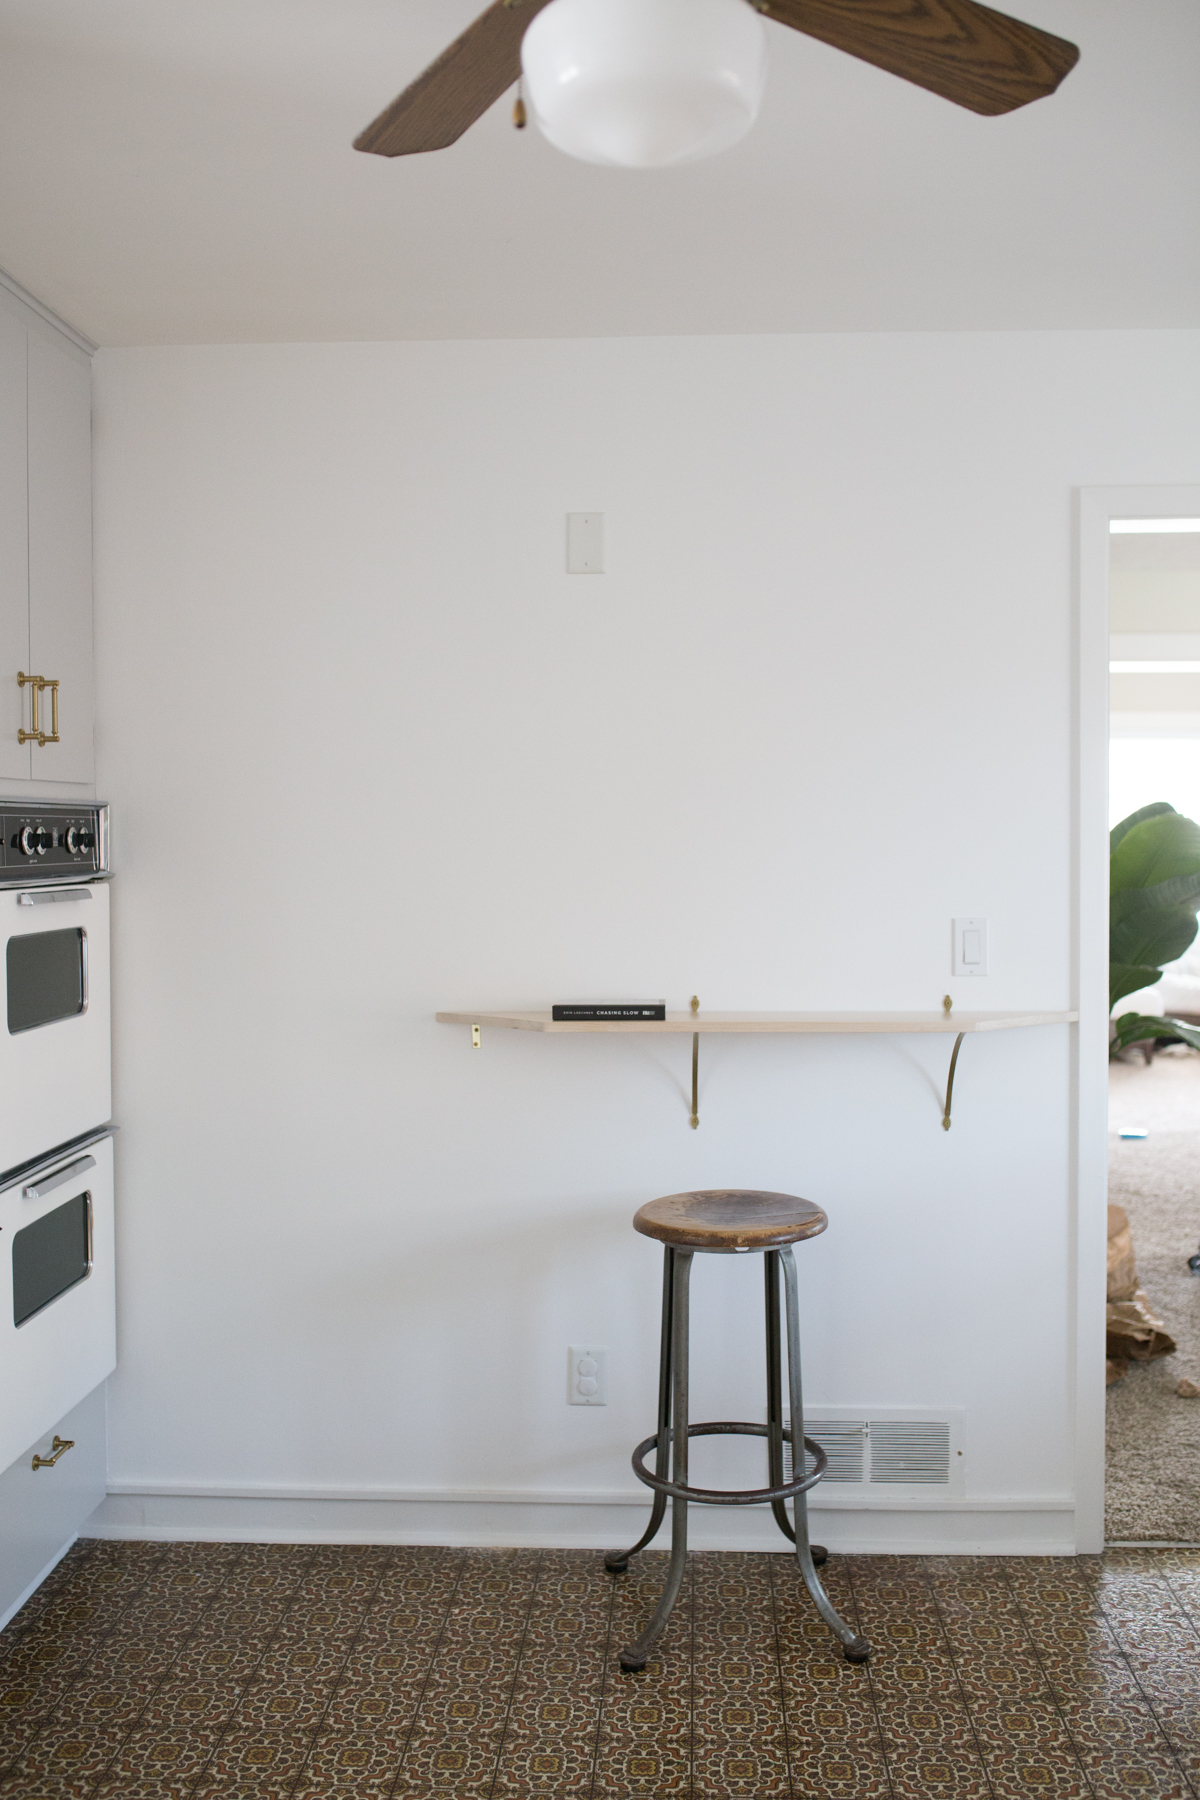
Went to our local millwork to have a couple of poplar boards and quarter round cut. Sanded and painted one board for a shelf above the sink along with the quarter round to cover the exposed section where the wavy thing was. Cut, sanded, stained (Minwax Pickled Oak) and sealed (Minwax Polycrylic in Clear Matte) the other board for our new coffee bar.
Beg husband to install said boards as shelves with super cute brass brackets from Anthropologie. Bribe husband with many things. Be helpful and encouraging. Vow to never do this again. Ever.
Paid Fremont Electric (Lyle Tenyeck is the best in Blair) to update our outlets and light fixture. (Fixture and bulb from Lowe's.)
Sanded, stained, and sealed the banister top with the Minwax products linked in #17.
Total time displaced from the kitchen? Two days. It looked like our cupboards exploded into the dining room, but overall, not too shabby!
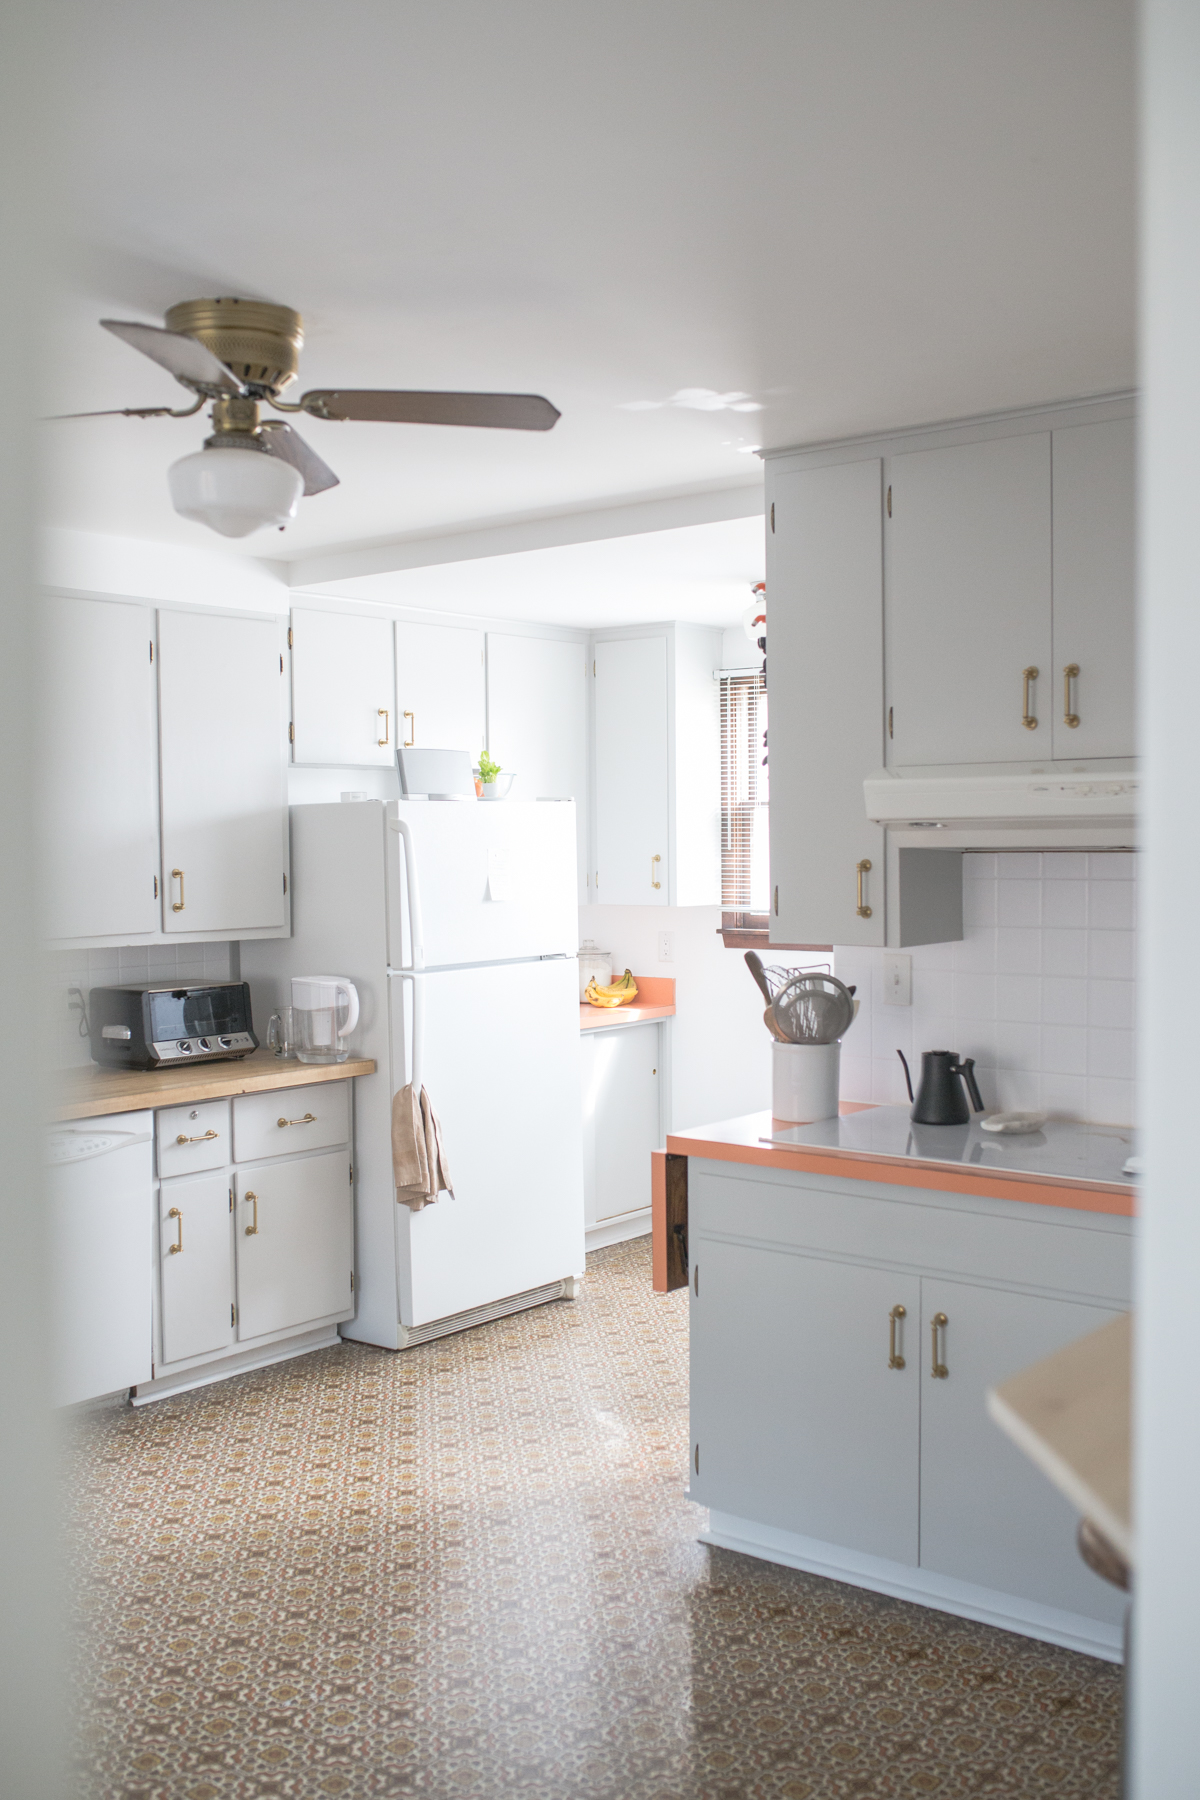
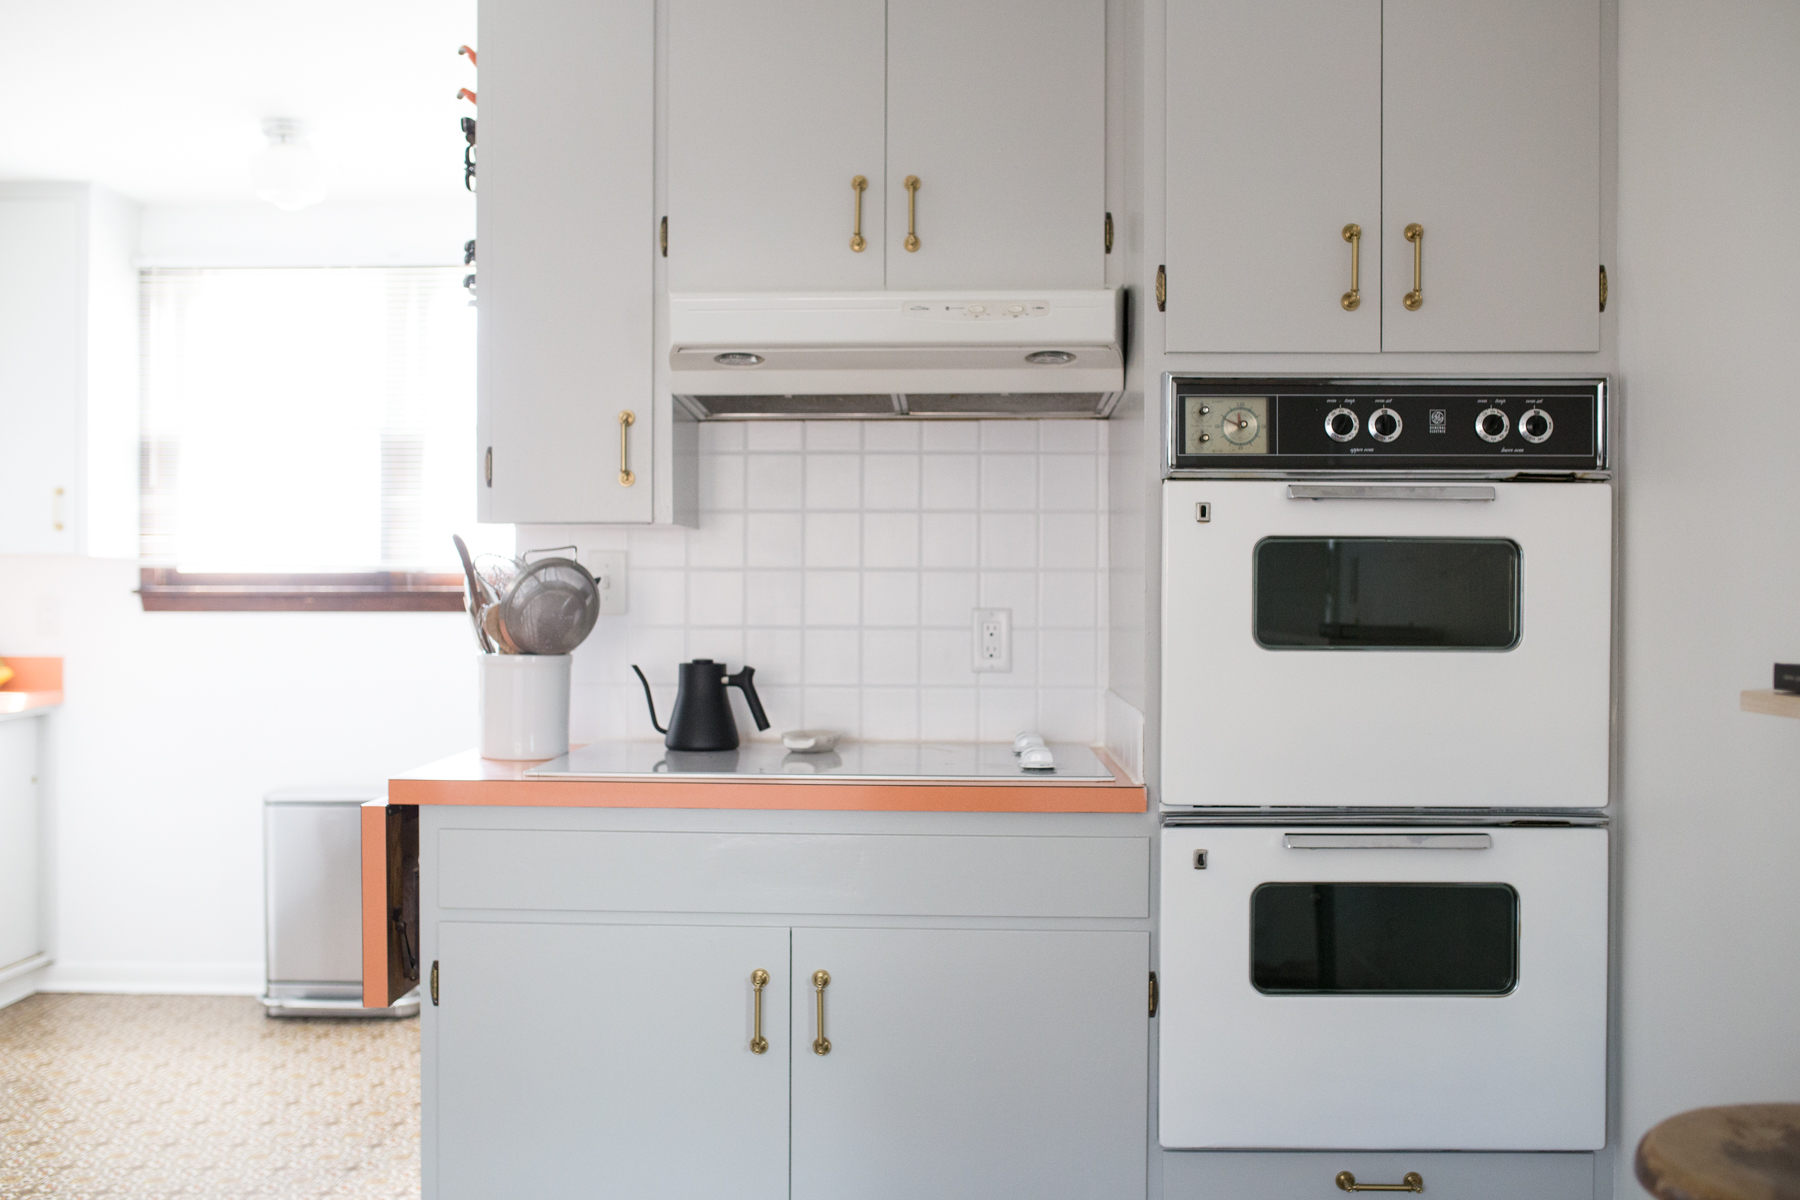
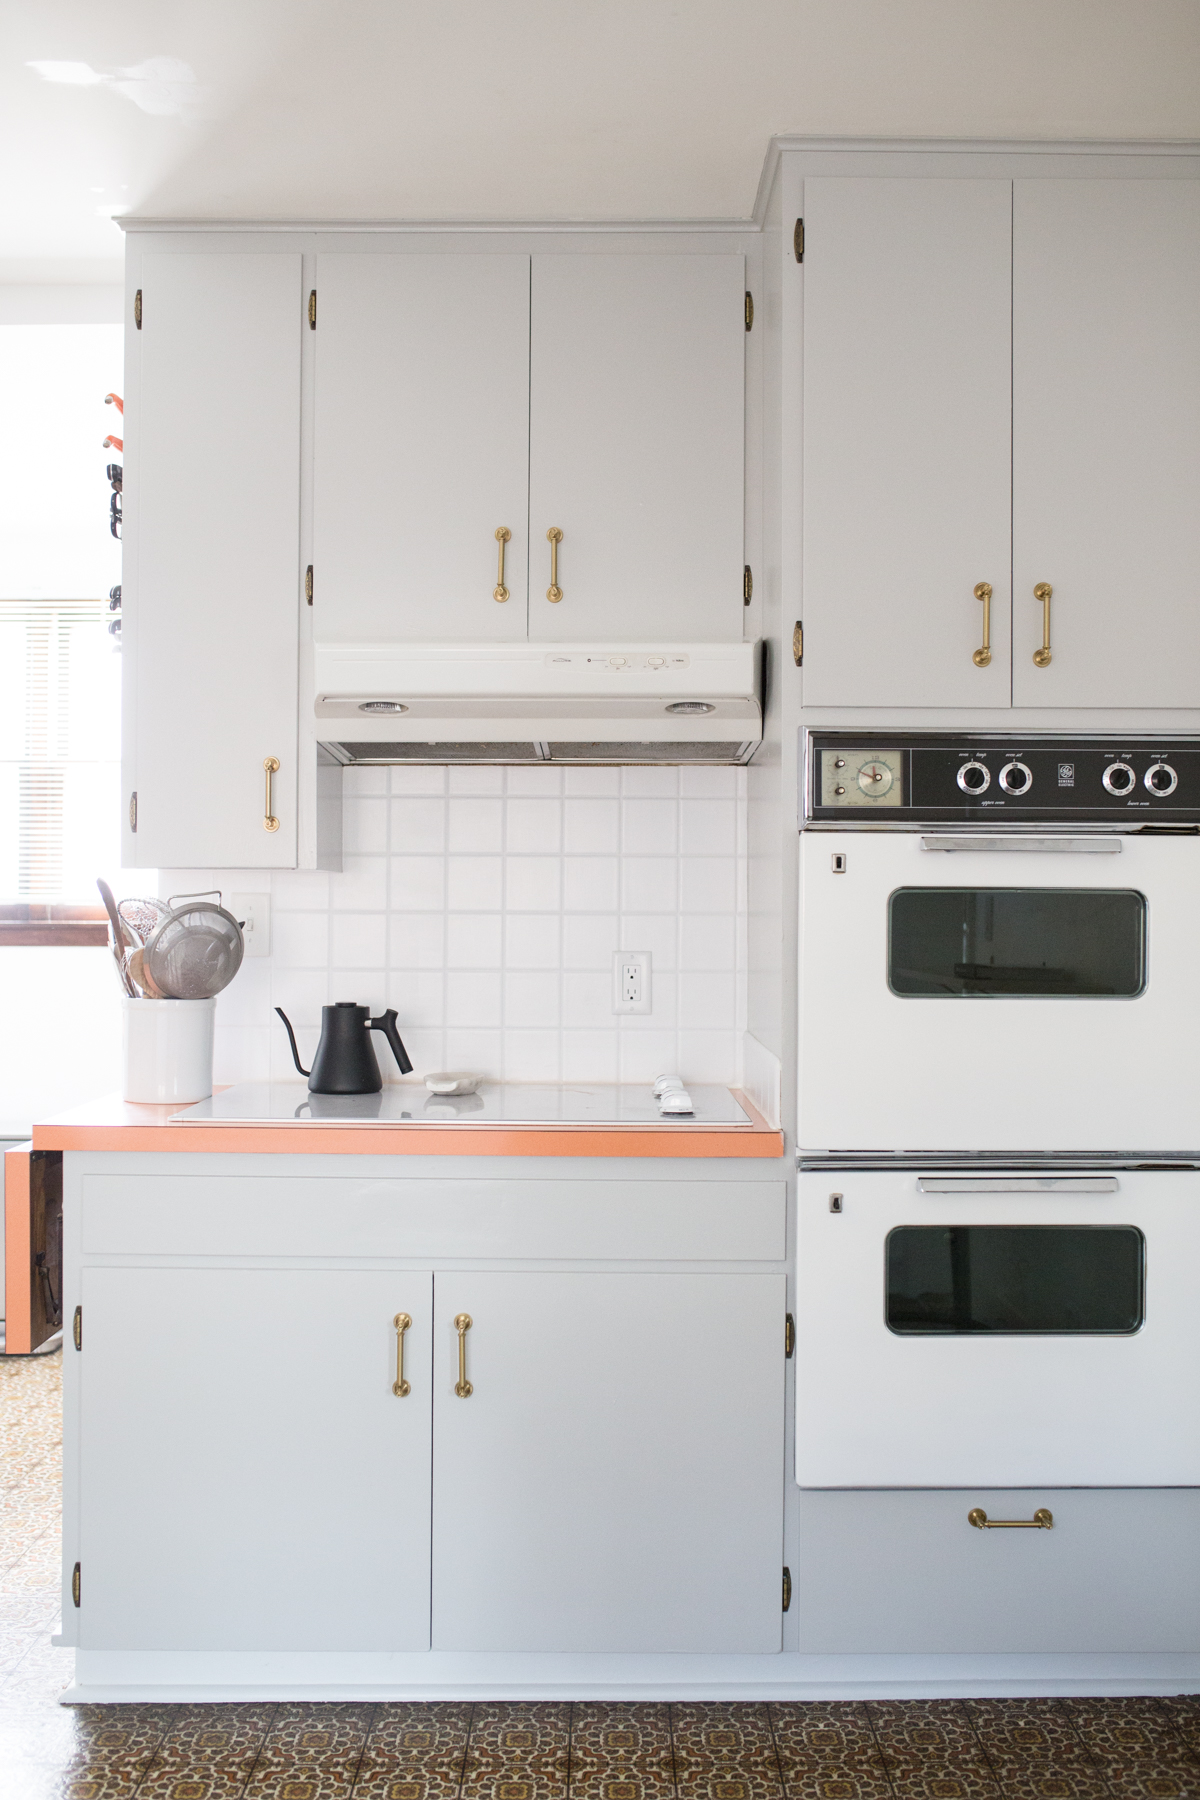
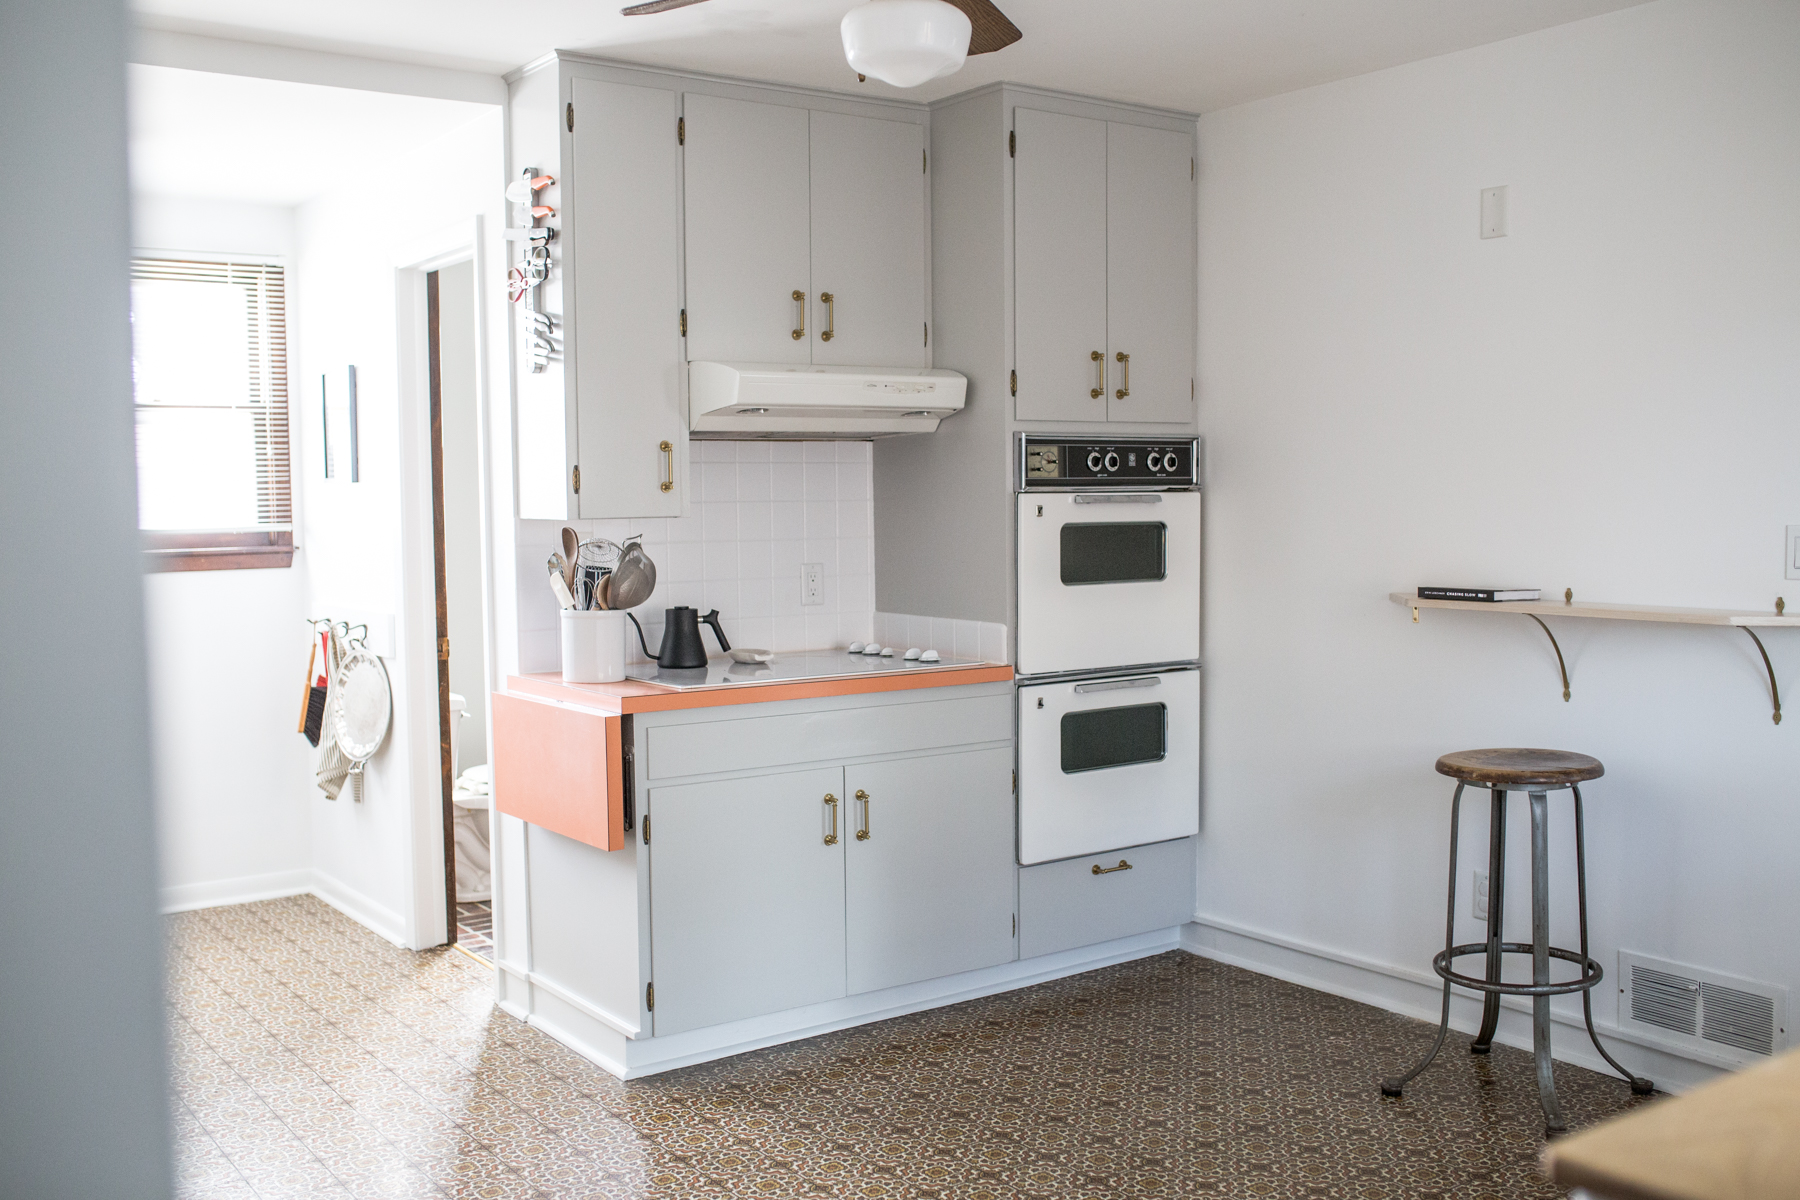
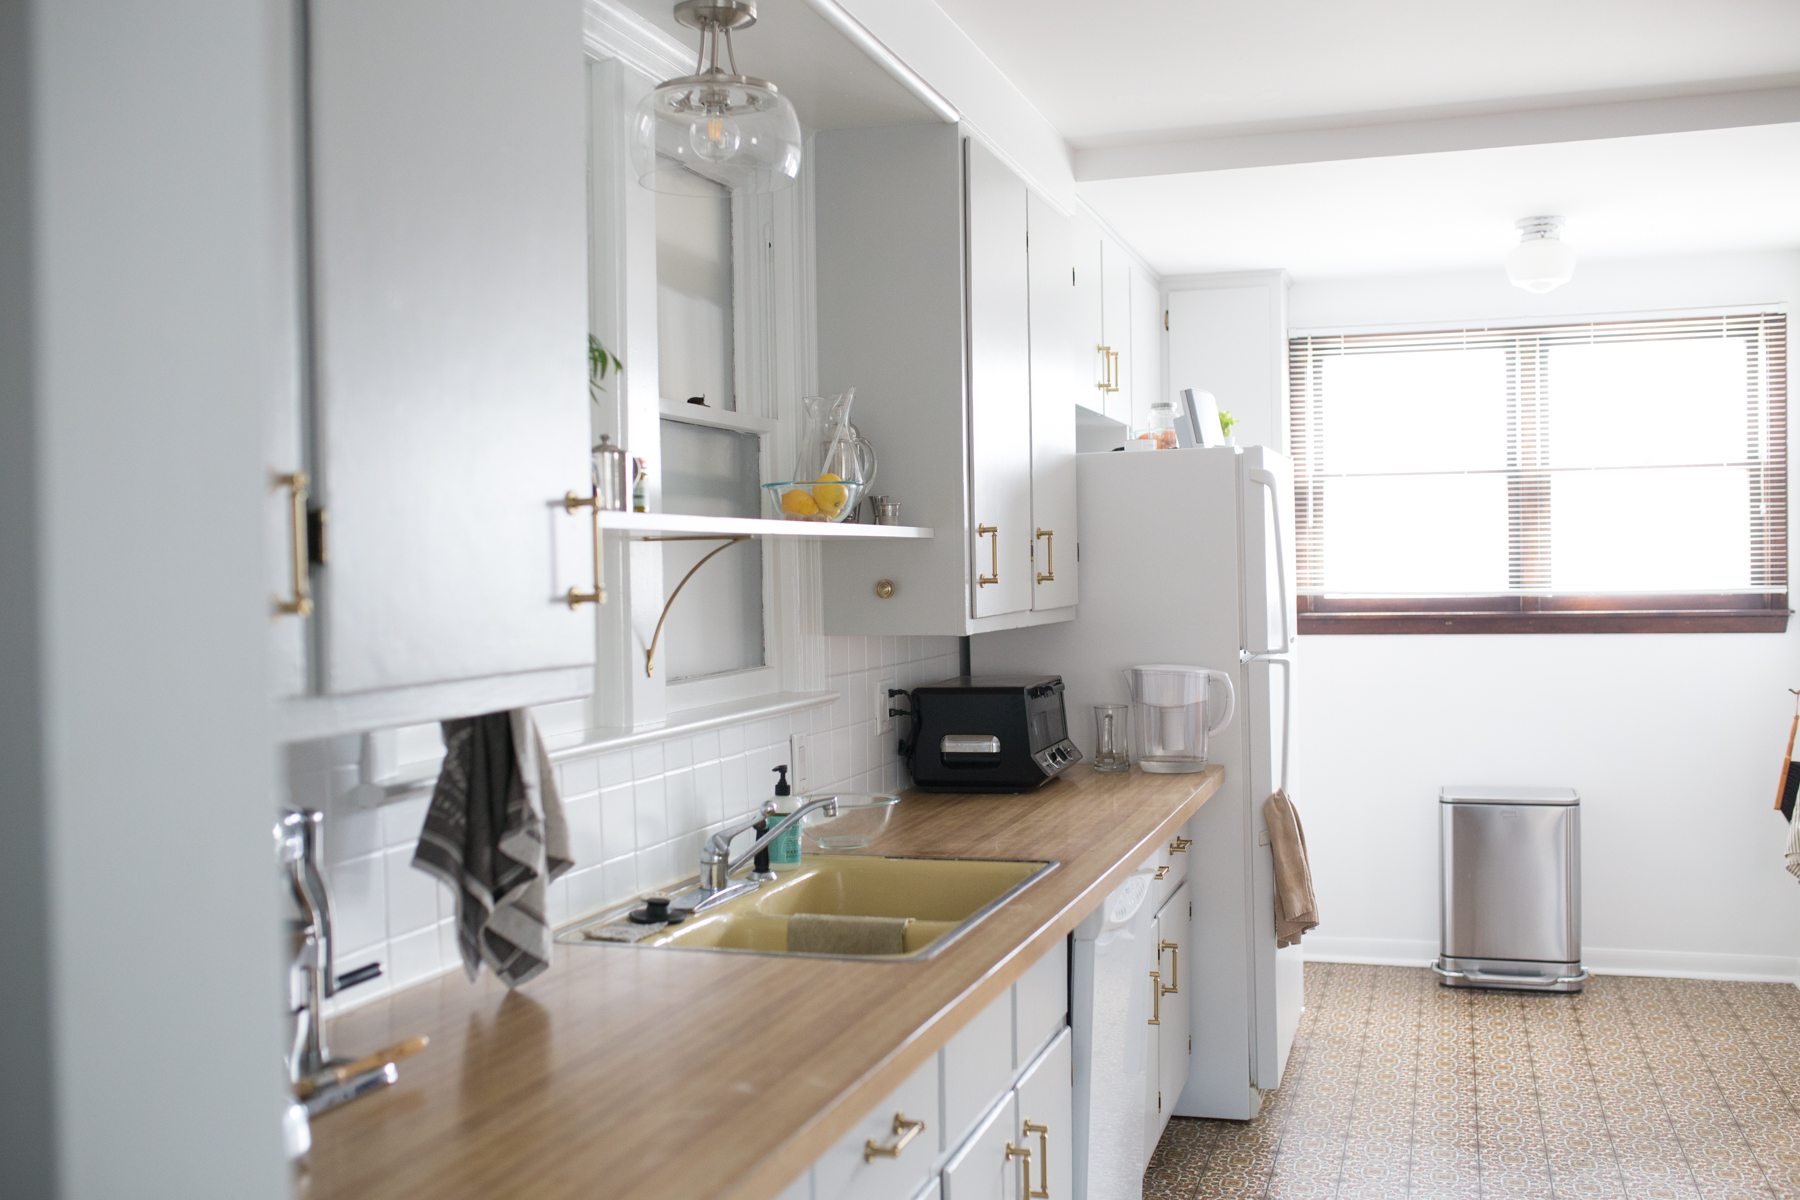
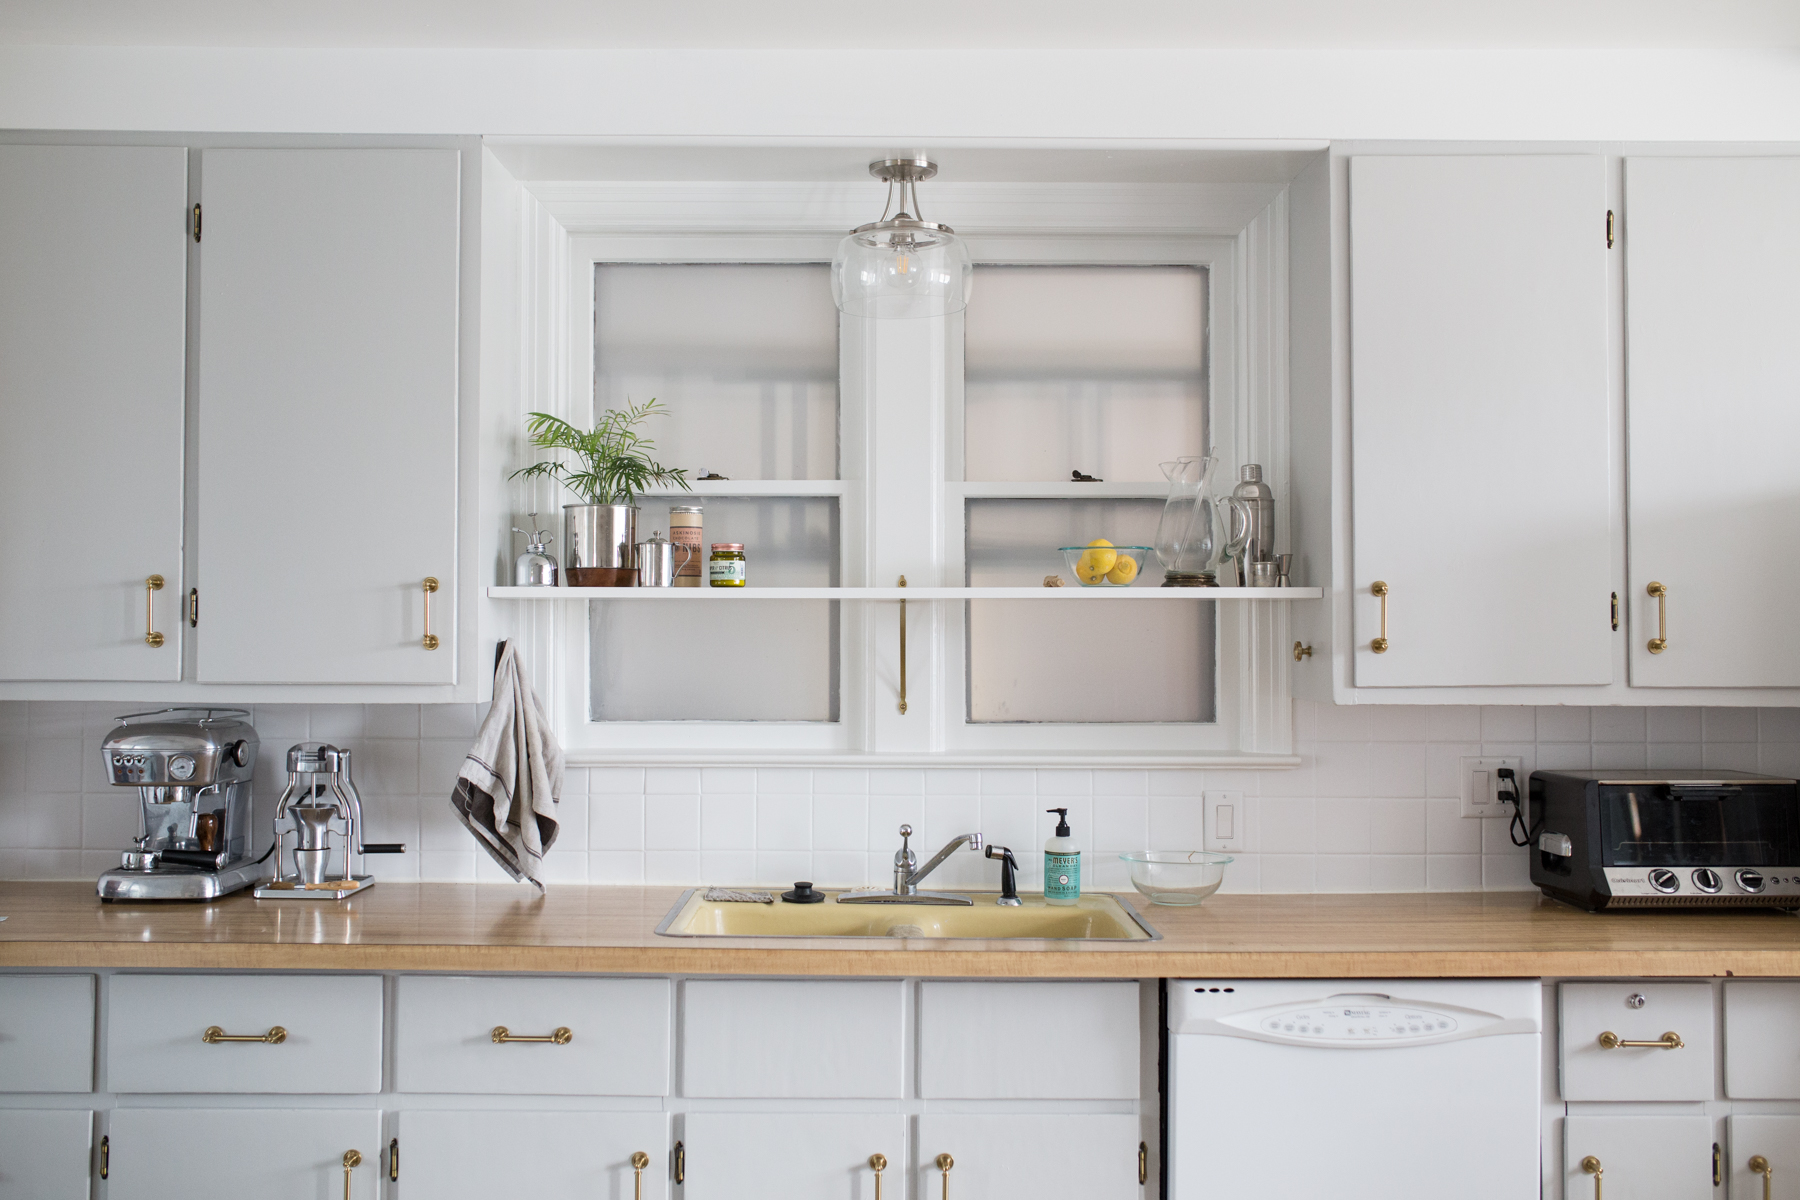
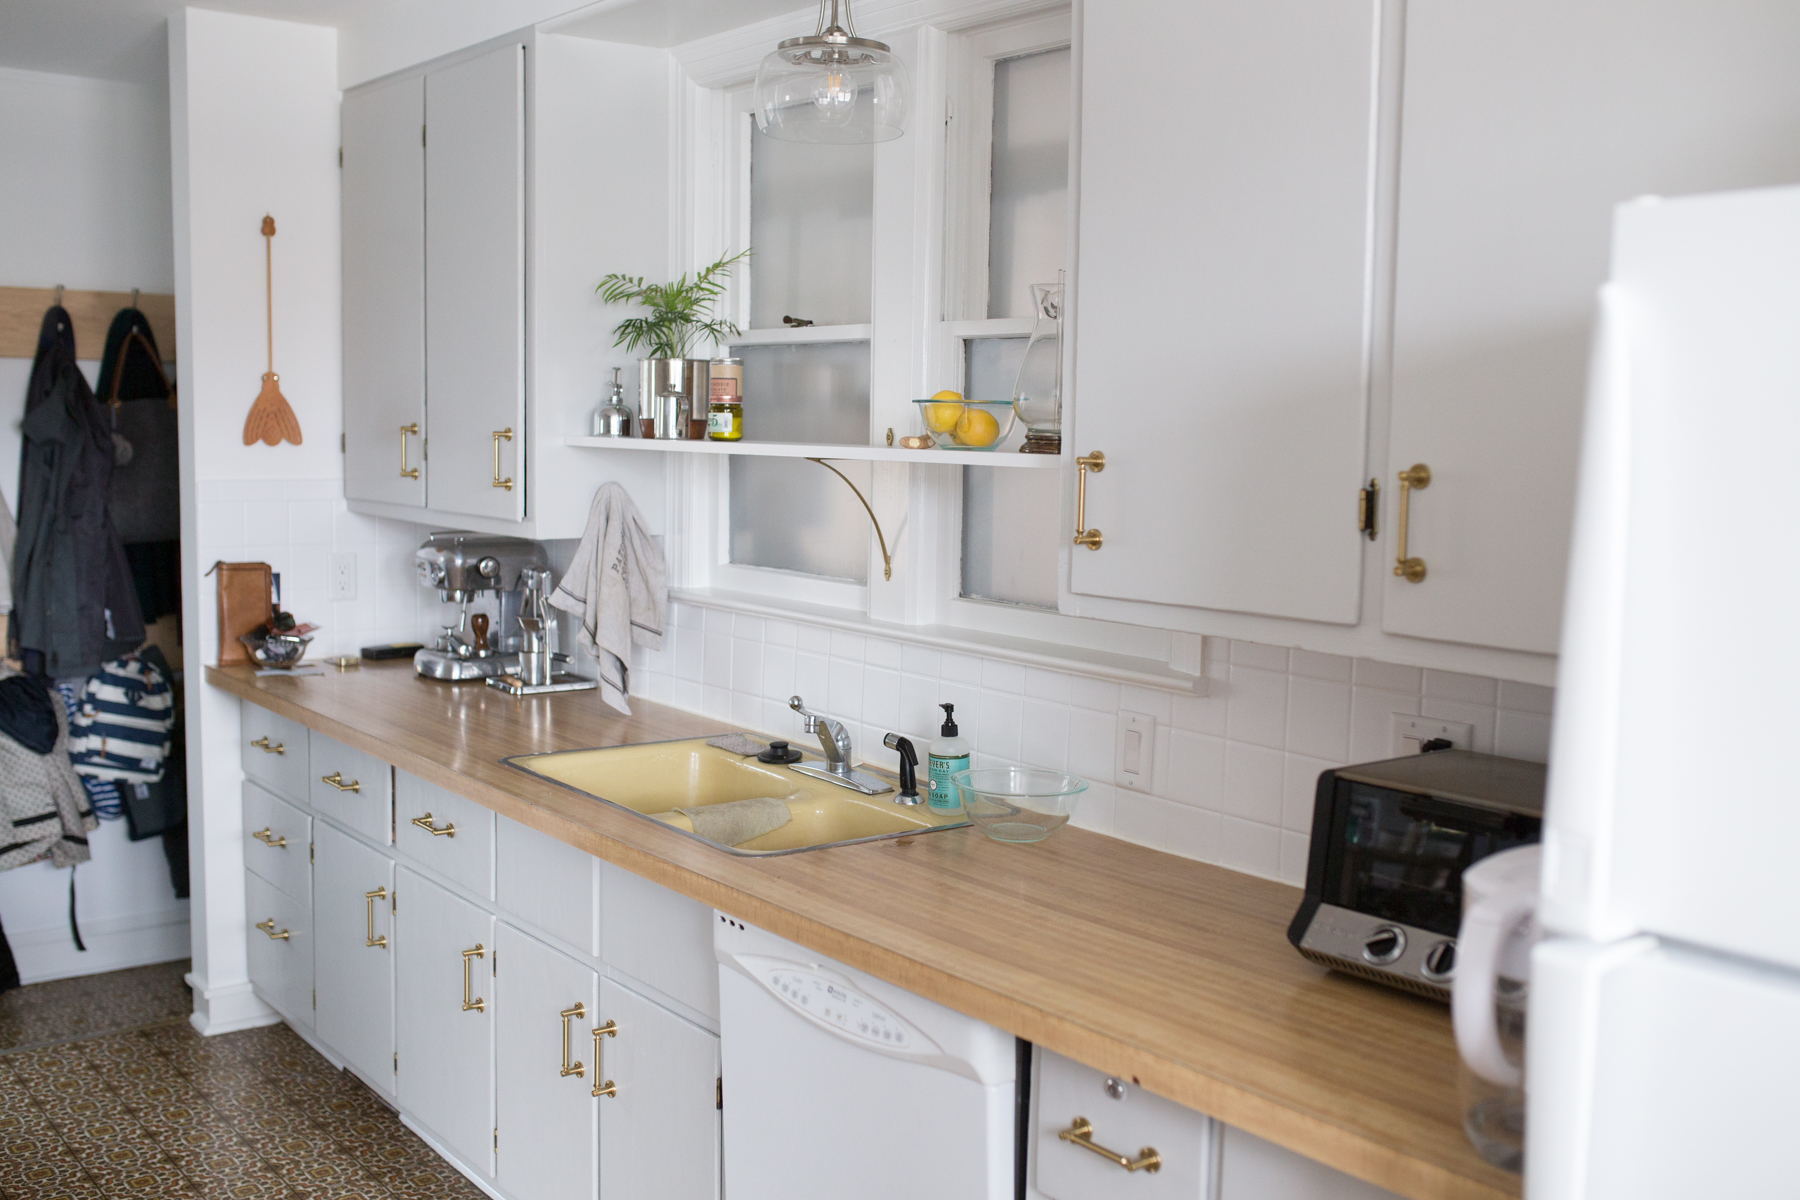
I can't tell you how much more I love our kitchen now! It's so light and clean and fresh and...lovely. Never words I thought I'd use for our kitchen. It was a lot of work, but for less than $1,000 we made some major improvements and actually enjoy our kitchen now. Worth every hour and dollar spent. (This last statement is still debated vehemently by The Mister. He did/does not share my enthusiasm and continues to attest that our poop-brown kitchen was perfectly wonderful. I'll let the B&A photos defend my case. But I couldn't have done it without him! So thanks, Honey, for helping me because you love me.)
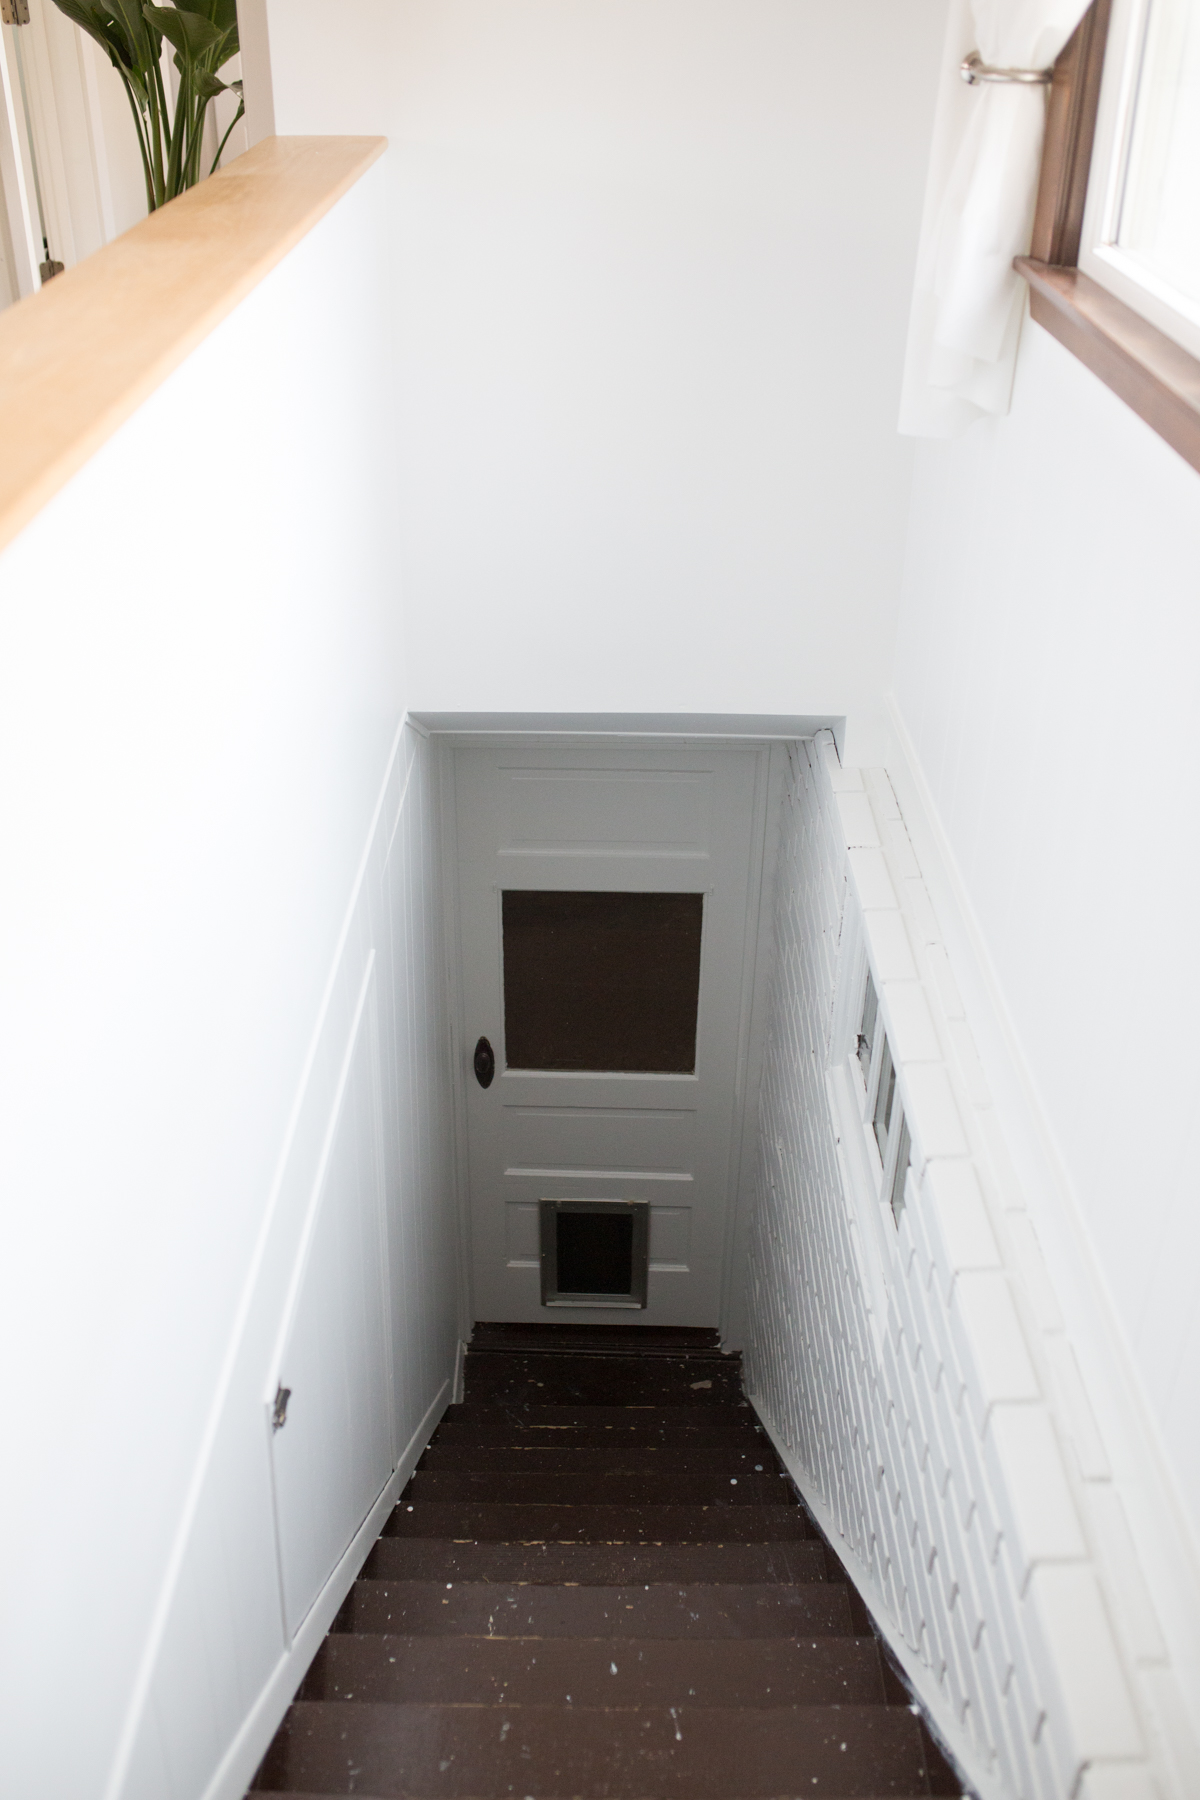
Still on our list of things to do? Paint the staircase to the basement, buy Formica and have Dan the Handyman install it, select and install new flooring, select and install new sink/faucet. Whew! Almost done.
Onto some satisfying B&A pictures, shall we?